 |
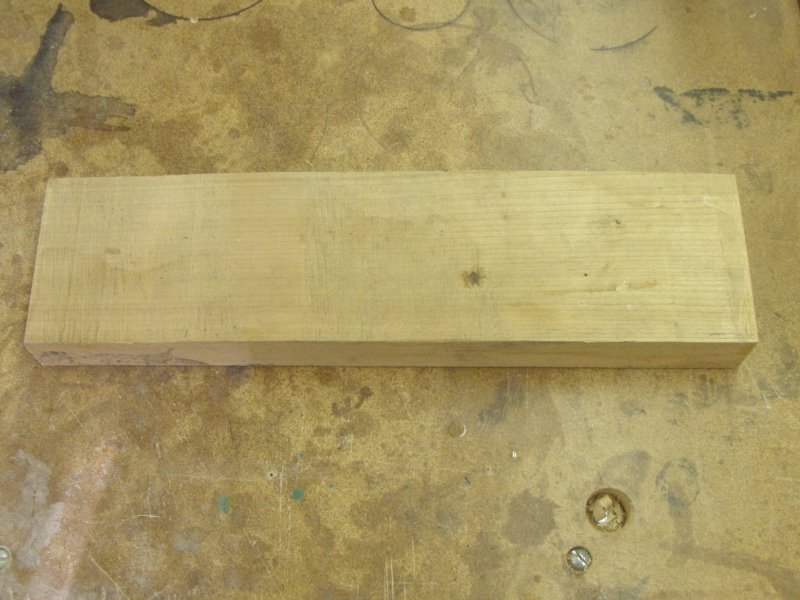
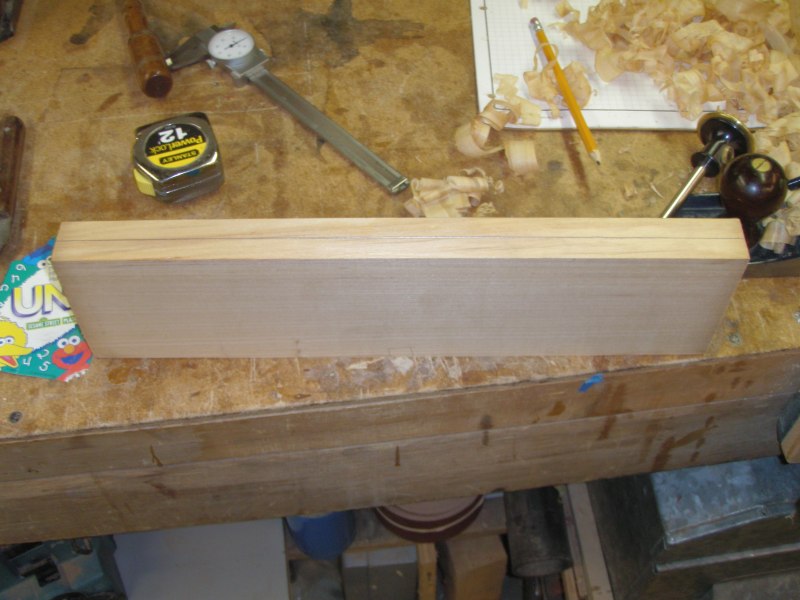
I took a piece of quarter sawn Cherry I milled
from some small logs a friend gave me out of the shed. The dimensions are
3.875 x 14.75 x 1.375" thick. I think I will try for a 3 x 9 x 3"
tall box with a an overlapping lift lid. |
 |
|
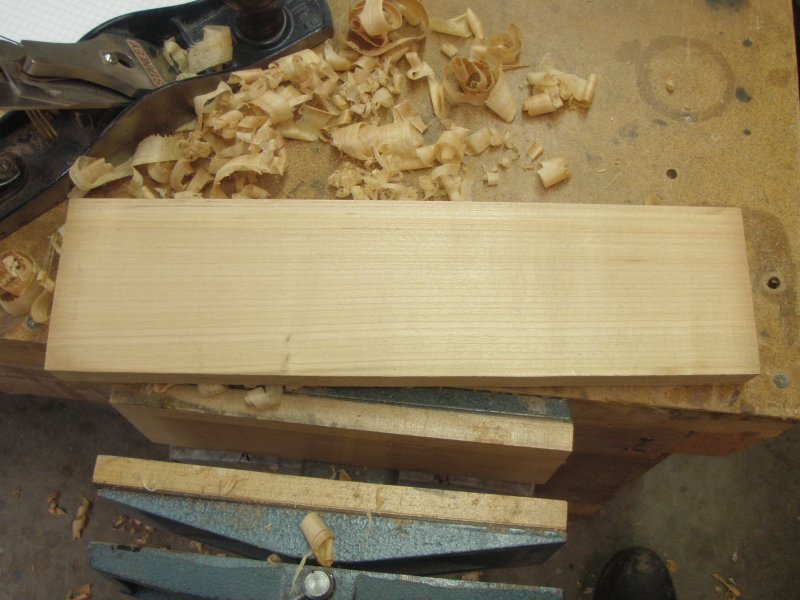 |
This piece was really flat so I ran it through the jointer
then through the planer. If the piece is twisted I will use a handplane
to develop some flatness to the piece so it won't rock when running it through
the jointer.
|
 |
I then jointed one edge by hand. I find it to be more accurate
and satisfying than using the jointer.
I jointed one edge square to a face and marked it as such. I jointed the
other edge just to get a clean edge so I could see my re-saw marks. |
 |
I then marked the center of the board thickness. |
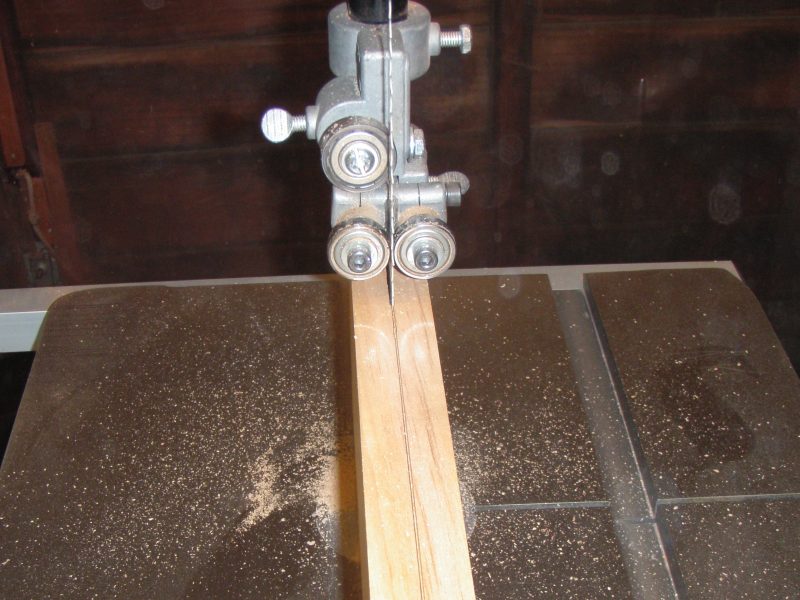 |
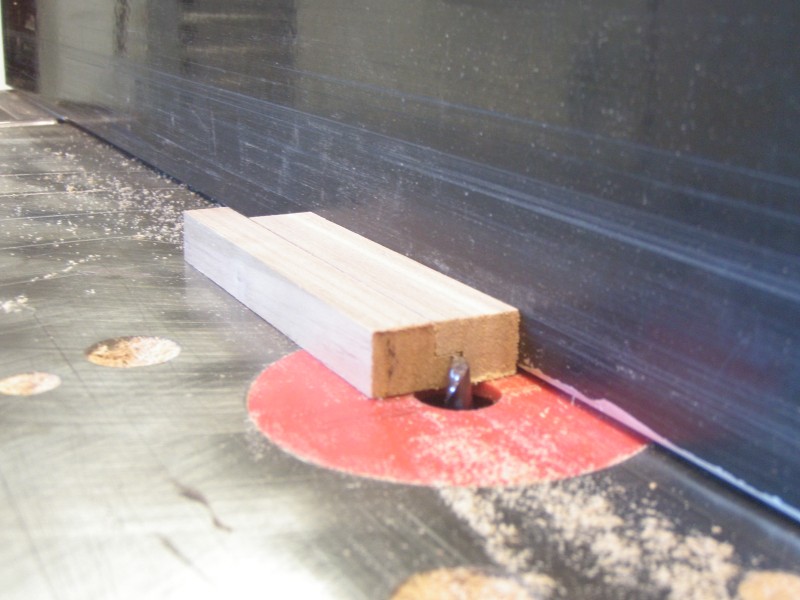
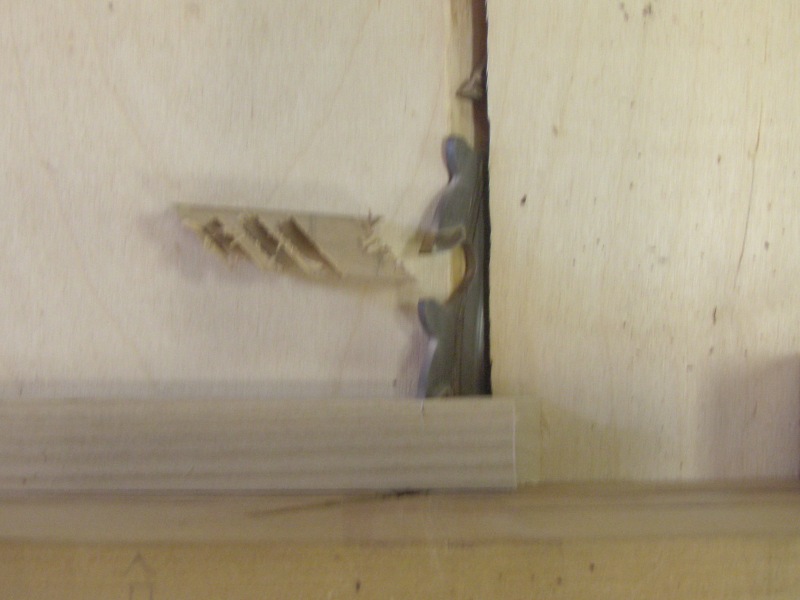
Re-sawing the board. |
 |
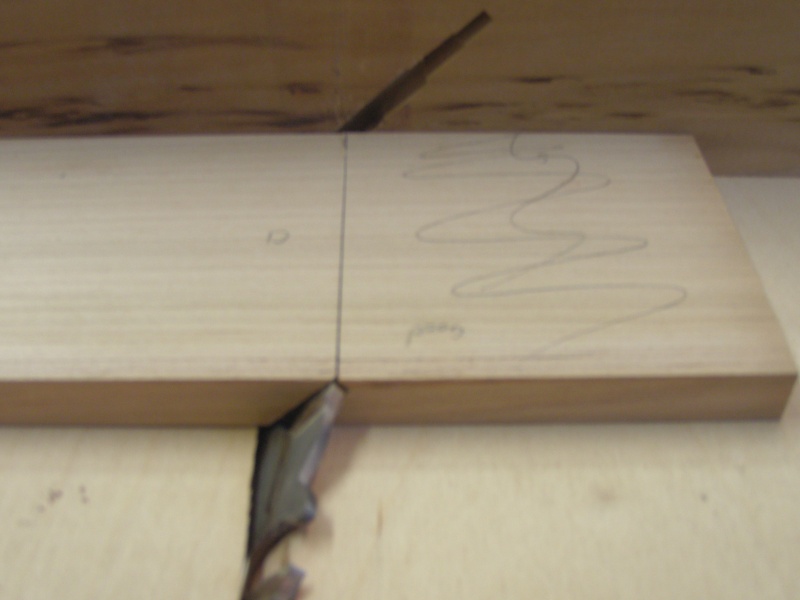
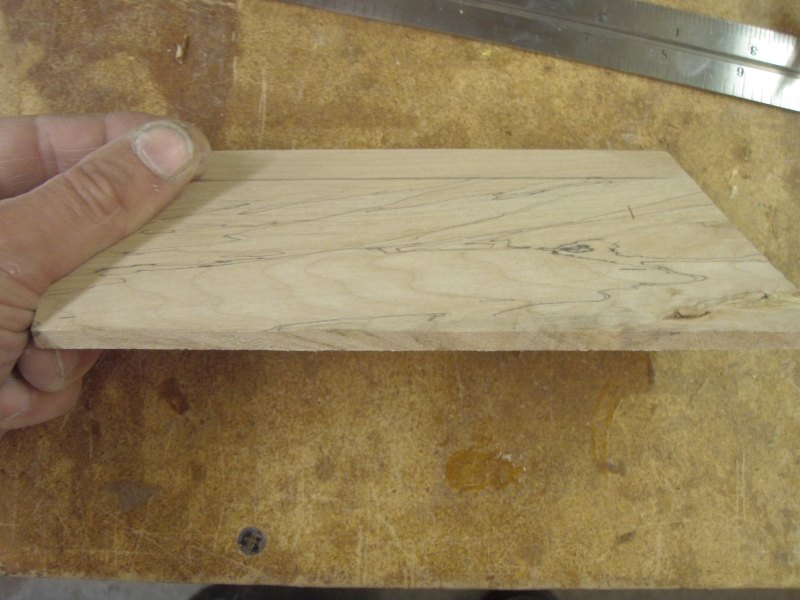
Here is the board re-sawn. The cut kind of sucks. The blade
did the lean thing part way through so the ends are 1/16" to 1/8"
off on one end. The thinnest part is 7/16" thick. I am shooting for
about 7/16" thick so no big deal as this is really straight grained
wood. If it would have been figured at all, grain matching would have been
much harder.
|
 |
I now run the boards through the planer one after the other.
I only do the re-sawn sides until they are flat. Then as soon as one is
flat I flip it over and continue until the other re-sawn side is flat, then
I flip it over and continue until they are close to the right thickness.
Then I finish up with the drum sander. I do this to keep the re-sawed sides
as close to each other as possable. The closer they are, the closer the
match is.
|
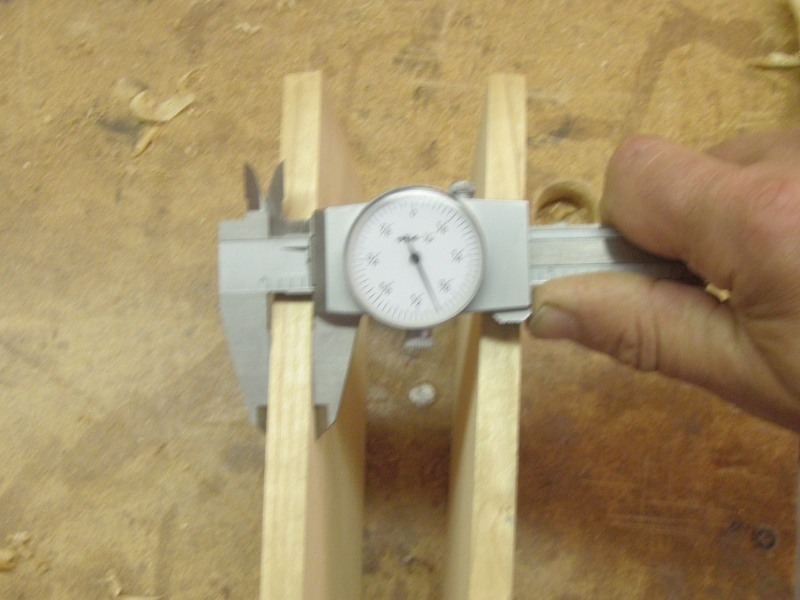 |
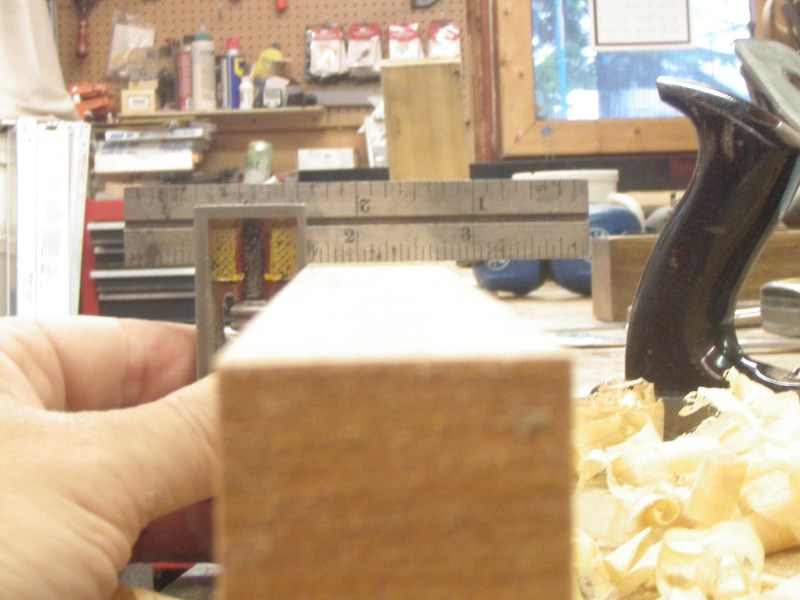
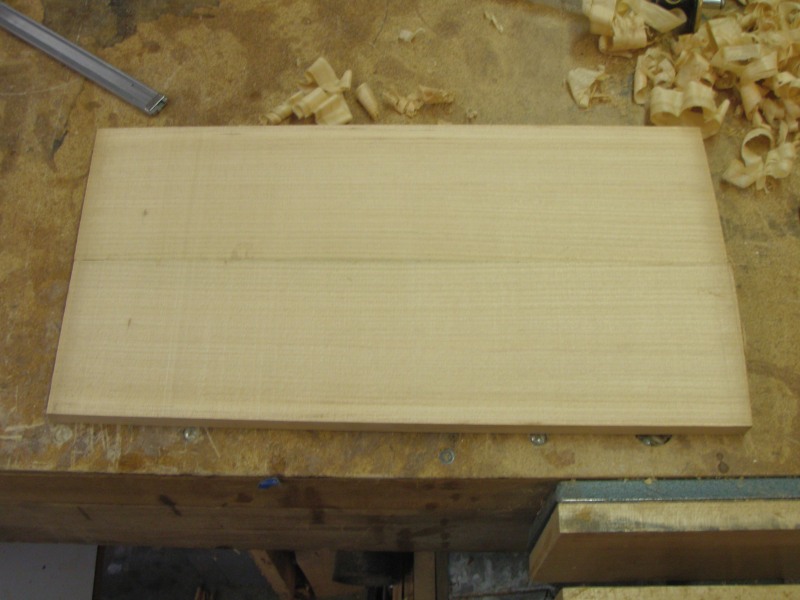
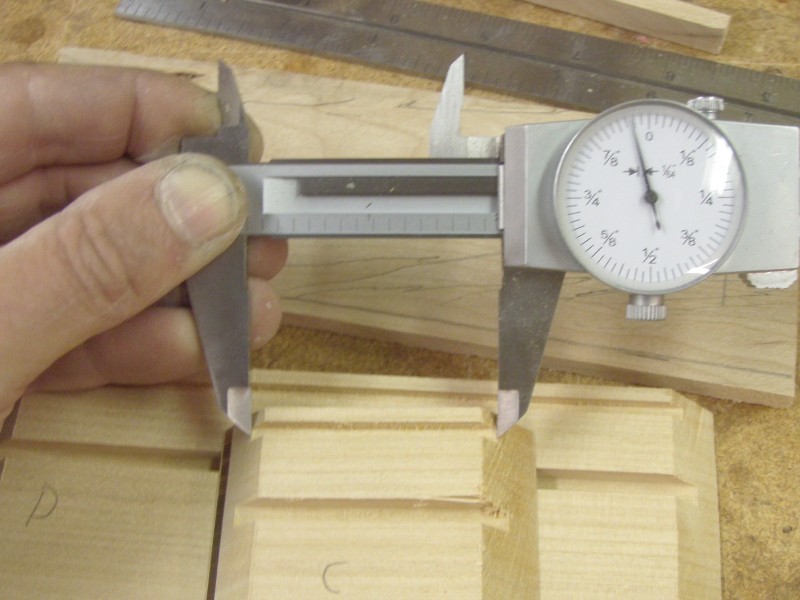
About 1/32" under the 7/16" I was shooting for. |
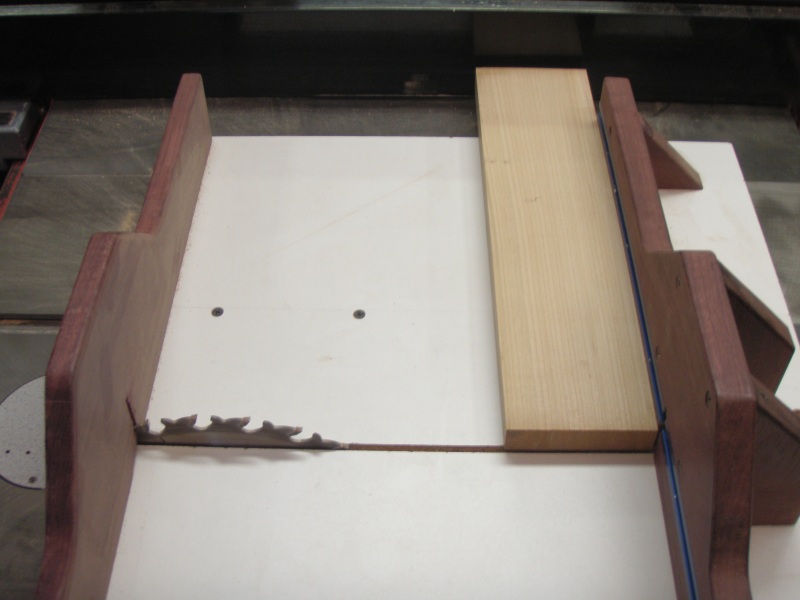 |
I now square up the ends.
|
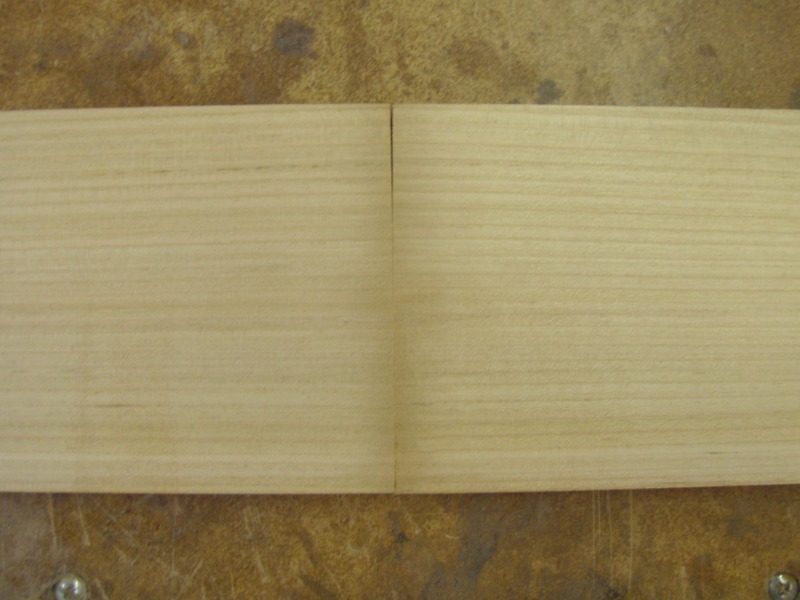 |
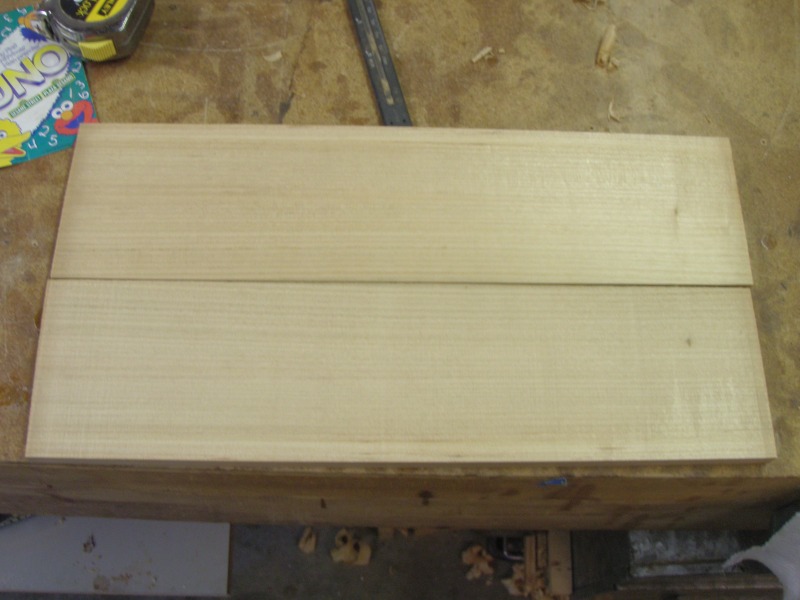
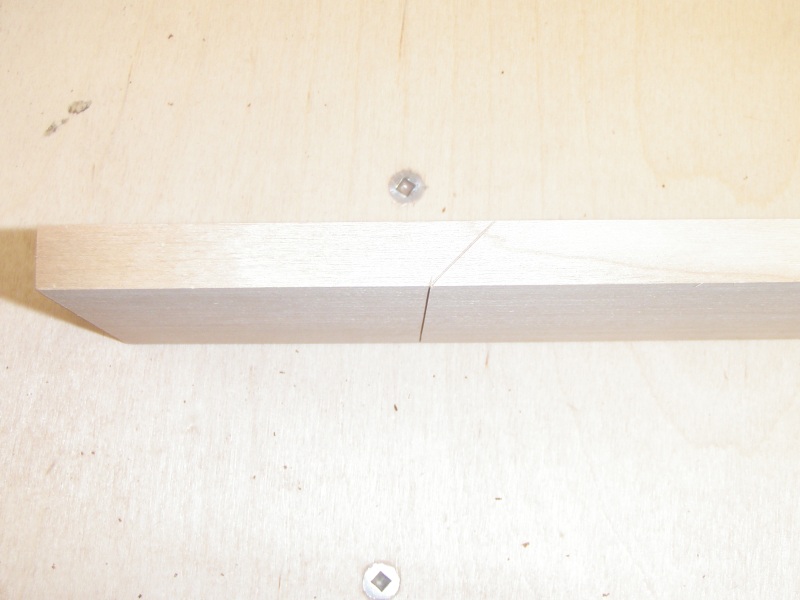
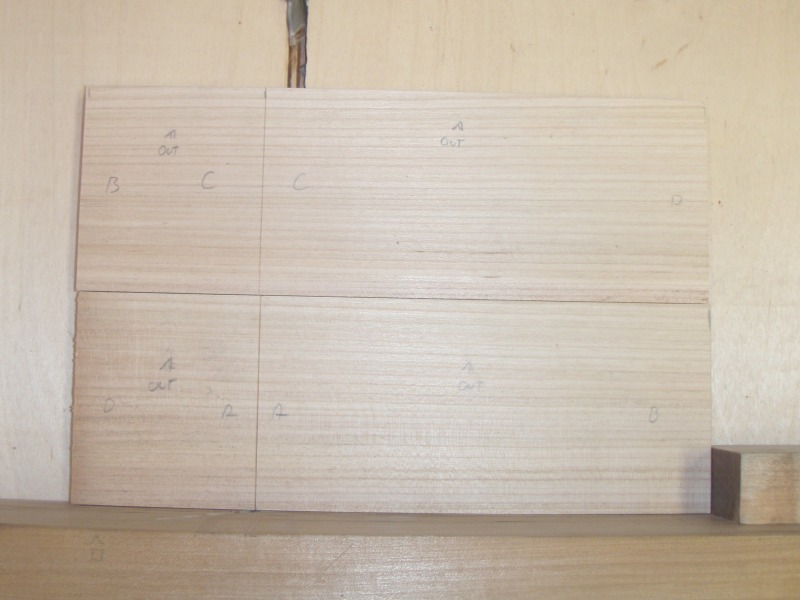
The grain match looks good but the end cut sucks. No issue
though as they will be mitered later and I will fix them later. |
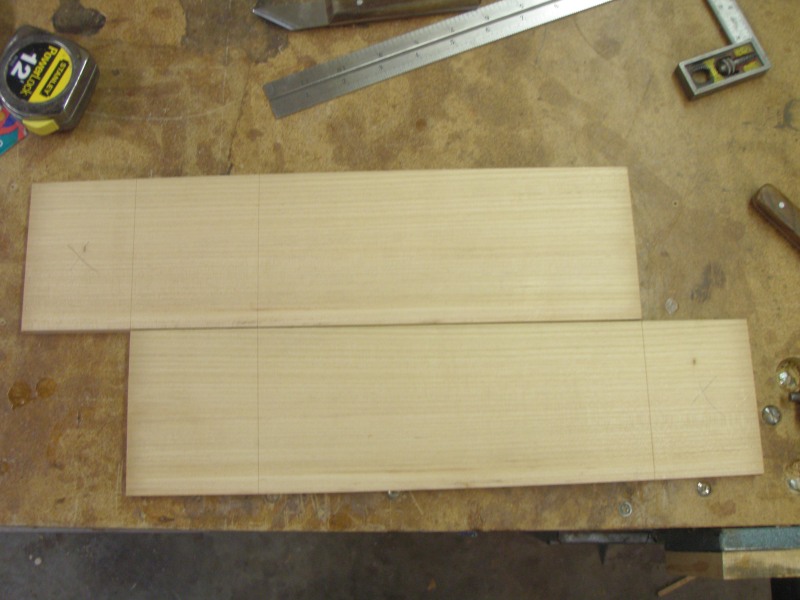 |
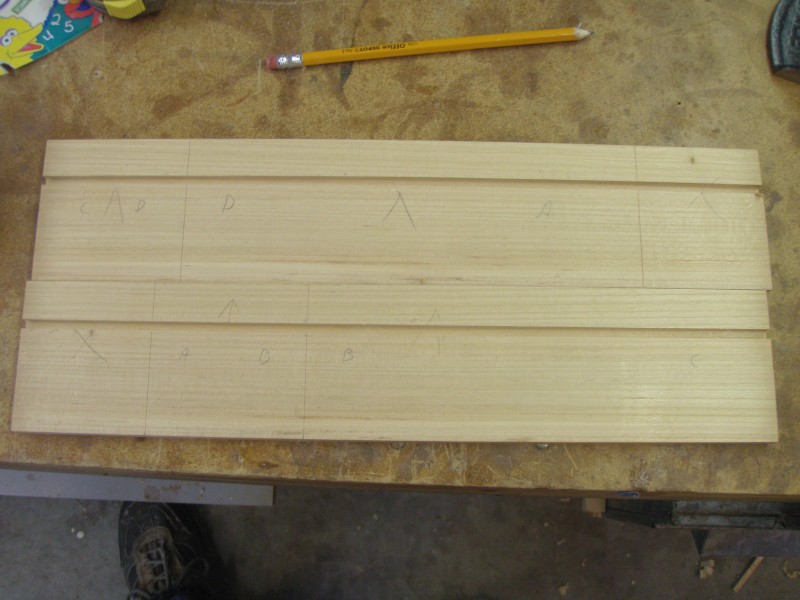
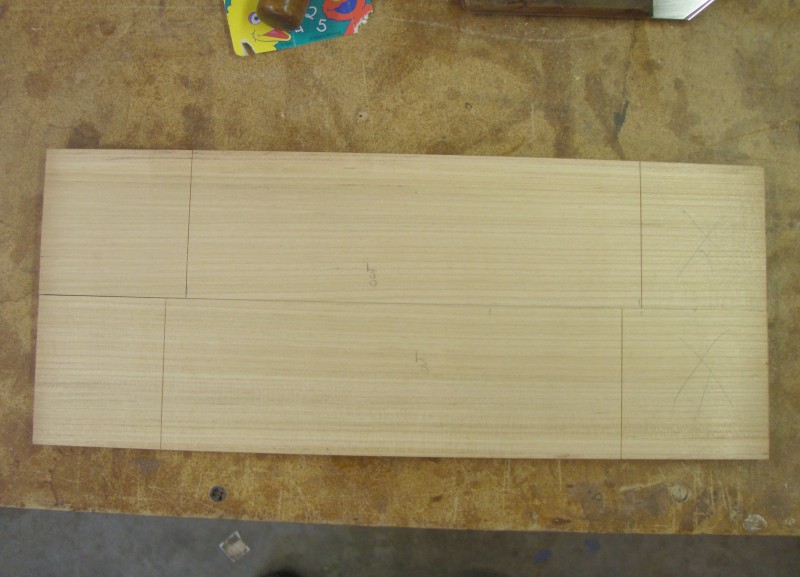
I mark the crosscut lines on one and slipped the other
piece under it and transfered the lines. Make the lines fairlt deep to help
prevent tear-out when cutting the miters. |
 |
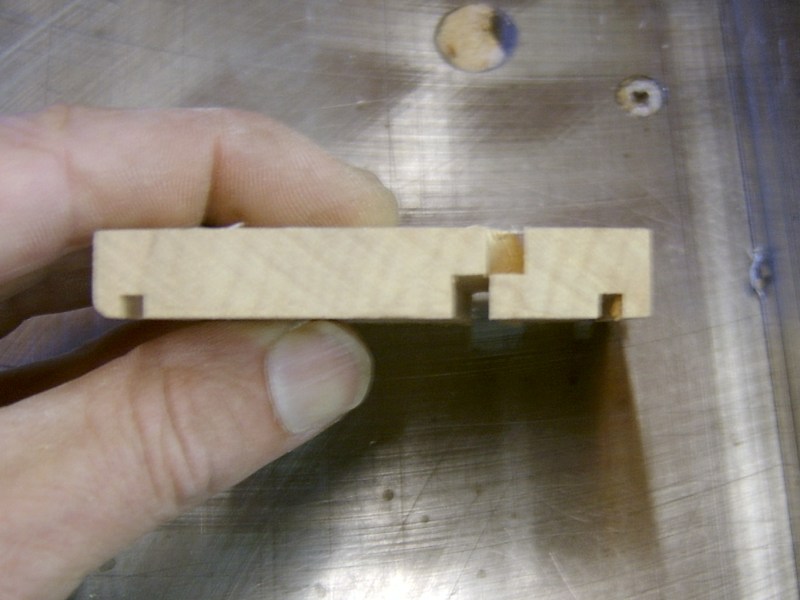
I now set-up a 3/16" upcut spiral bit to cut exactly
1/2 of the board thickness. I use drop off from the boards to set up the
cut. |
 |
I want the lid to be 3/4" in height. I mark the board,
set the distance to the fence and route the grooves. |
 |
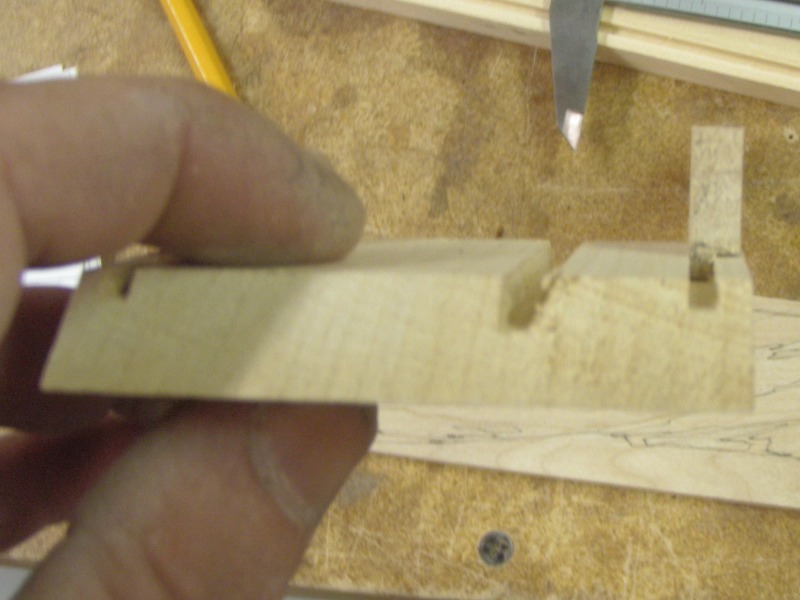
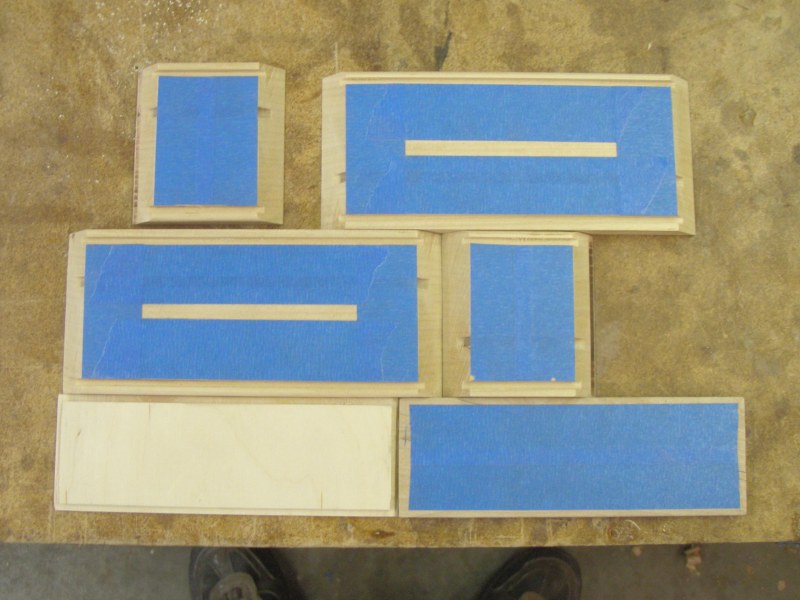
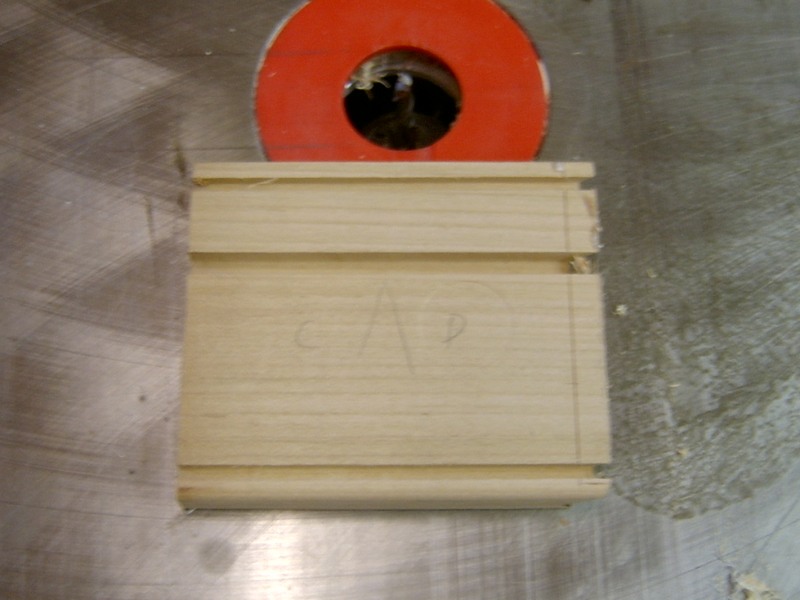
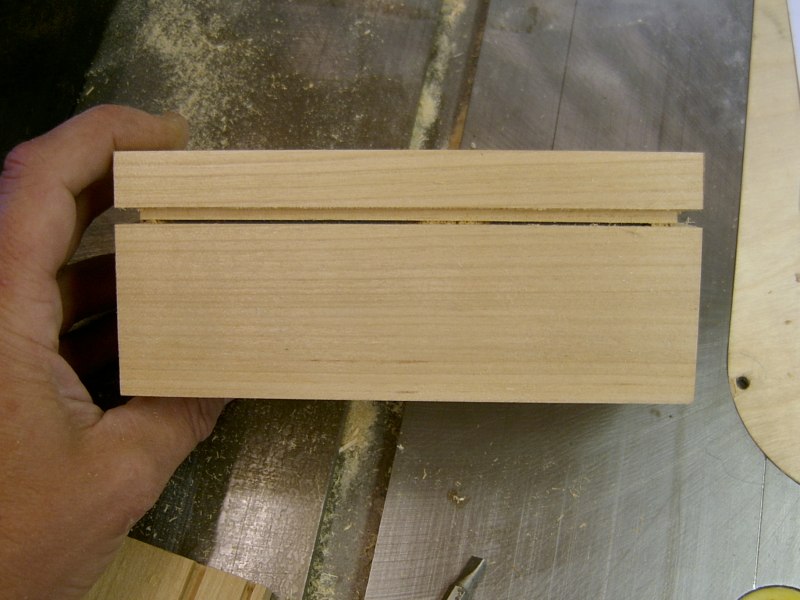
Showing the grooves. |
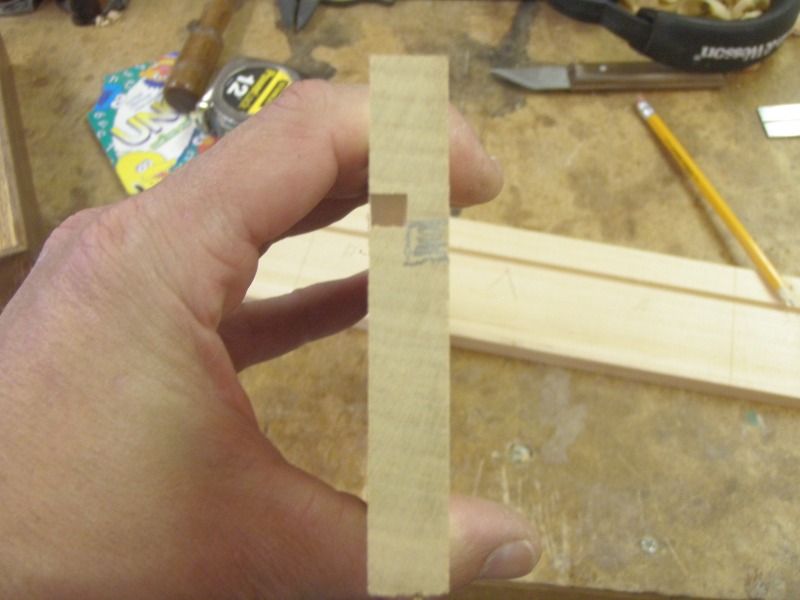 |
I colored in the part that will be routed out w\ after
the box is glued up to show how they will overlap when cut apart. |
 |
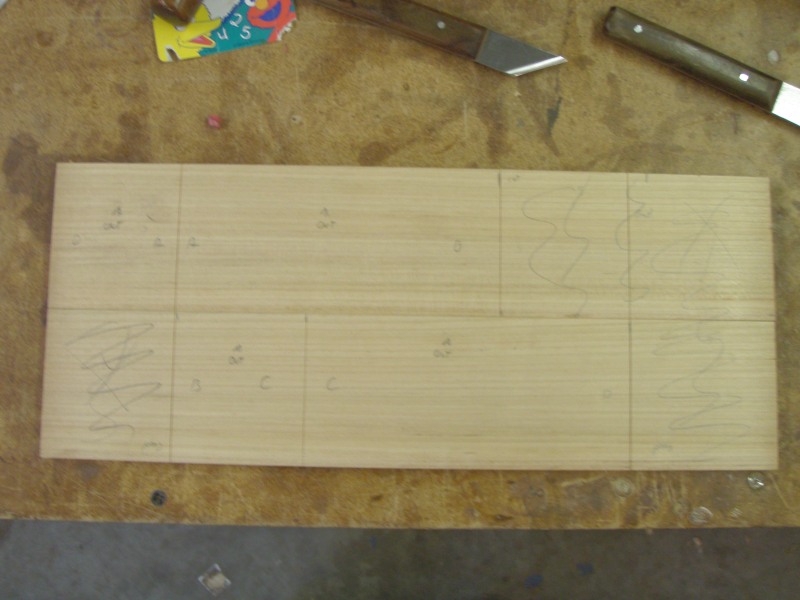
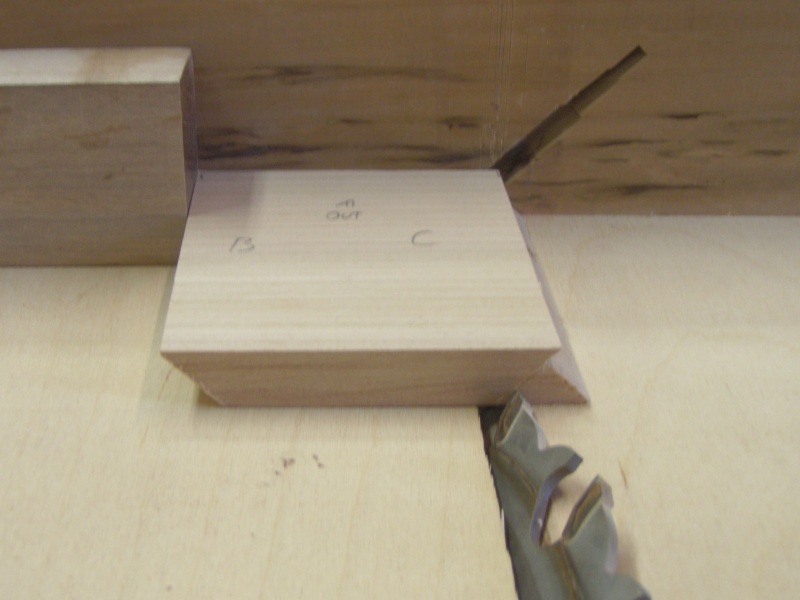
Oops! When I first layed out the box sides, I made the
marks on the inside of the box and not the outside. I transfered the marks
to the outside of the boards. They need to be on the outside to help prevent
tearout. |
 |
I set up the saw to make a 45* cut. |
 |
Then I set the blade height to just barely cut through
the thickness of the pieces. This will make it so you will lose no material
at the corner of the miter to the saw kerf. |
 |
I mark the 45* cut line on the ones I need to set stop
blocks. |
 |
Oh boogers! When I transfered the crosscut marks to the
outside of the board, I didn't slip the one board under the other. Now I
will have to change the dimensions and remark the pieces. The new dimensions
are 2 1/2" x 6 1/2".
|
 |
I remarked them and they are ready to miter. This will
play heck with the grain match. |
 |
Then I setup a stop block and miter the other ends so the
length is the same. |
 |
Boards cut to length. |
 |
Then I setup the stop block and make the first inside cut.
I reset the stop block and make the final cuts. Notice that with the deep
layout lines, there is no tearout. |
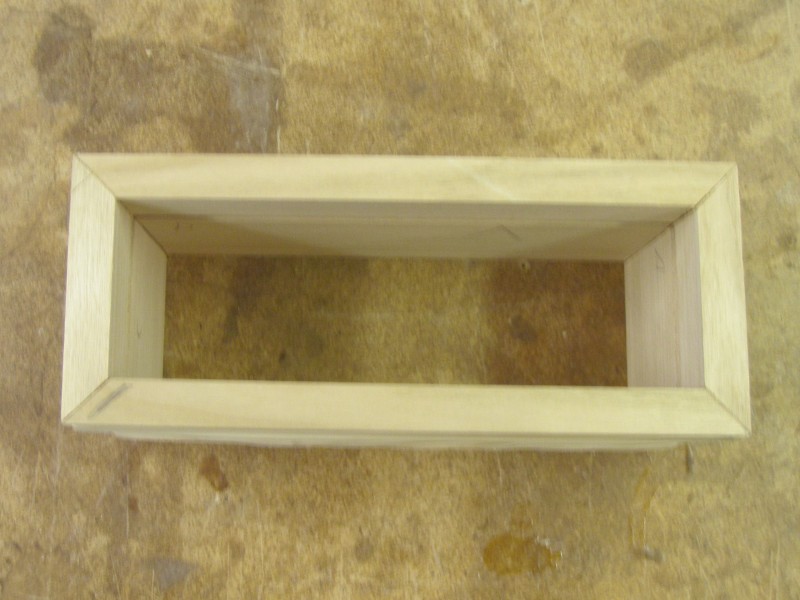 |
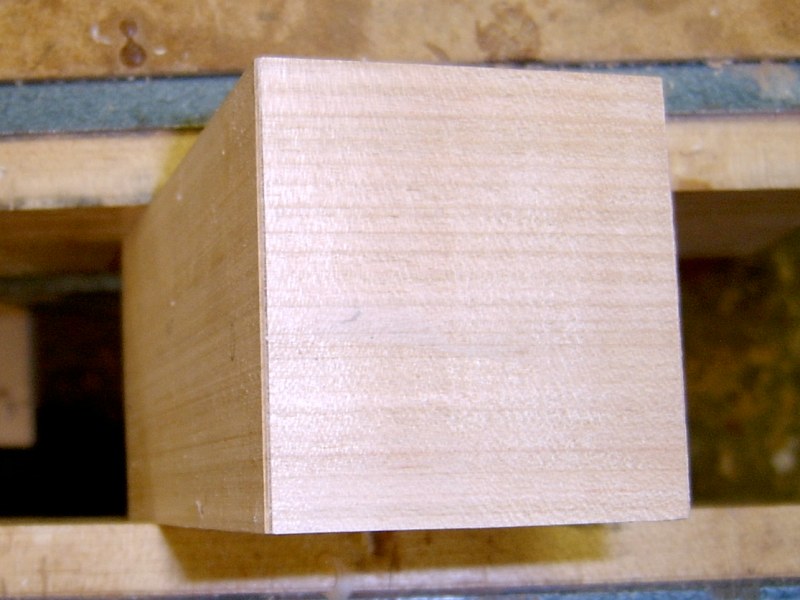
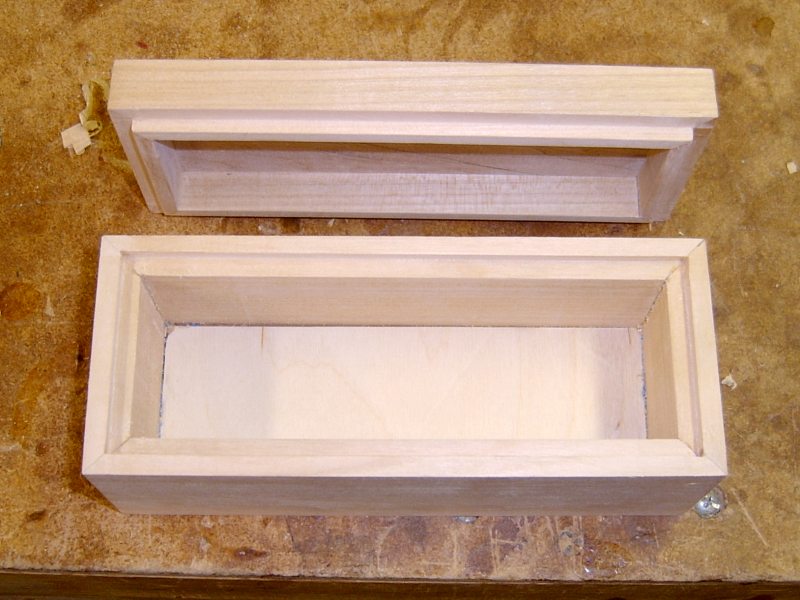
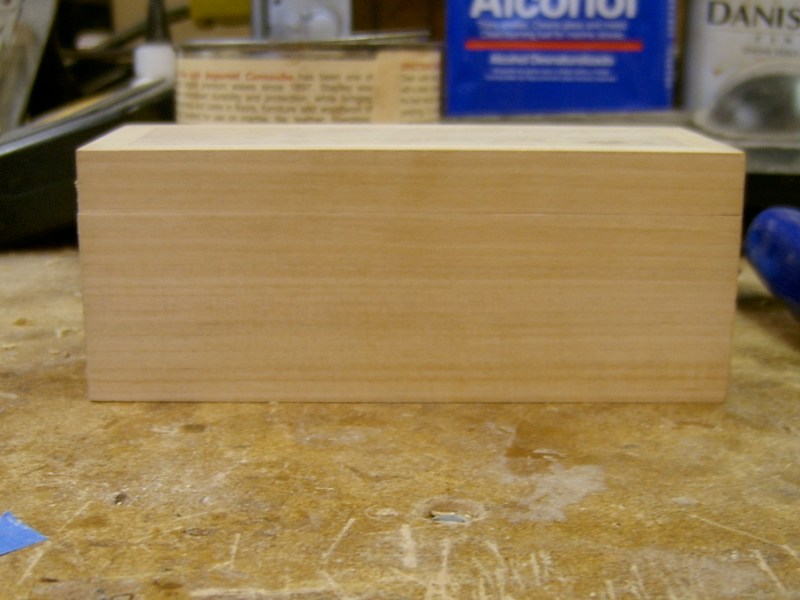
And I have a box. The miters look pretty close to tight. |
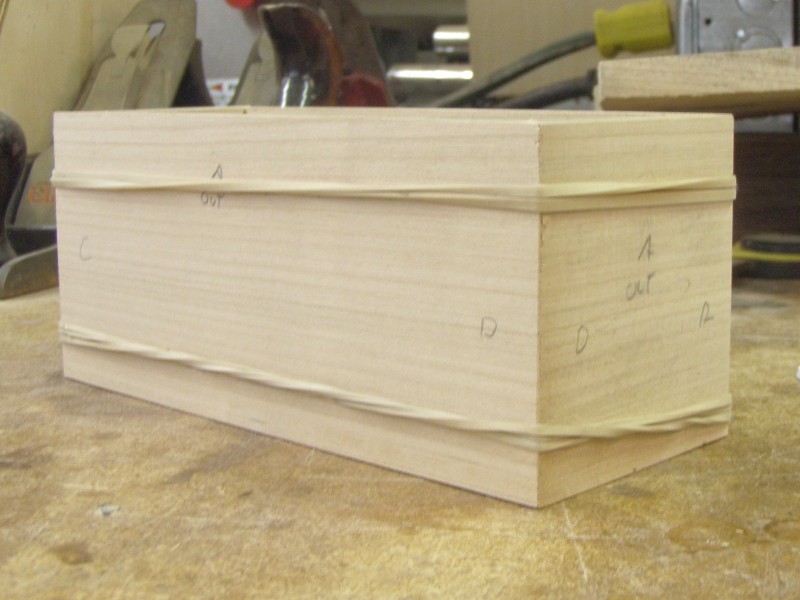 |
And being quarter sawn, you wouldn't know it isn't a true
four corner grain match.
Only issue I have with it now is that with the box being smaller, the proportions
look off and the sides look to thick. I am going to cut the height down
to 2 1/2" to match the height. Another thing I missed when ripping
the boards to width was to add an extra 3/16" to the height that I
will lose when the lid drops down onto the body.I added it on when recutting
the pieces. I also cut my drops as well so I can use them for future setups. |
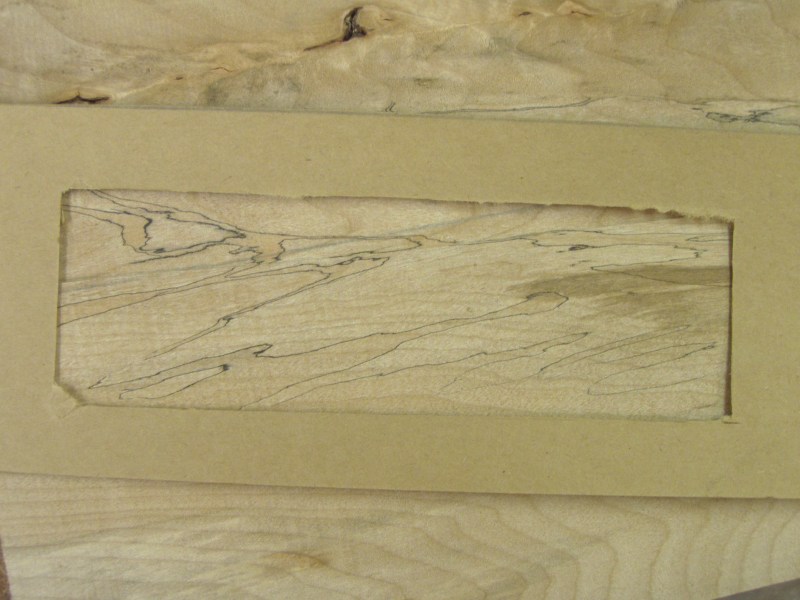 |
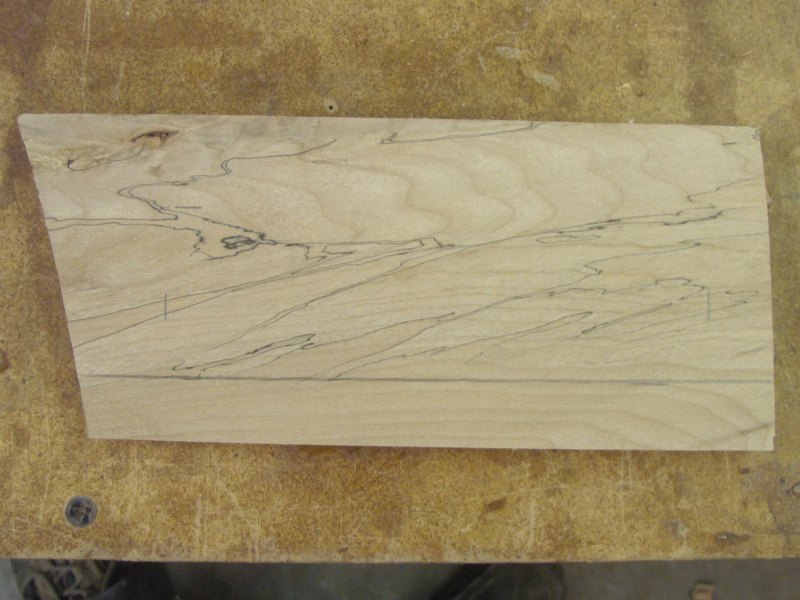
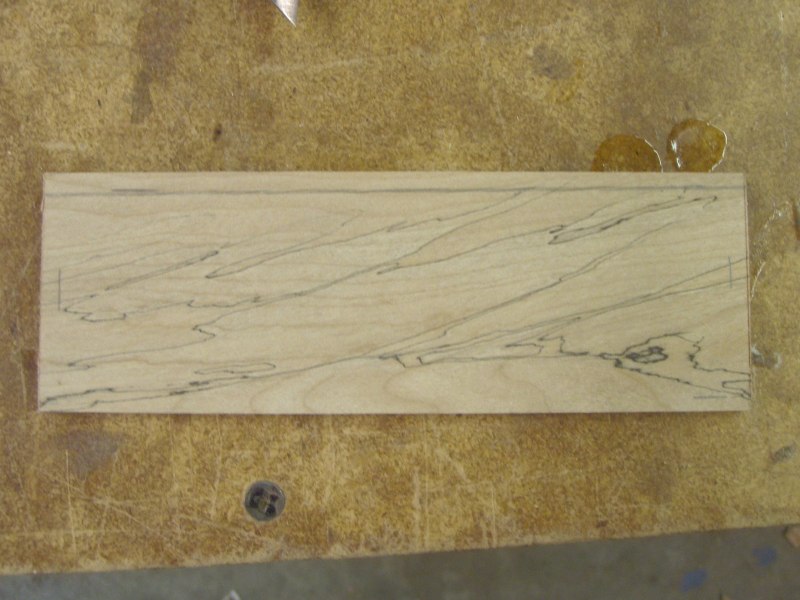
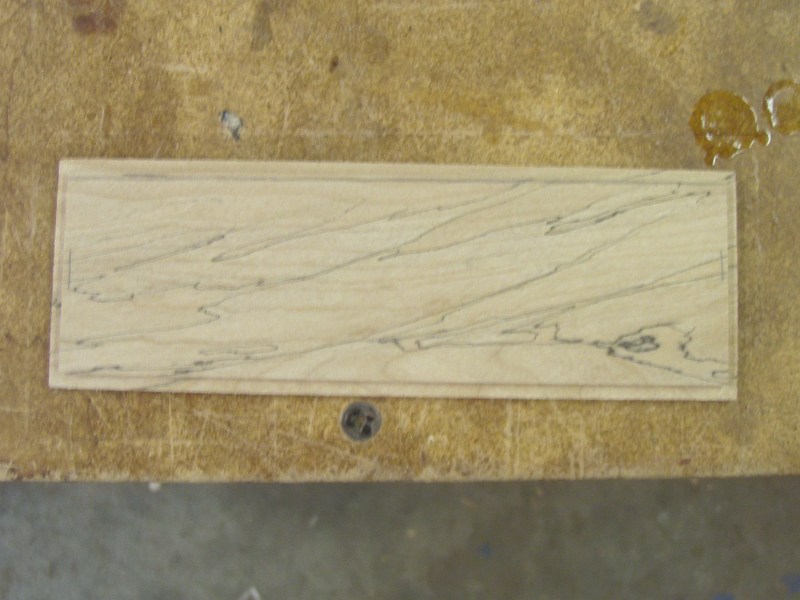
I cut a template to help me see what the top panel will
look like and tried it on a few pieces of wood I had kicking around. I found
one I liked and marked the location in pencil. |
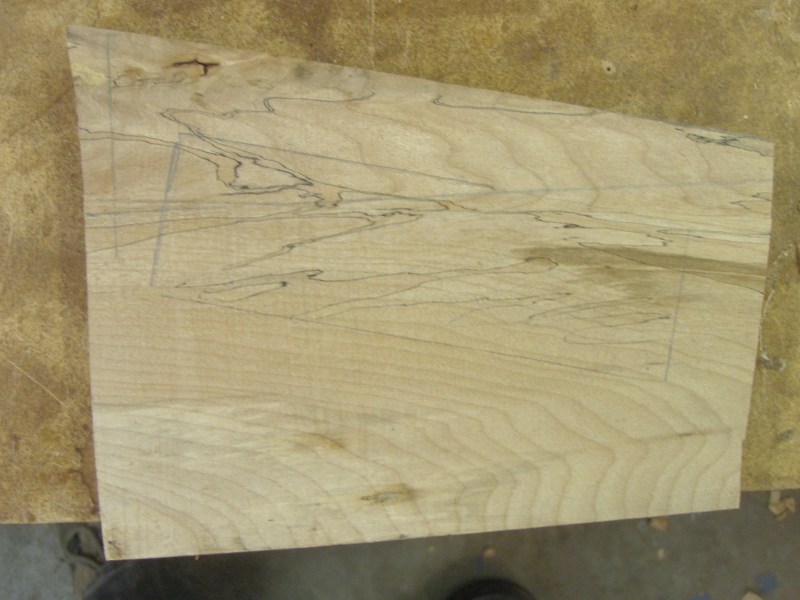 |
I rough cut the piece out and jointed one side parallel
to my layout marks.
|
 |
Ran the piece through the drum sander to flaten it and
then ripped the other side parallel to the first. |
 |
The piece was about 1/2" thick so I resawed it to
a rough 5/16" and used the drum sander to bring it down to 1/4"
thick. |
 |
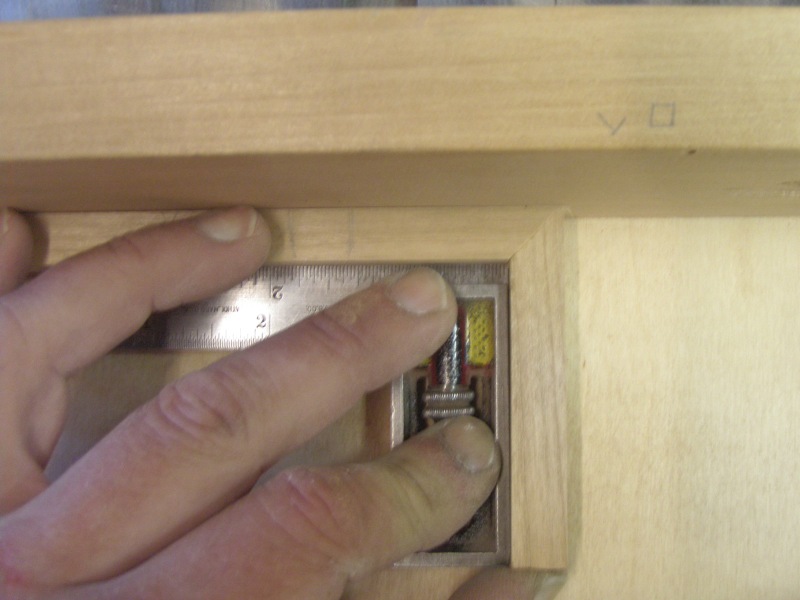
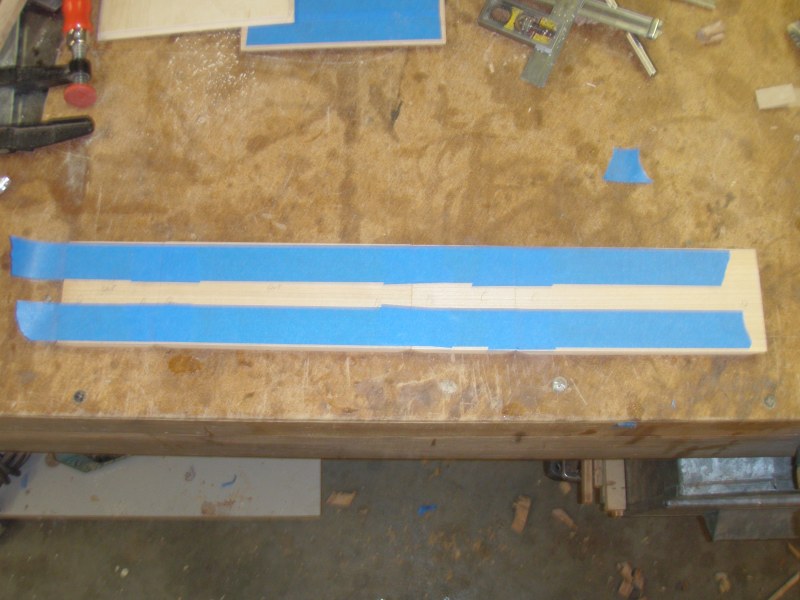
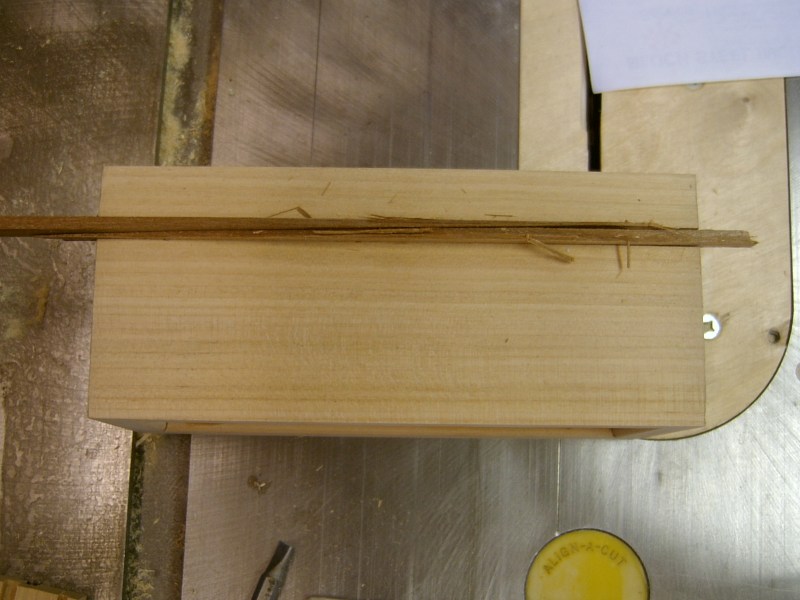
I set up a 1/8" upcut spiral bit to cut a 1/8"
deep groove, 1/8" in from the edges. I usually do all my grooves after
I have cut the sides apart. I do this to avoid tearout like you see on the
right side of the 3/16" groove in the next picture. Not sure why I
decided to route the 3/16" groove beforehand. I measure the length
of the groove. |
 |
I measure the groove on the width sides. |
 |
Then rip the top panel to width. I do the same for the
length.
|
 |
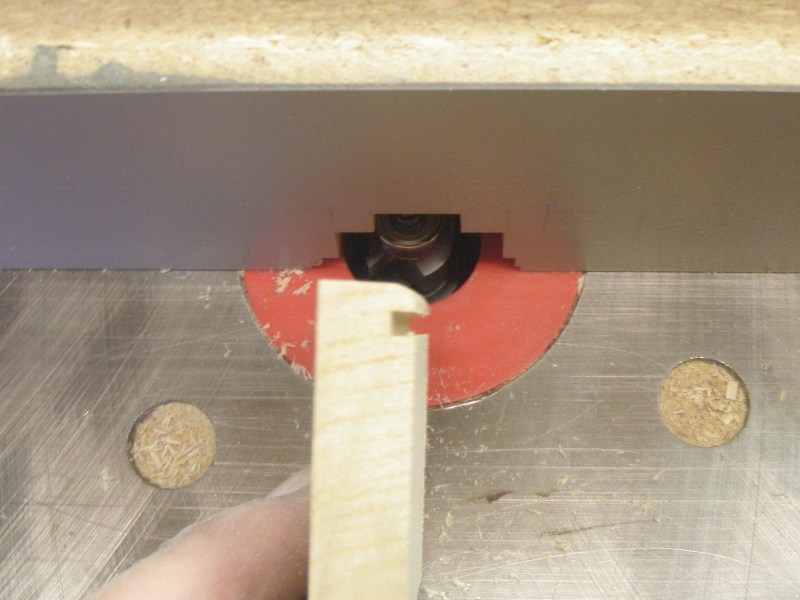
Using a piece of scrap from the top panel, I set the router
to cut a tounge to fit the grooves on the body. I then route the tounge. |
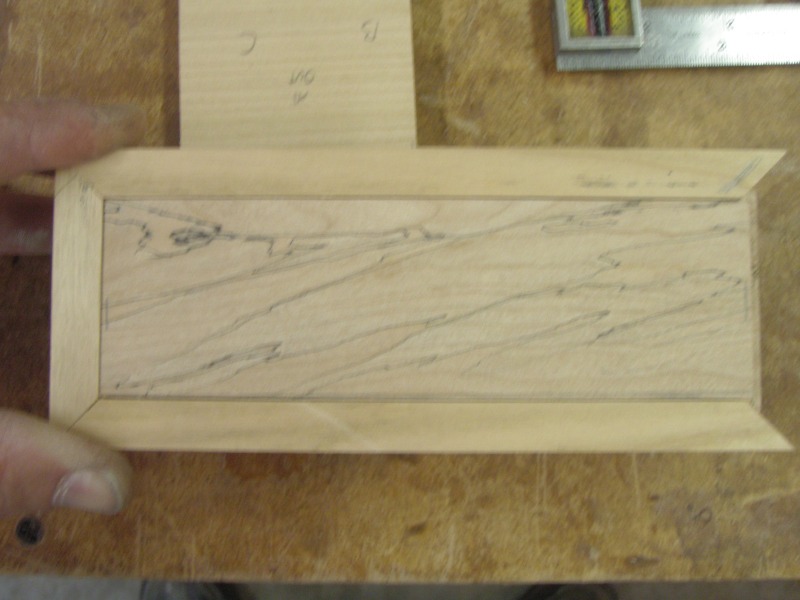 |
Now I pray that the reveal is null and fit into the box.
The width is good but the length needs to be about 1/16" shorter. |
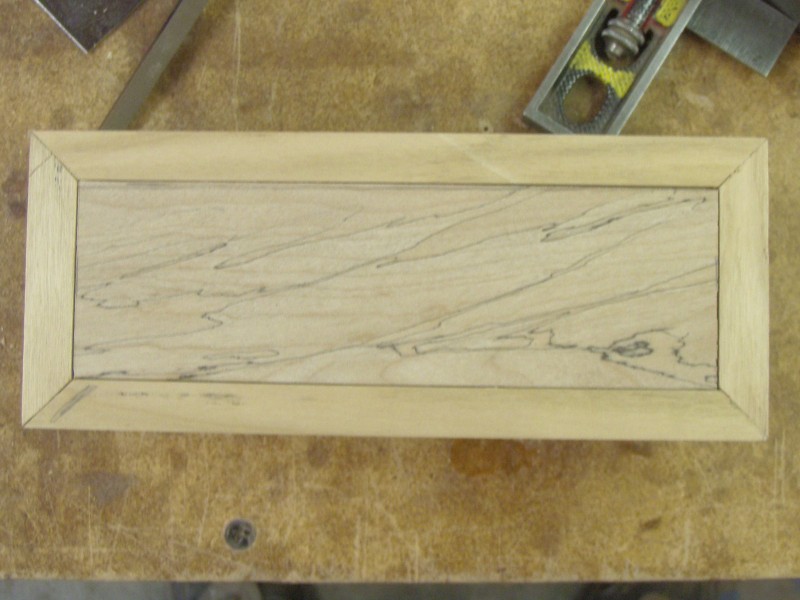 |
Using a square, a marking knife,a chisel, and a handplane,
I trimed the panel to fit. Looks good with about 1/32" reveal. Then
I cut a bottom panel out of 3/16" Birch plywood to match the top panel.
The reveal will be inside and covered by the liner so the reveal is a non-issue. |
 |
One of those small touches that no-one notices but I like
to do is to put a 1/8" radius bit in the router and radius the iside
bottom edges. I think it makes it look more finished. |
 |
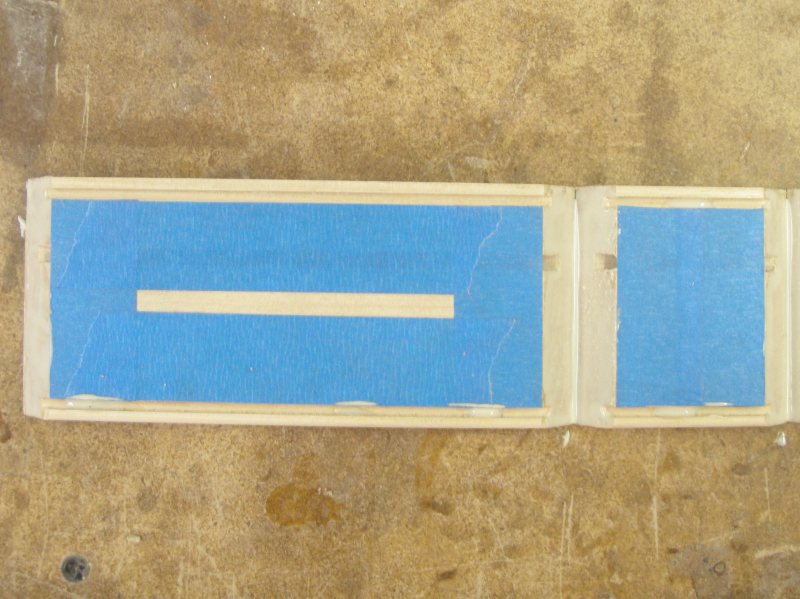
I then sand the inside to 220 and tape for easy cleanup. I don't always
do this, but I almost always wish I had if I don't. |
 |
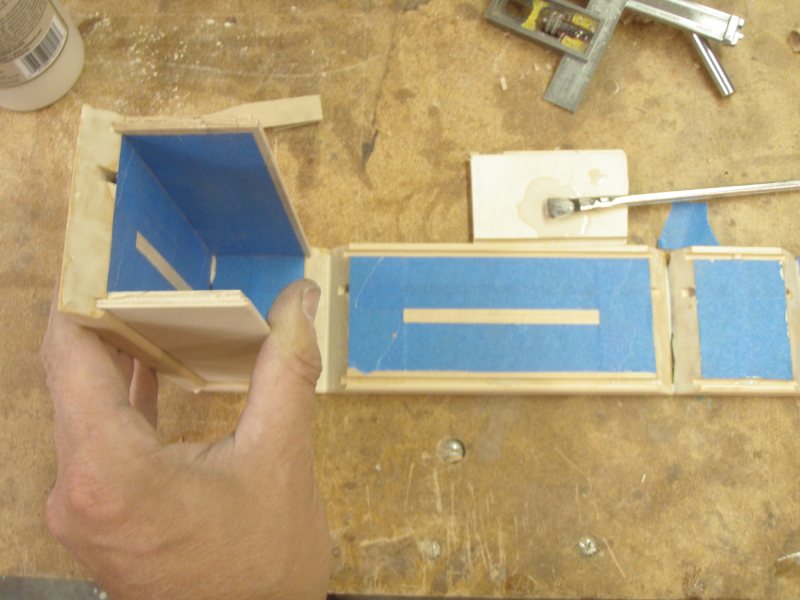
I tape all the sideds together with hte miters touching
tightly. |
 |
I then put a light coat of glue on all the mitered edges,
a few spots in the bottom groove, and a drop in the center of each end piece
in the top groove. This one spot of glue in the top groove holds the panel
centered whil allowing it to expand and contract. I then put a heavier coat
on the miters as the first coat has had time to soak in the end grain. |
 |
I then roll the box up and add a few panic clamps to help
pull the miters in to where they need to be. |
 |
All glued up and ready to dry. |
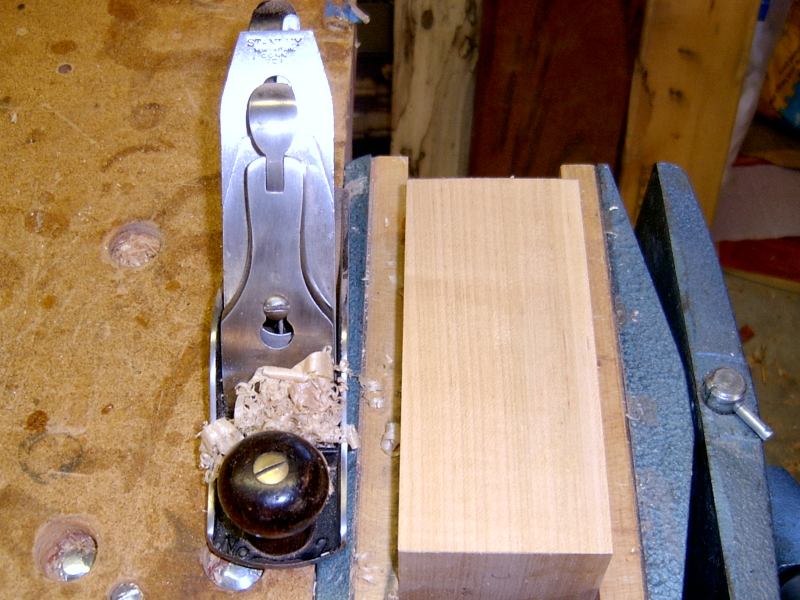 |
After drying, I take my #2 plane and #80 scraper and smooth
the sides to clean up glue squeeze out and make the corner miters look tight.
Although more critical on a lift lid, I am not overly concerned about the
box being dead-on square. People will notice an un-even miter and will never
notice if the box is a little out of square. |
 |
|
 |
|
 |
I use my low angle #60 plane to smooth out the top. Then
to the sanding board to flatten the bottom. |
 |
Now I use the set-up scrap I used to set up the inside
cut to do the same for the outside cut. |
 |
I set the bit height so it is just above the the other
groove and protrudes just a hair into it. |
 |
I make a test cut. It looks good so I pray and then
procede to cut the lid off the box. |
 |
Before making the last cut, I insert some scrap to help
prevent the box from closing up while cutting. |
 |
You can see here I was about a sixteenth off on the cut, but no worries. |
 |
I remove the tape and cleean up the glue squeeze out. |
 |
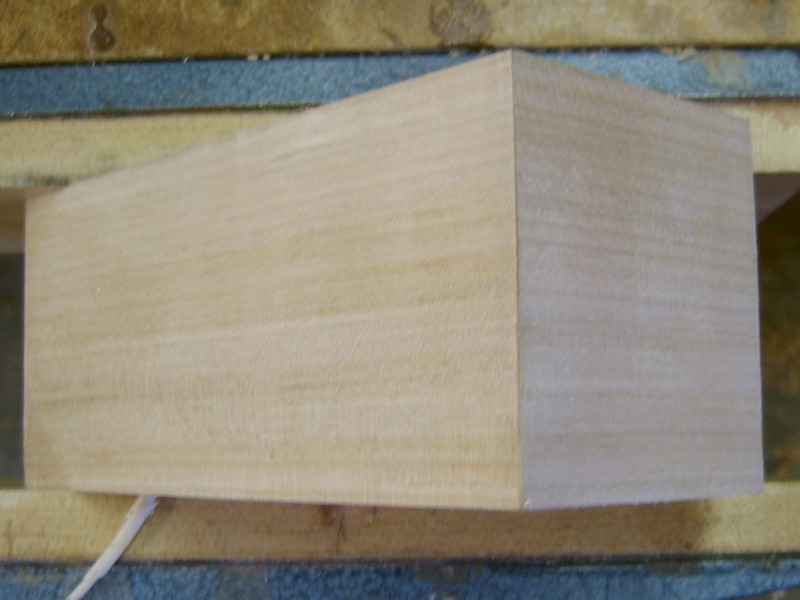
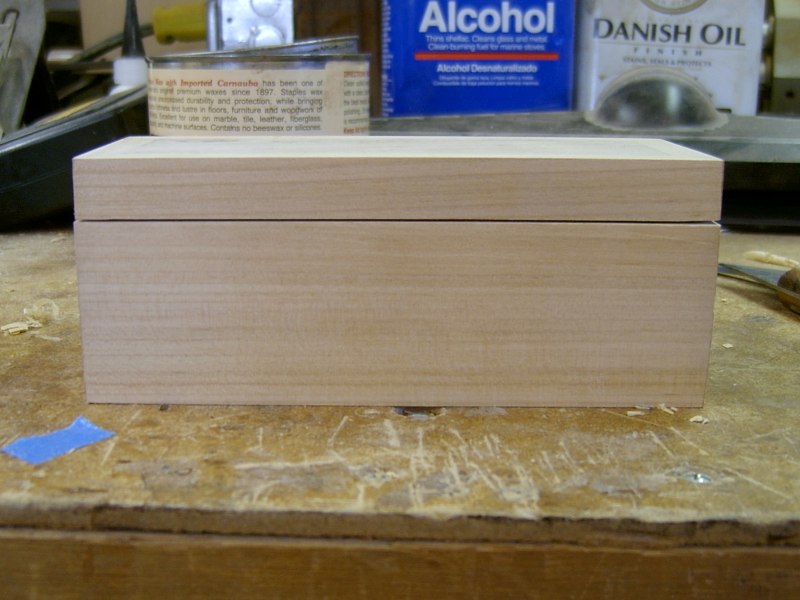
I try a test fit and it looks good one way.... |
 |
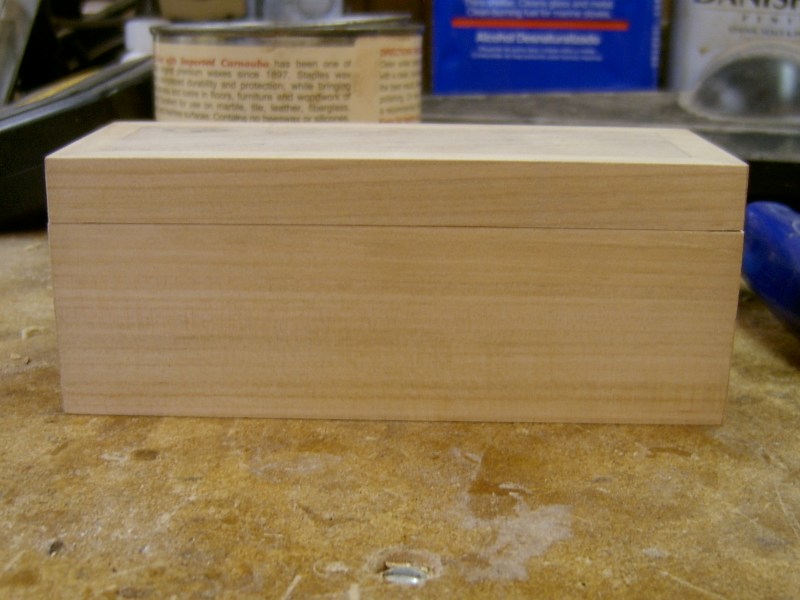
..but not so good the other way when the lid is spun around.
I am going to play with it a bit and see if I can fix that. |
 |
After a little sanding and scraping with a chisel, the
lid fits nicely both ways. |
 |
|
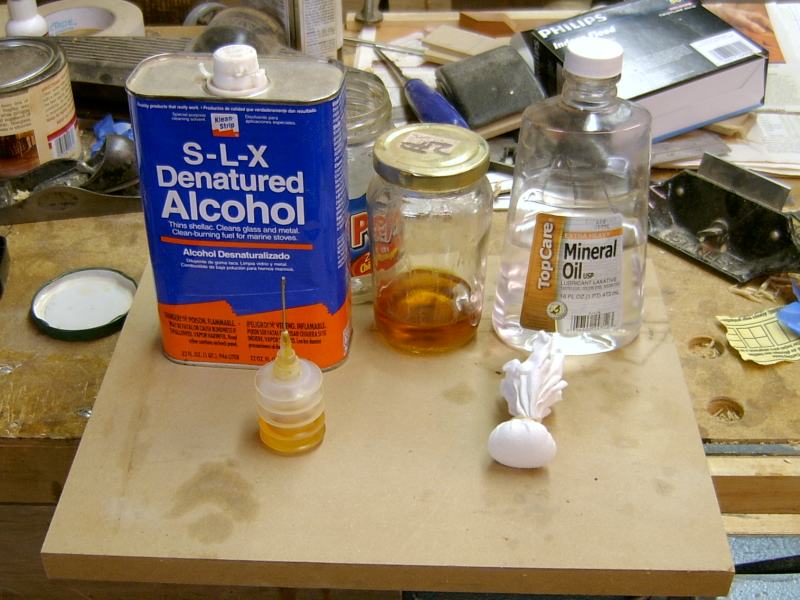 |
I get out my French polishing supplies. I also have some
Pumice and rotten stone I use to do a final rub out if the polishing isn't
quite like I want. I am not going into the French polishing proccess this
time. |
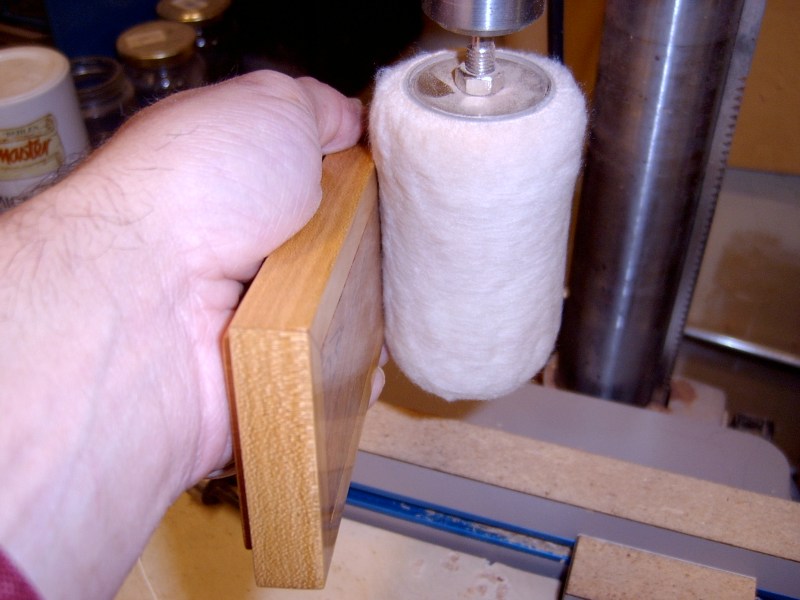 |
I waxed the box with Caranuba wax using a white Scotch-brite
pad as I wanted a satin finish. I then buffed it out using a 3/8" nap
paint roller on the drill press. |
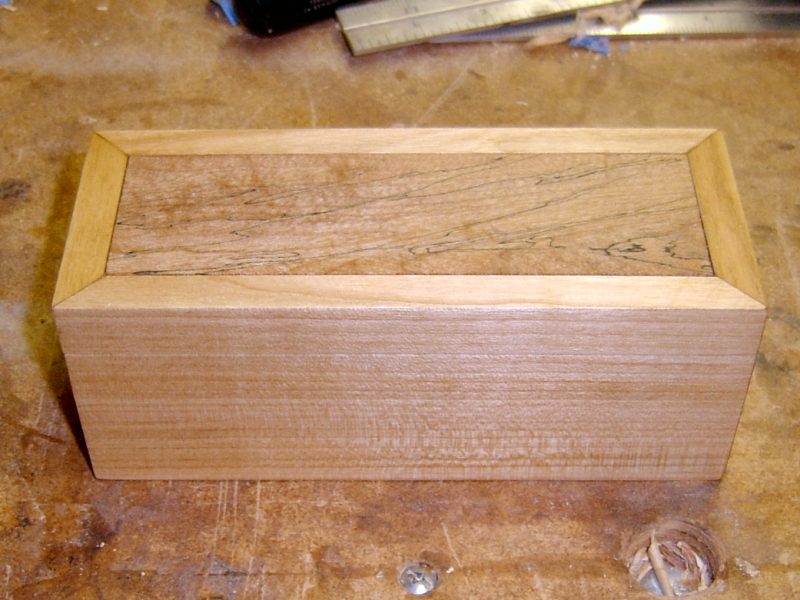 |
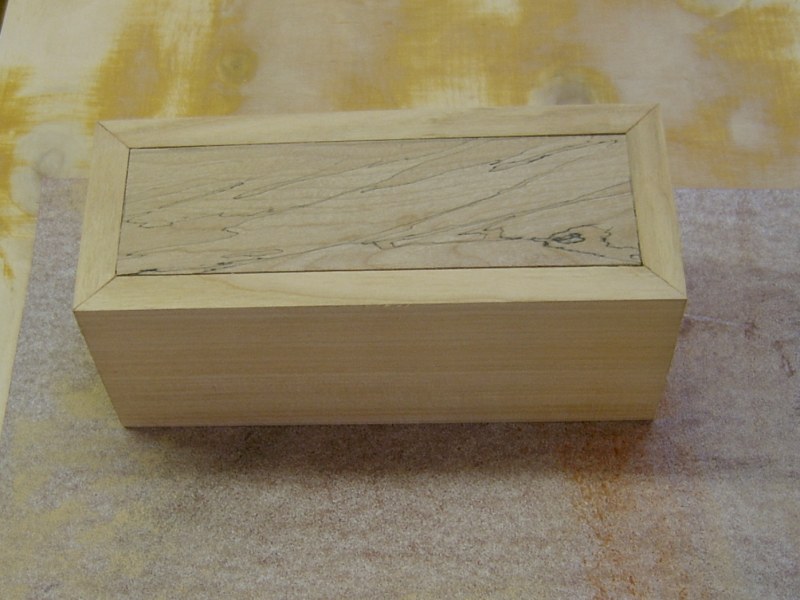
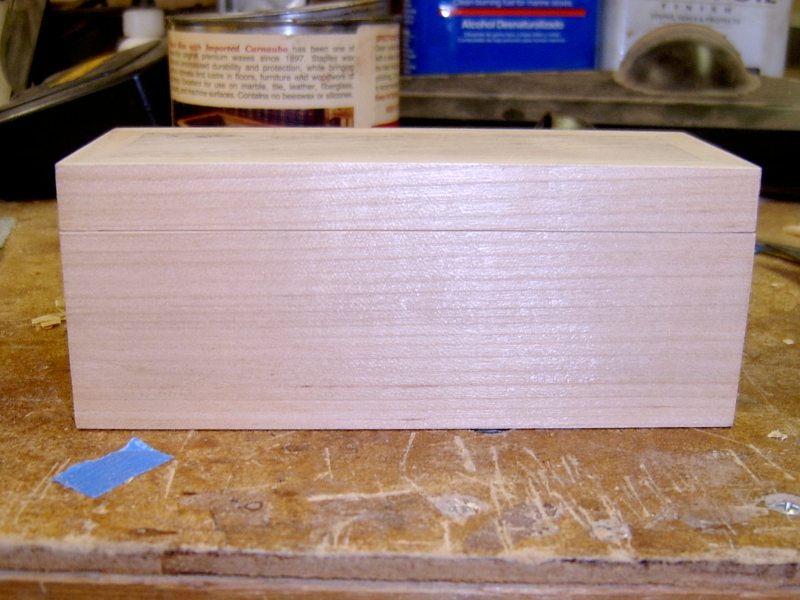
Here it is with the final finish on it and all buffed out. |
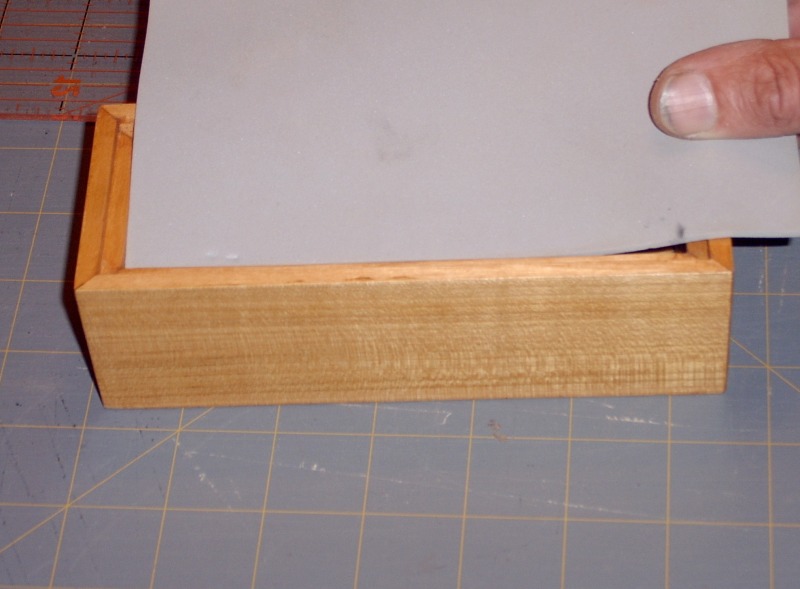 |
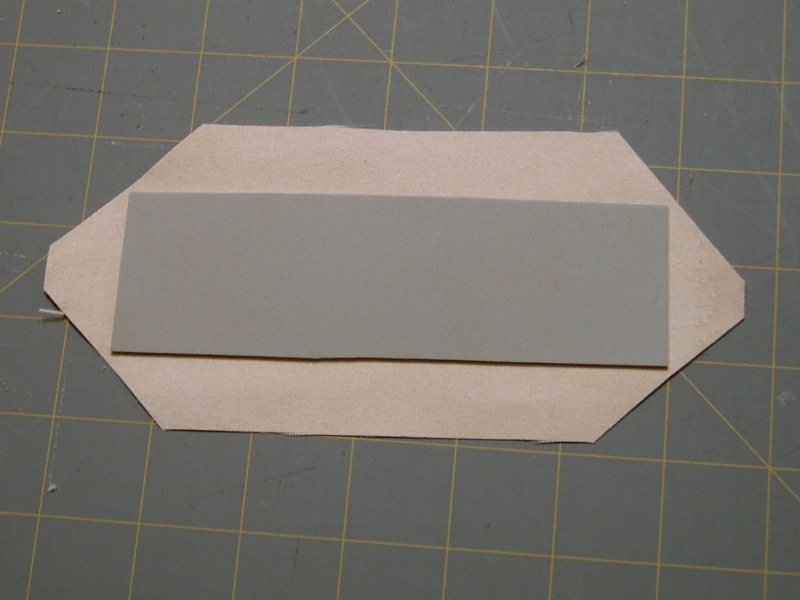
I use 3mm craft foam wrapped in fabric to line my boxes.
First I use the box to rough measure the size of foam needed. |
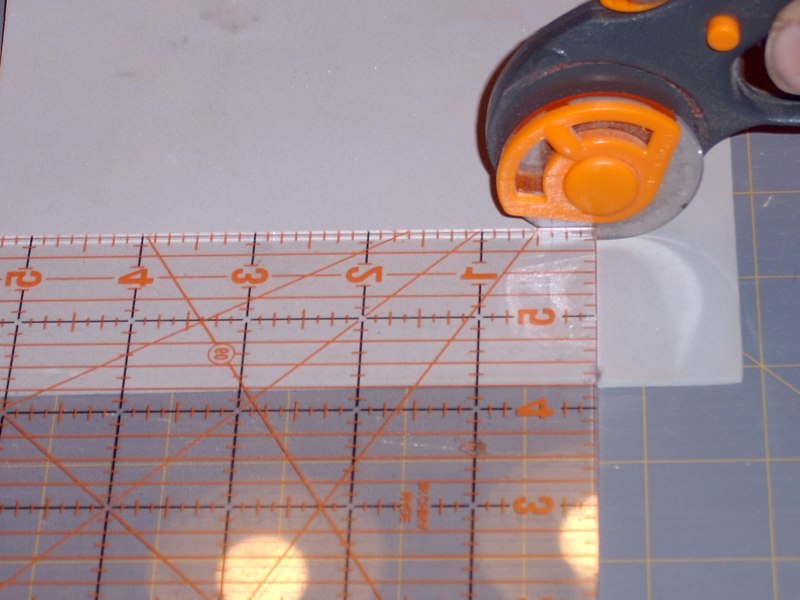 |
I cut the foam and try the fit in the box. I want it a
bit smaller for clearance of the fabric thickness. I trim it a little at
a time until the fit is good. A perfect fit is not an issue. |
 |
|
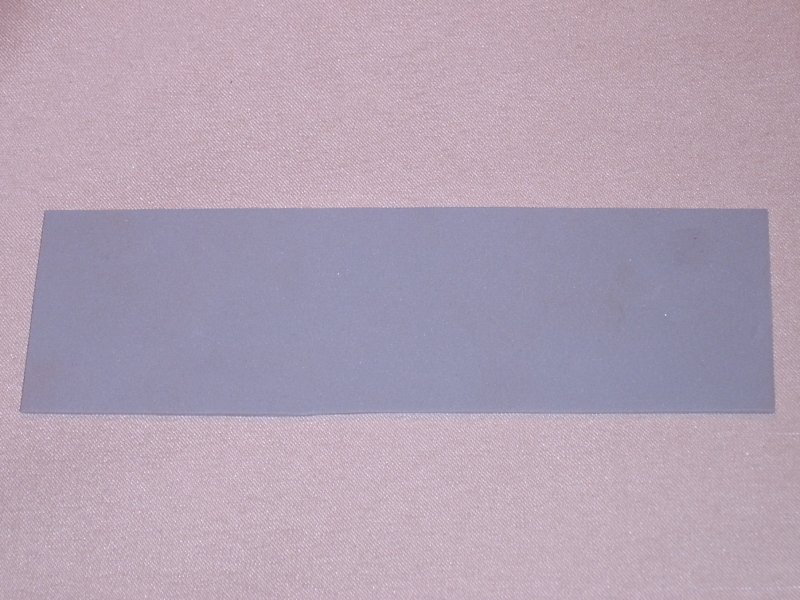 |
I spray glue on the foam and place it on the fabric. I
then flip it over and smooth out and wrinkles. |
 |
I rough cut the the fabric over sized from the main fabric
piece then trim to final width/depth. I usually cut 3/4" bigger than
the foam. I then cut the corners off at 45 degrees. I cut about 1/16"
away from the corners so the fabric covers the corners when glued. |
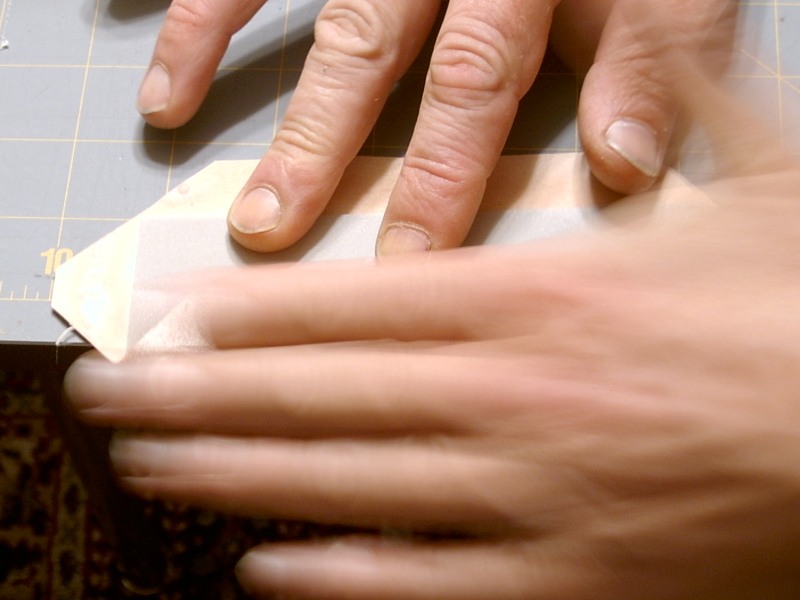 |
I spray the back with glue. Then I overhang
the piece and run my finger back and forth along the edge, rolling the fabric
over. This makes for a tight fit. |
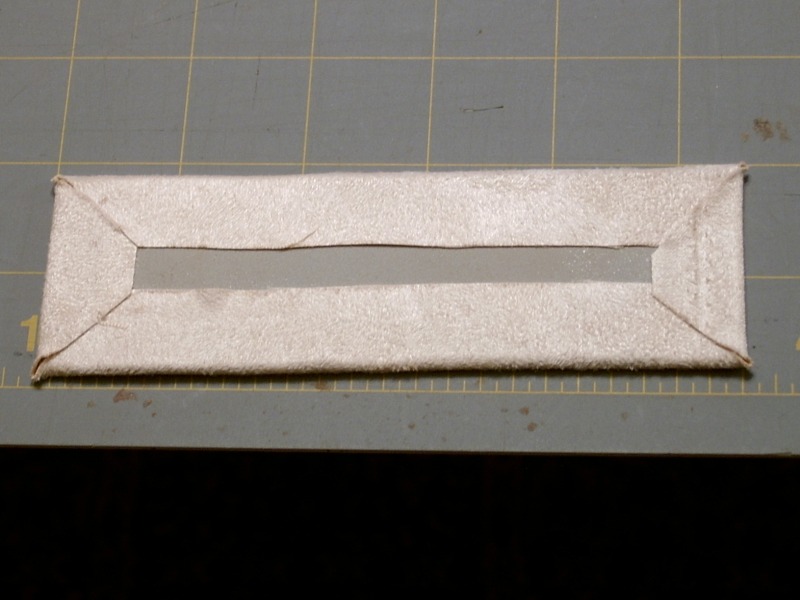 |
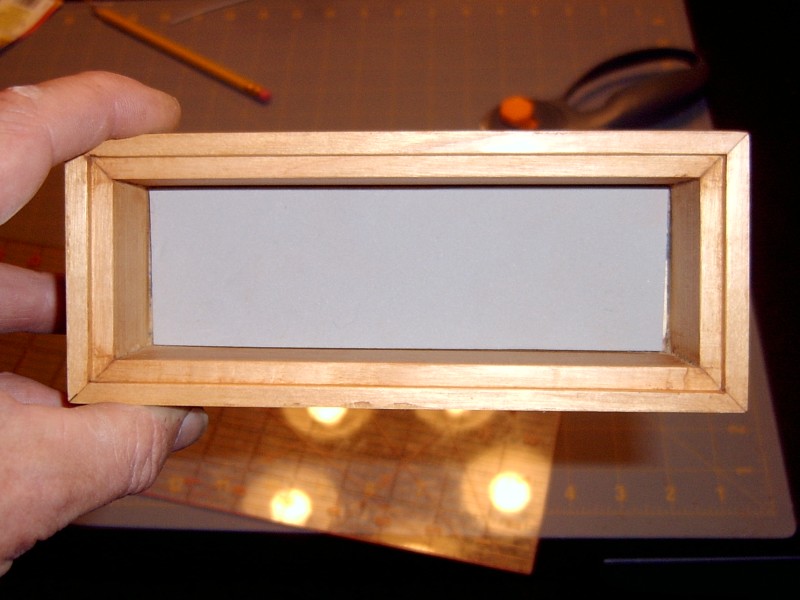
Liner is ready to insert in the box. |
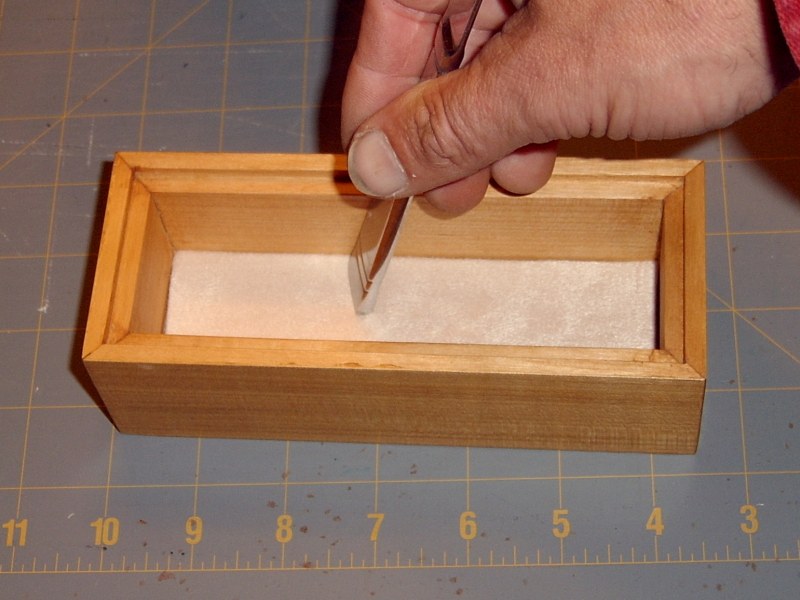 |
I do a trial fit then spray the piece with glue. Using
a butter knife, I push the foam flat out to the sides. |
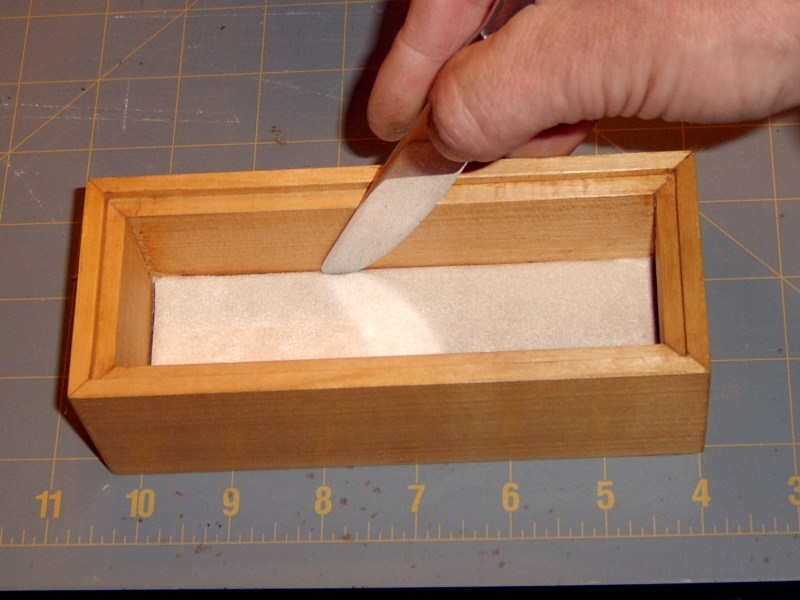 |
Then I tuck the edges in. |
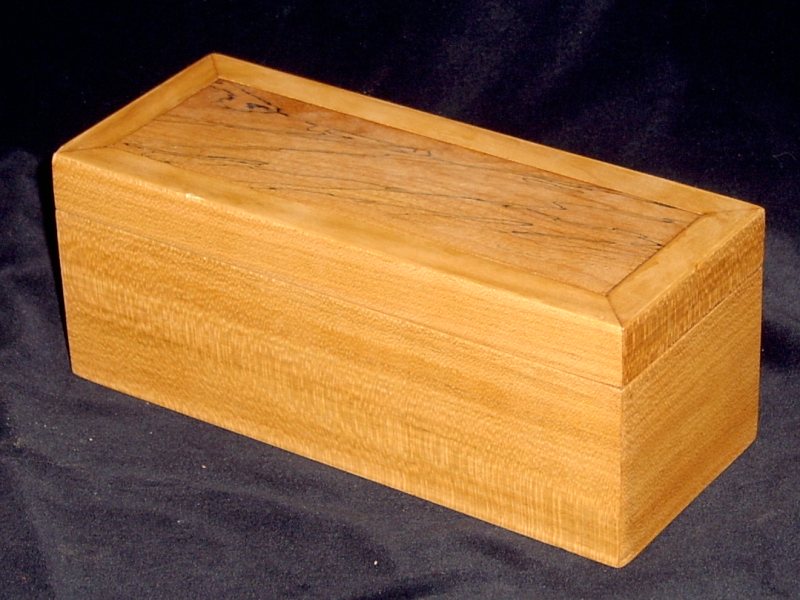 |
Full view of finished box. |
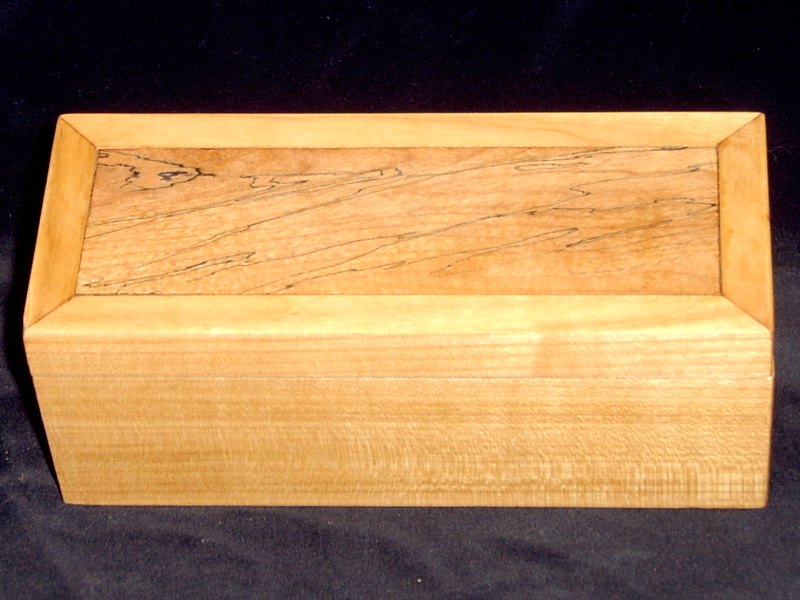 |
Top view of finished box. |
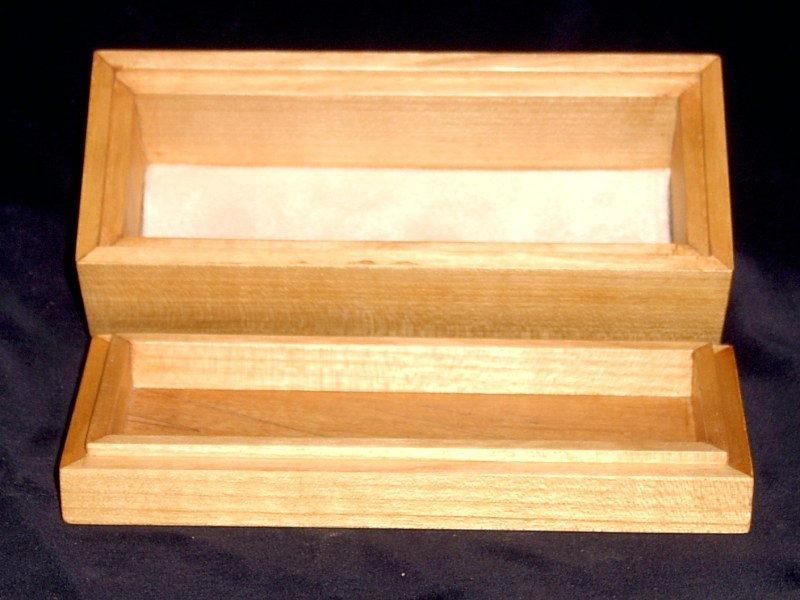 |
Open view of finished box |