
Fine Wooden Keepsake Boxes
Making Laminated Miter Key Stock
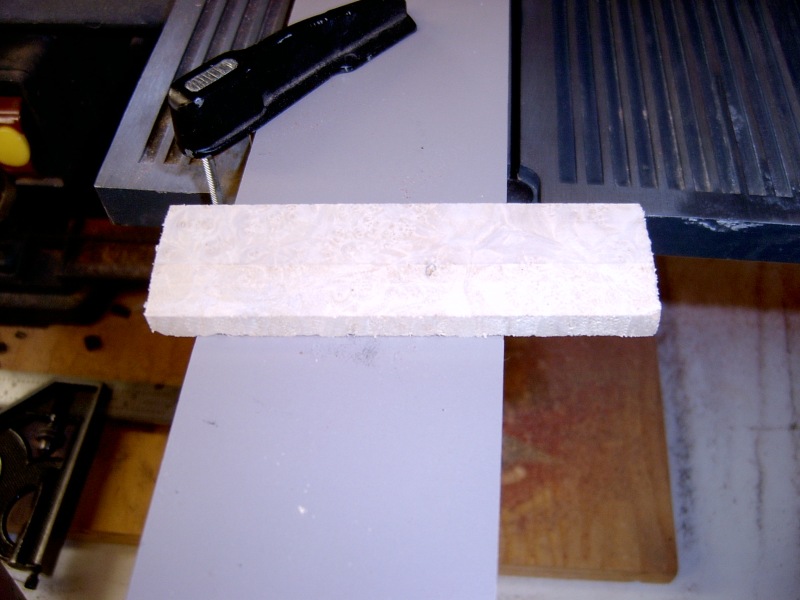 |
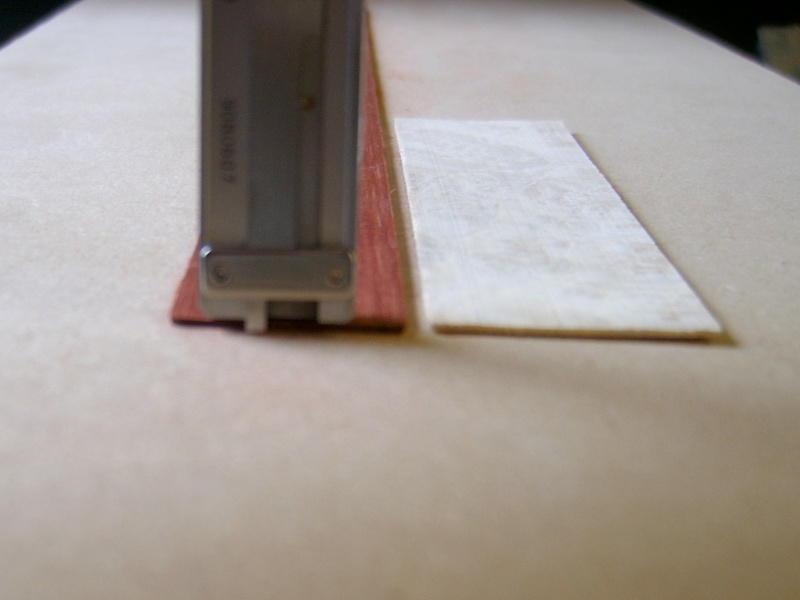
Here is the way I make laminated key stock. First I find the woods I am going to use. In this tutorial, I am using Bloodwood and Box Elder burl. Note that I already had a piece of Bloodwood cut from stock. Here is a piece of Box Elder scrap I had. |
 |
I flatten one side. This needs to be done after every cut
so you always have one smooth side on the usable piece. |
 |
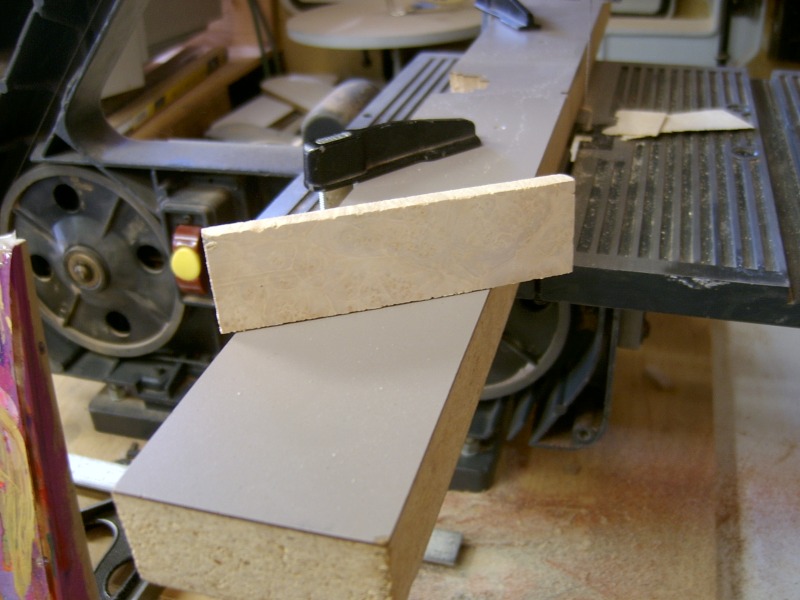
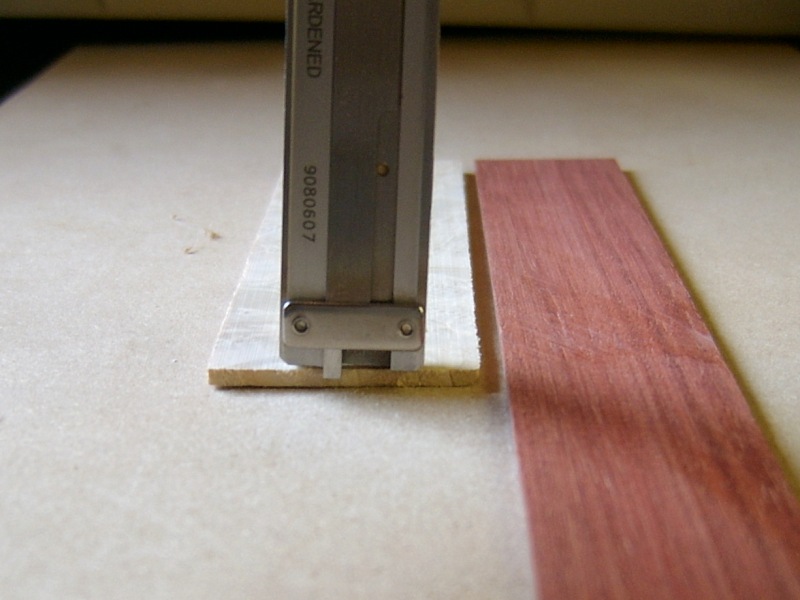
I then rip a piece off that is a minimum thickness of 1/6". Thicker is ok as this will be thickness later. |
 |
I put a piece of turner’s double back tape at the end of each piece on the smooth side. |
 |
I then stick them to a piece of MDF. |
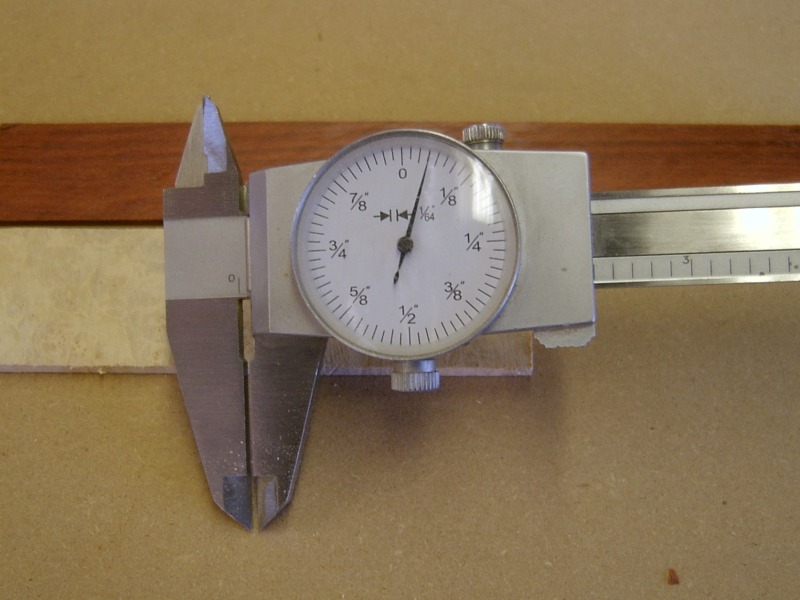 |
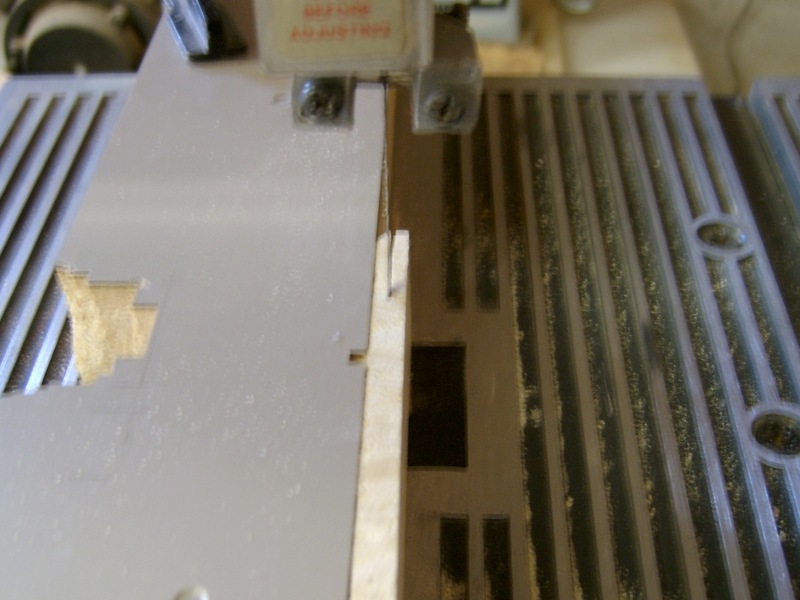
For a 1/8" thick laminate, I set my calipers to 3/64". This will make the laminate just over 1/8" thick. |
 |
Here I show that it needs to thinned down a bit. I do this with a drum sander. I find a hand-plane is tough for me to use on this thin of material. |
 |
After many light passes, I have my final thickness. |
 |
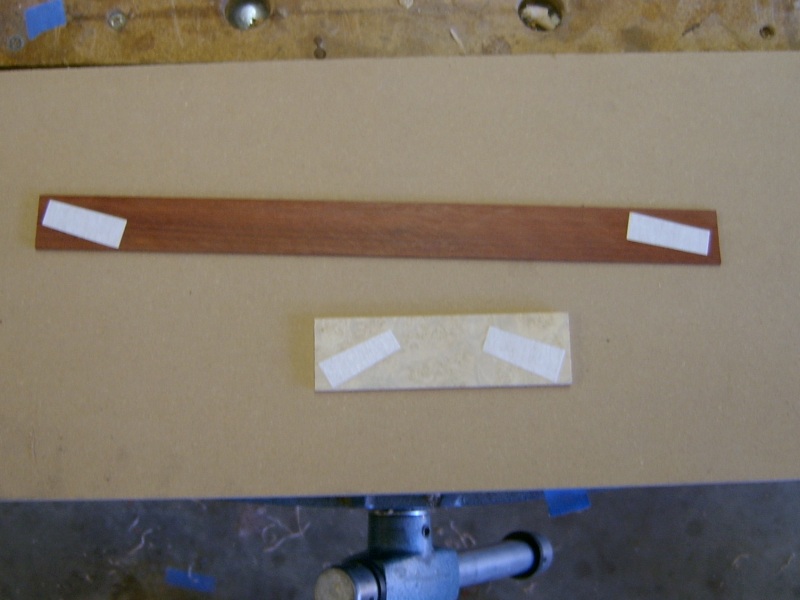
I cut the pieces to roughly the same length. |
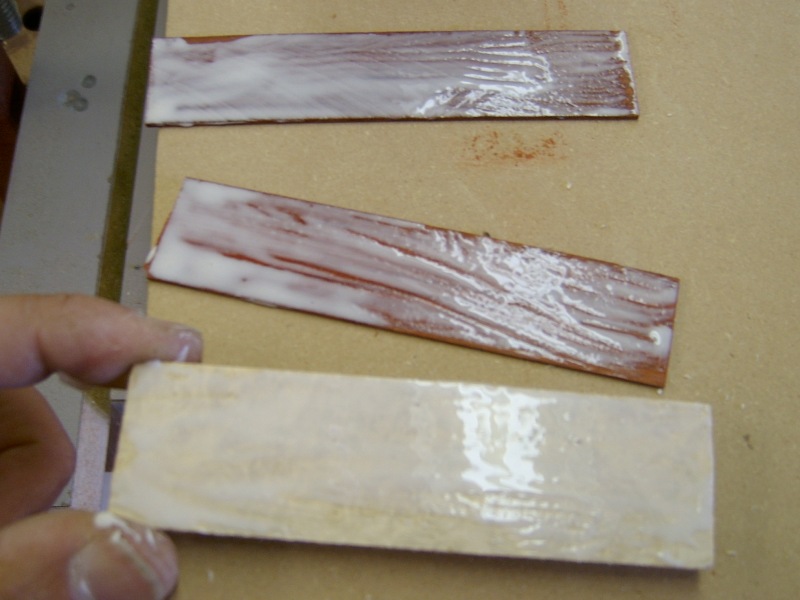 |
I spread glue on one side of the outer pieces and both sides of the inner piece. |
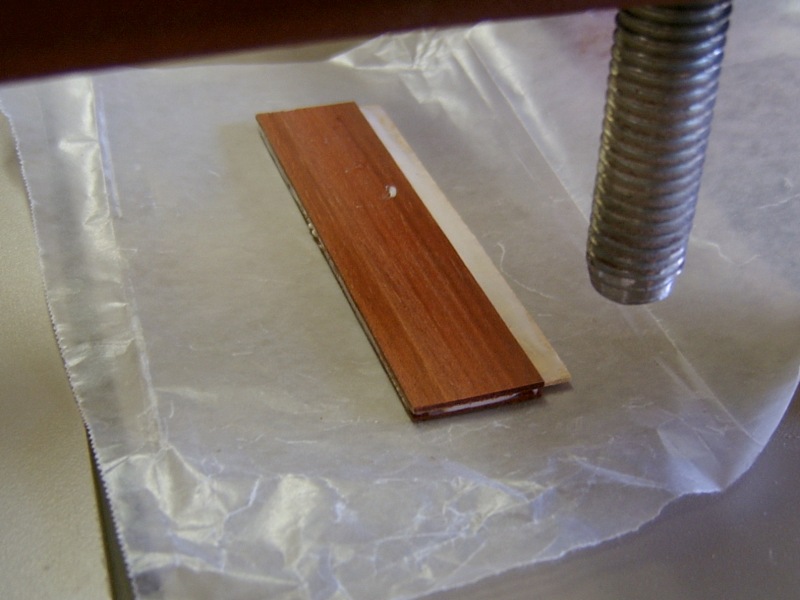 |
I stick them together and lay them on some waxed paper. |
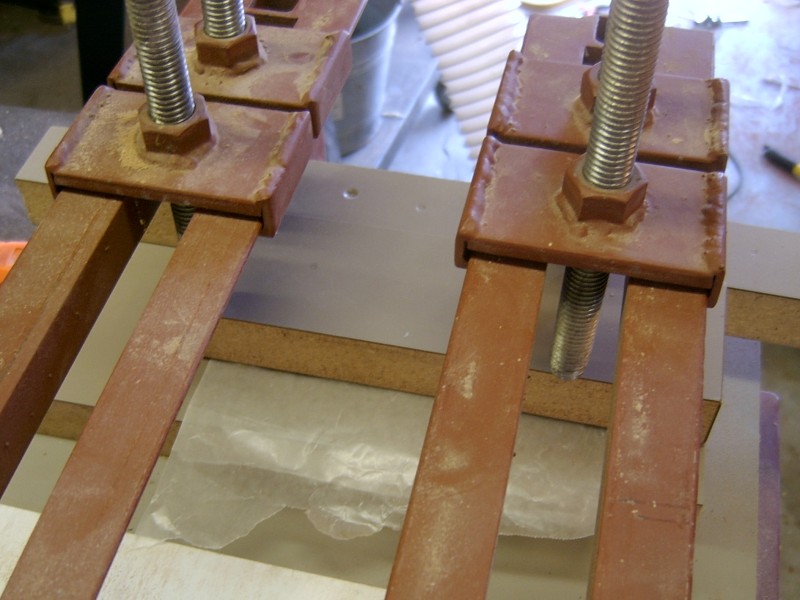 |
And put them in my veneer press. Clamping the laminate between a couple of boards will work as well. |
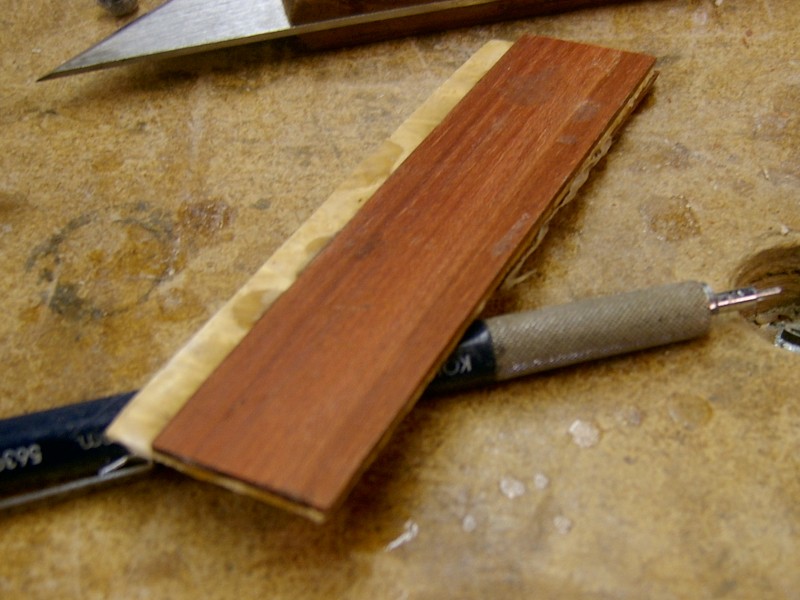 |
Here is the rough laminate after coming out of the press. |
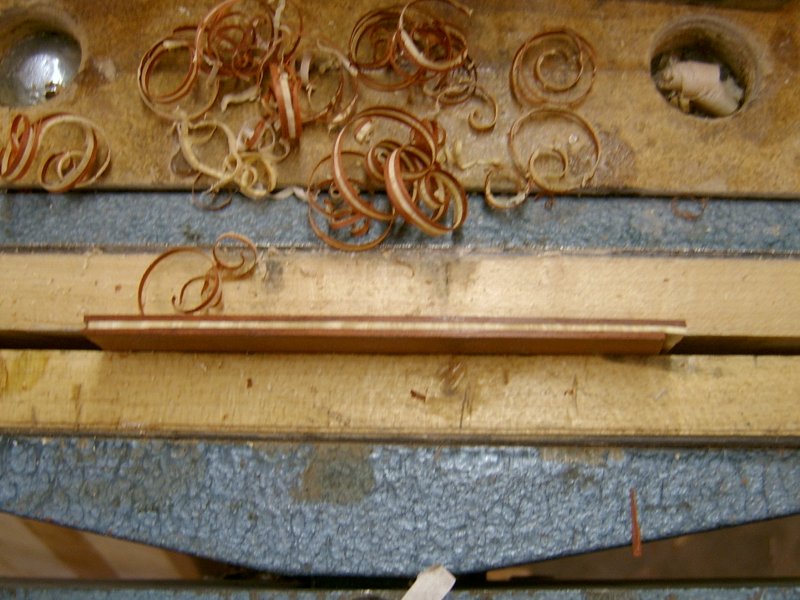 |
I then cut off the extra and plane the edge straight. I
will rip this to the width I need to make the keys and cut triangles off
to be inserted into the grooves on the box. |