 |
First, I want to say I have done this joint a total of
two times for box lids before doing this tutorial so I am no expert on it
by any stretch of the imagination. Please keep this in mind. Also, for those
of you who want to know about the tenioning jig I use, it is the one from
Doug Stowes book and it really works well. Now having said that, let's start
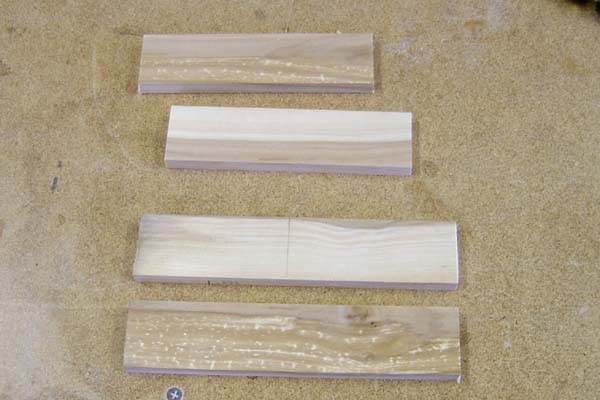
with some stock. For this joint, I am using some scrap that is 3/8"
thick and ripped to 1 3/8" wide. Always cut some extra pieces for set-up
purposes. |
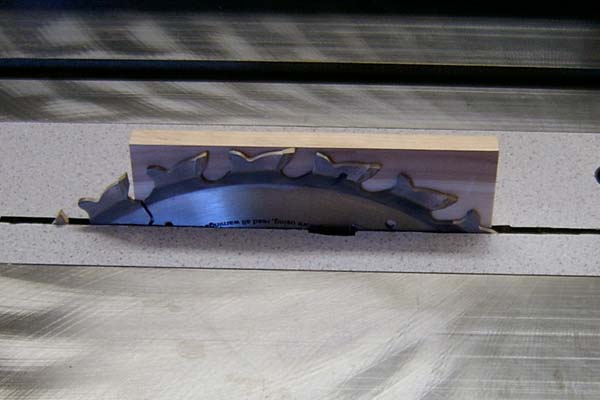 |
Set your table saw blade to the width of the stiles/rails.
For a standard bridle joint, set the saw a bit higher to leave some cleanup.
For a mitered joint, I think it is easier to get the 45* cut right on if
the saw is set dead on. |
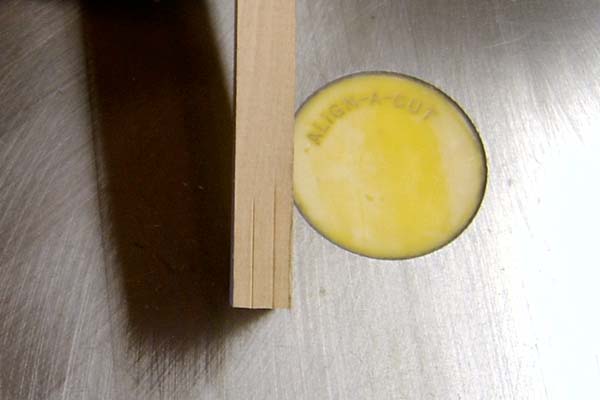 |
Divide one of the scrap pieces into thirds. |
 |
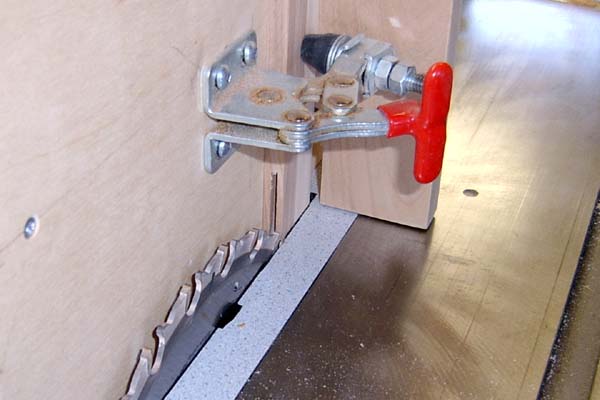
Put the piece in your tenioning jig and set the fence so
the blade is centered between the marks. If your center groove is wider
that your saw blade, set the blade to cut on the inside of the outer line.
That way, you can turn the piece around 180* and cut the other side out
and have the cut centered exactly. |
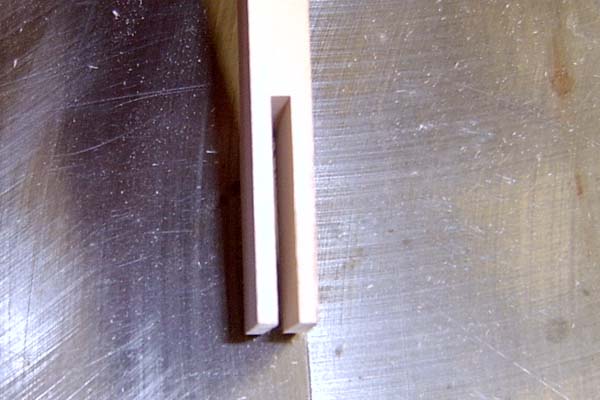 |
Cut the groove on one end and check to see if it is centered.
If not, either turn the piece around 180* and run it through the saw again
or reset the fence and try it on the other end. Once centered, cut a groove
on both ends of your rails. |
 |
Now, using your just cut rail, set the fence so your blade
will remove just a little under the thickness of the finger on the rail.
I like to cut just under and sneak up on the right thickness rather than
have it to loose to start with. |
 |
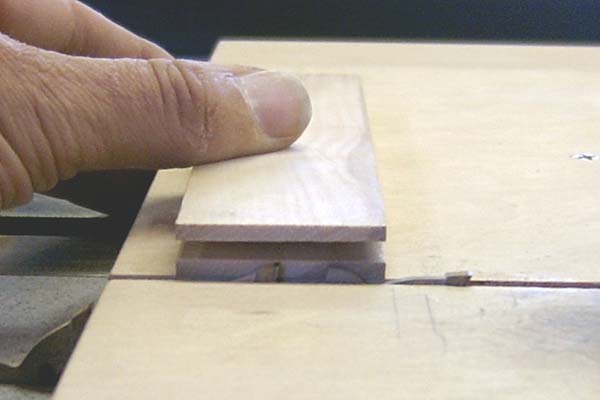
Take another piece of scrap and cut both sides. Then see
if it fits. This is just a bit to thick still, so I move the fence a touch
and try again. I repeat the proccess until I get a snug, but not tight,
fit. |
 |
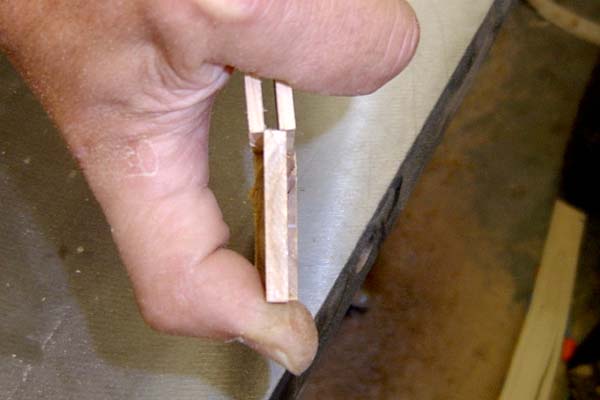
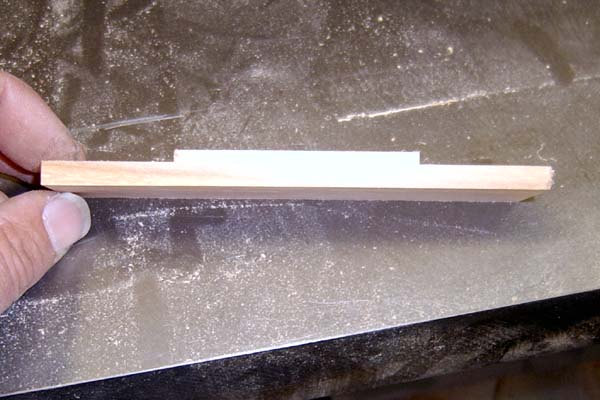
A view if the test pieces. They are square and fit tight. |
 |
An end view of them. Looks like a bit of clean up and they
will be good. If you were going for a standar Bridle joint, now is the time
to cut the end of your stiles and your joint would be complete. |
 |
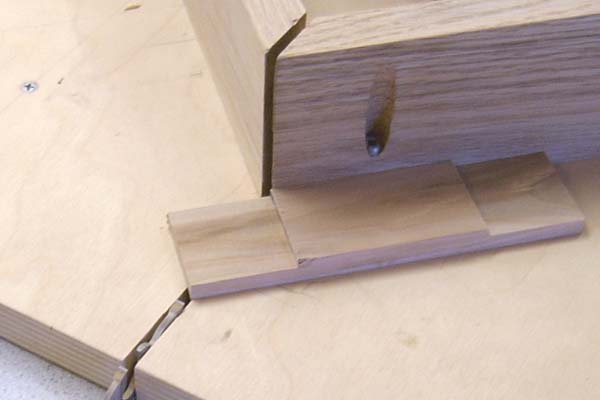
If you are going for the mitered Bridle joint, just cut
the inside of the stiles only. |
 |
Now I grab my 45* sled and set the table saw blade height
to the thickness of the finger on the rail. I then cut the outside finger
off at 45*. Accuracy is crucial! If you don't take enough off, the stile
and rail will not come together on the bottom of the joint. This is no problem
to fix. Just take a little more off the 45*. However, if you make the cut
to far into the piece, the bottom of the pieces will not come together and
is much more difficult to fix. While making the cut, I watch to see if the
saw blade is set to high or not. In this case I saw it was by maybe 1/64".
I lowered the blade a touch before I cut the 45* on the stiles. Again, I
feel it is easier to remove a little wood rather than have the pieces fit
to loosely together. |
 |
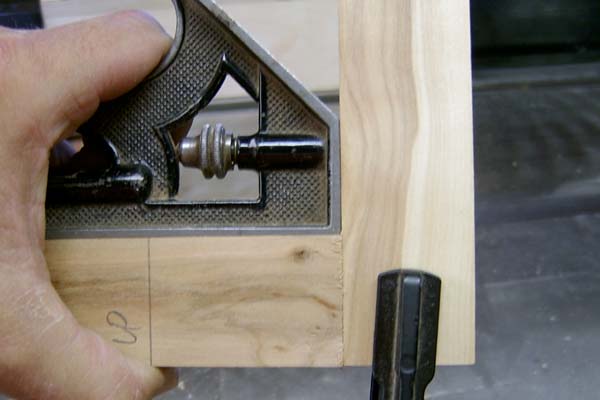
I now start to remove the wood on the stiles. I start from
the inside corner and work my way out making repeated cuts to remove all
the wood. |
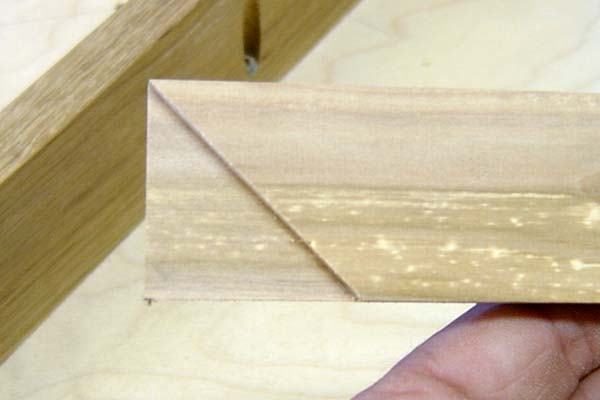 |
A top view of the mitered cut. |
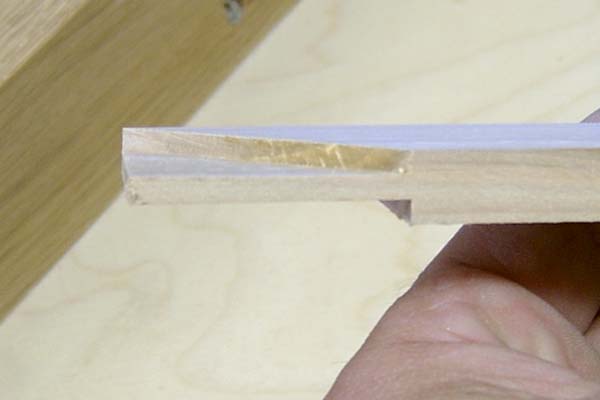 |
And a side view of the same piece. |
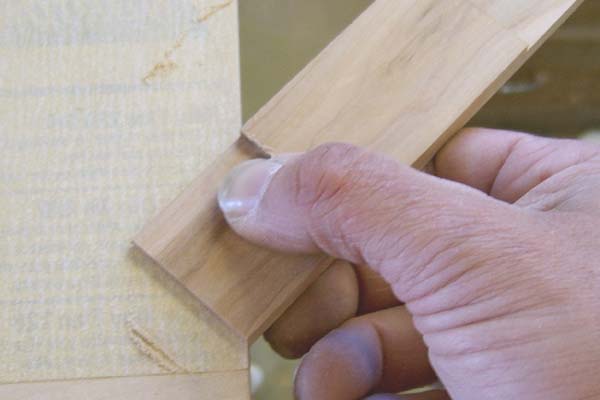 |
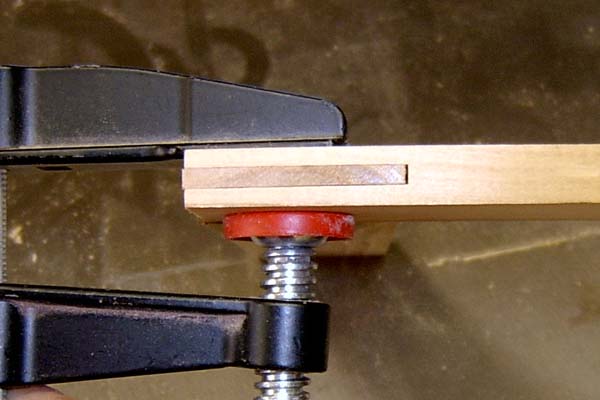
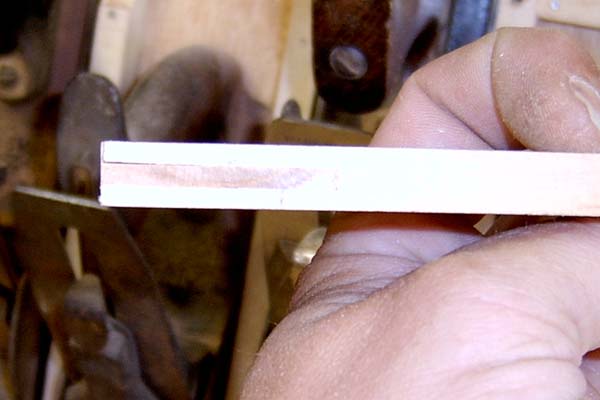
The fit was a bit to tight so I take the piece to my sanding
board and sand it until I get the fit just snug. I would use a plane to
do this but I am still not good enough in the use of my rabbett plane yet. |
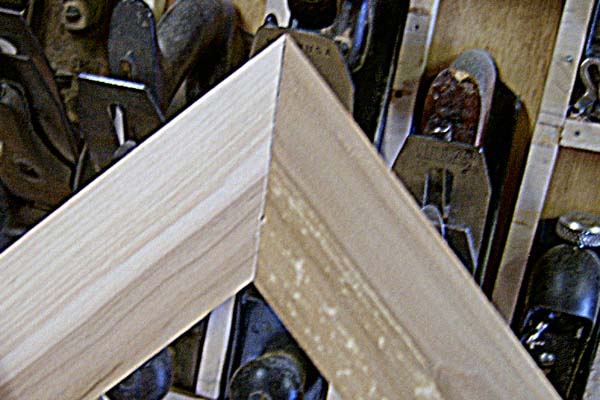 |
And here it is! This is the completed joint. Well not quite
completed. It needs to be worked a bit as there is a bit of a twist to it.
The inside corner on one piece is a bit higher than the other. But when
pulled together tight and square. the miter closes up very nicely. |
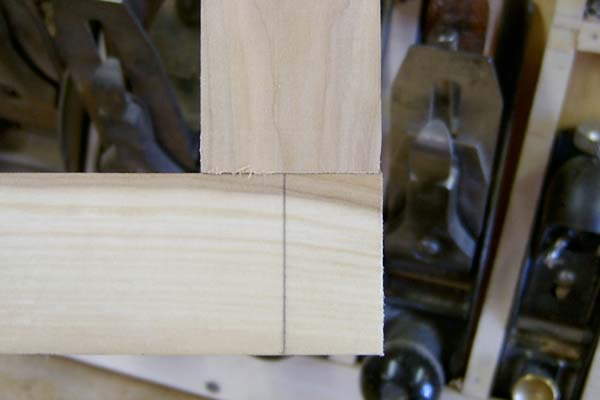 |
Here is the underside of the joint. A bit of clean-up and
it will be good. |
 |
And last is the side view. I hope this tutorial helps answer
any questions on how I make this joint. |