
Fine Wooden Keepsake Boxes
Pallet to Box...a beginners guide.
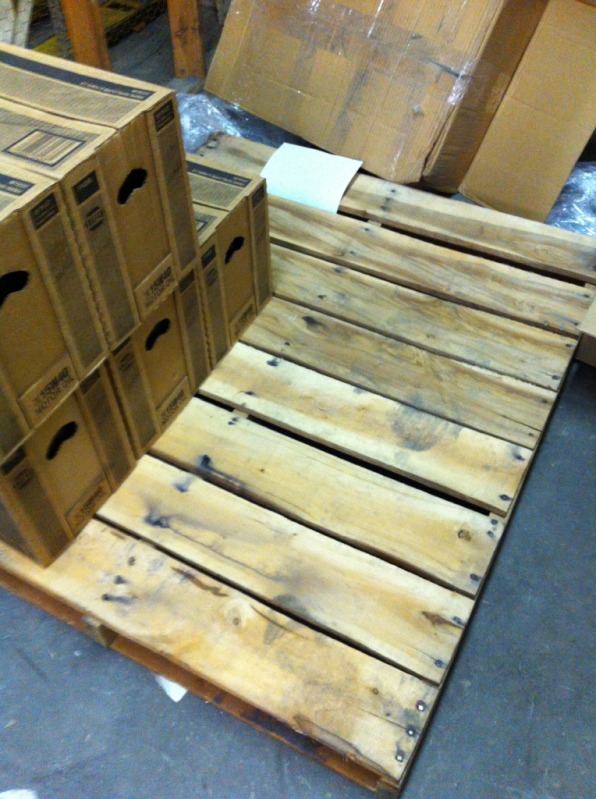 |
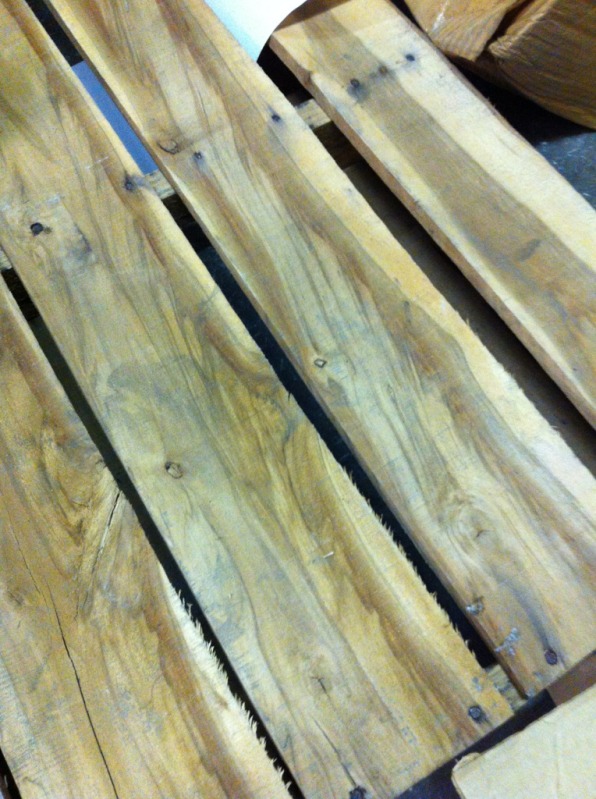
If we're gonna use a pallet.........we have to find one first. I get freight every night on pallets, and out of 50 that come through, there might be 2 that I think are worth bringing home. Even this one had only four pretty boards, the others were kinda plain. I liked the grain on those four though, so I threw it in the back of the truck. |
 |
|
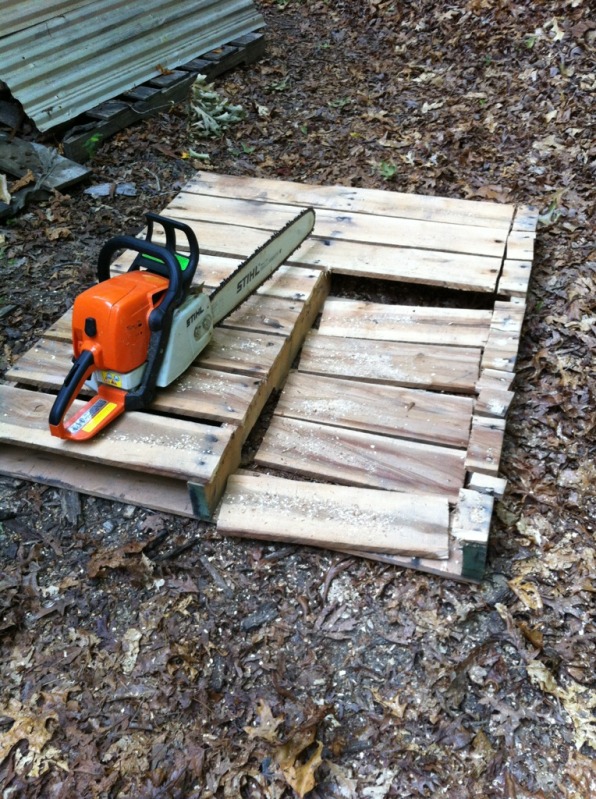 |
I don't mess with the runners on the pallet....the spiral nails they use are just too dang much trouble to mess with. I take the easy way out...and the Stihl makes short work of disassembly. Just watch out for the nails, don't want to mess up my chain. |
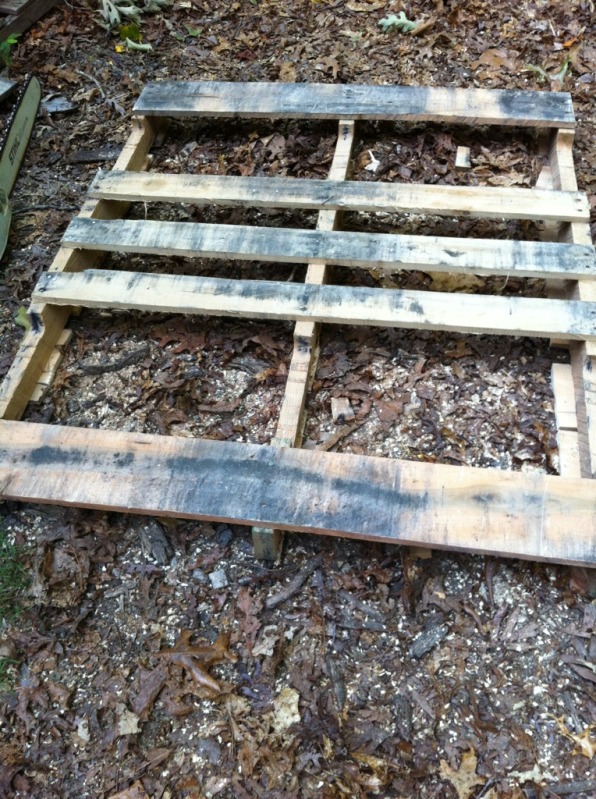 |
Here, I've flipped the pallet over so you can see the underside. All that ground in, warehouse dirt is killer on my tool blades, so I don't use them. They'll be relegated to the kindling pile. |
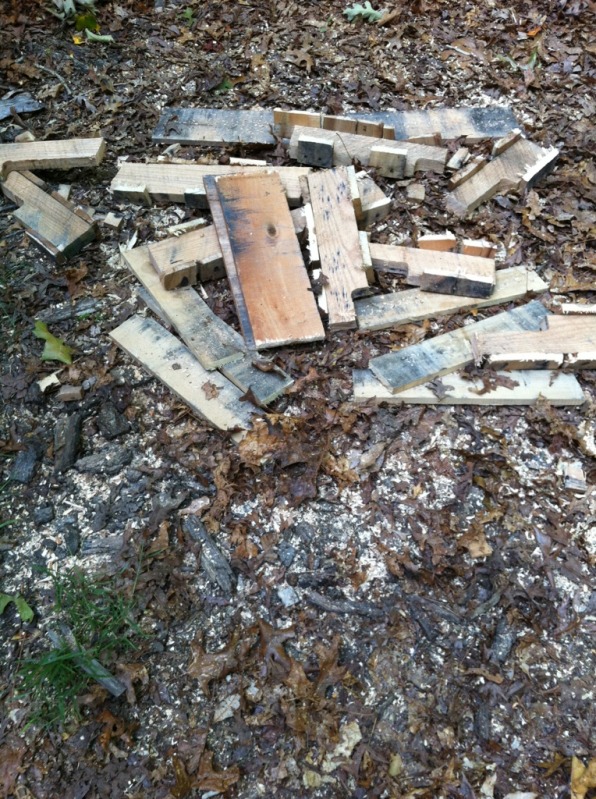 |
Here's what's left after salvaging what I want out of it. I burn wood every winter, and will use this kind of stuff to get the fire going before I chunk split wood on. |
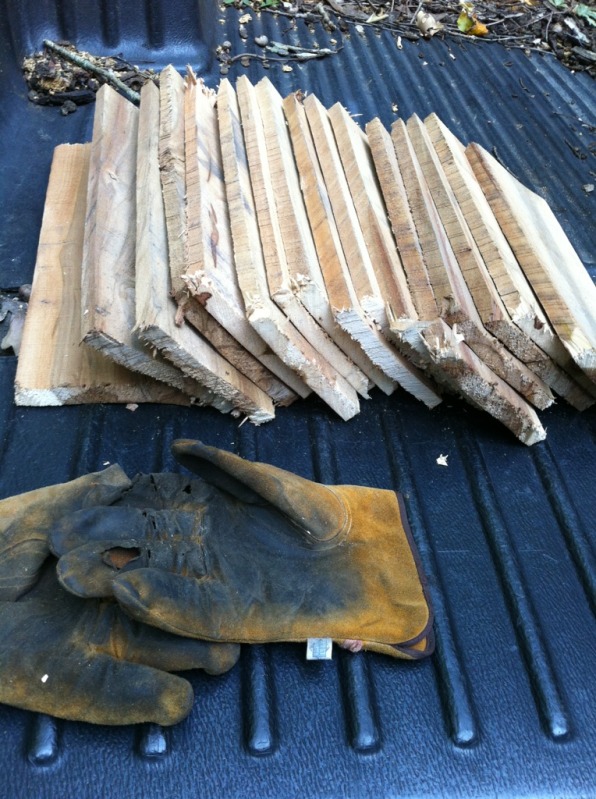 |
This is what I ended up taking to the shop for further processing. I think I'm gonna need some new gloves before firewood season Re-sawing the board. |
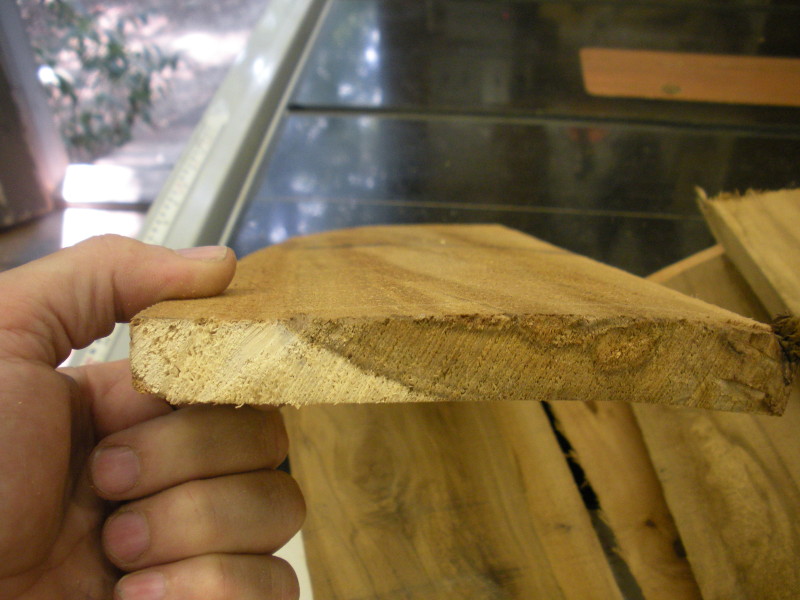 |
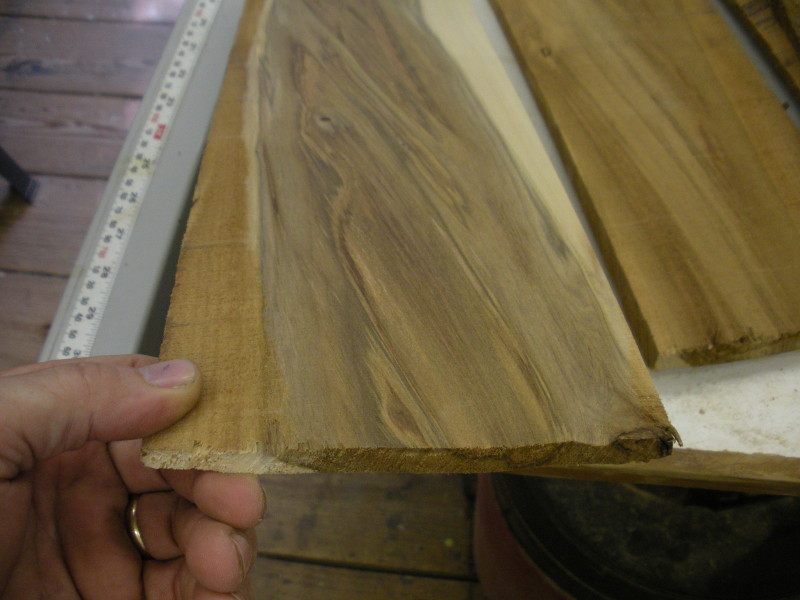
As you can see....pallets don't make the best wood source, but they're cheap, so I deal with it. They don't take time to dry pallet wood, so you get a lot of twisting, warping and checking to deal with. You can see the hook on the right side of this picture. This'll be pretty thin once the twist is machined out, but we can handle it. |
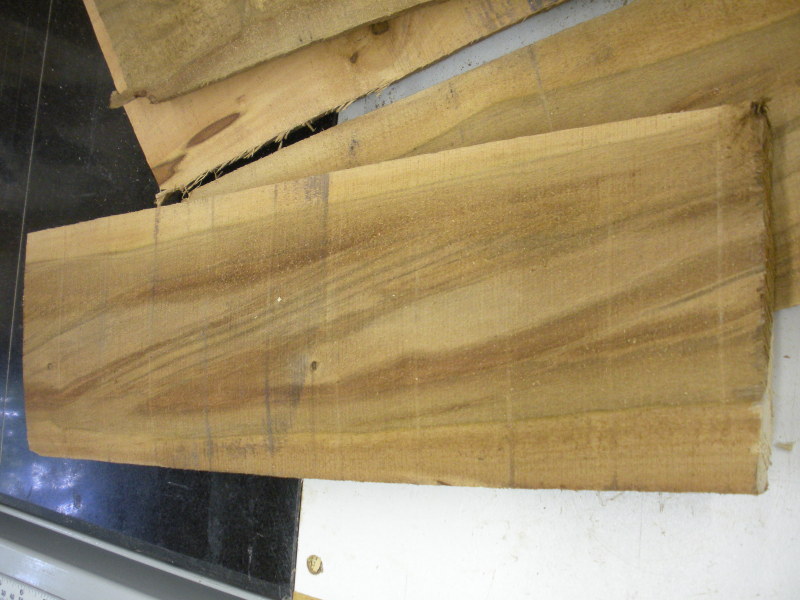 |
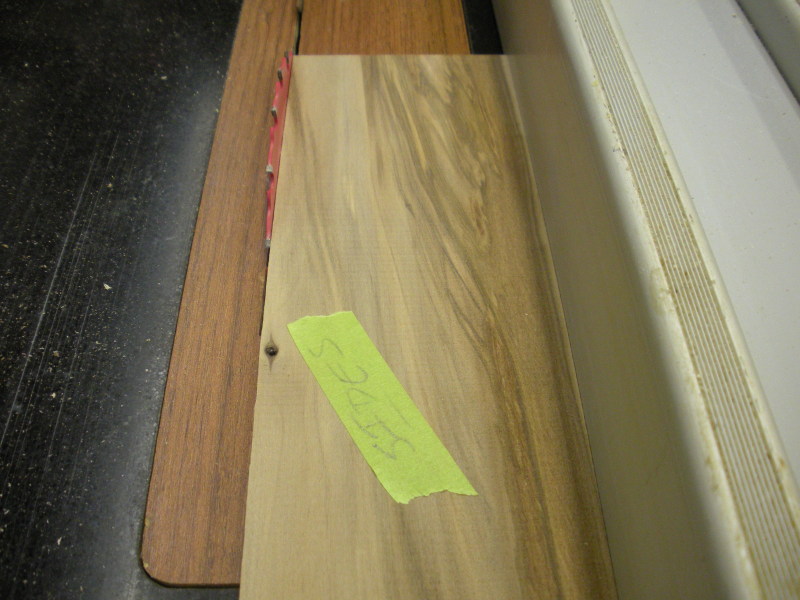
The focal point of most any box, is gonna be the lid. So lets pick a piece for that. I like the grain pattern on this one. I think I'll make the lid from it. |
 |
It's cleaning up nicely off the jointer, but you can see how warped it was, by the area not faced. That's ok...we don't necessarily need the whole width anyway. |
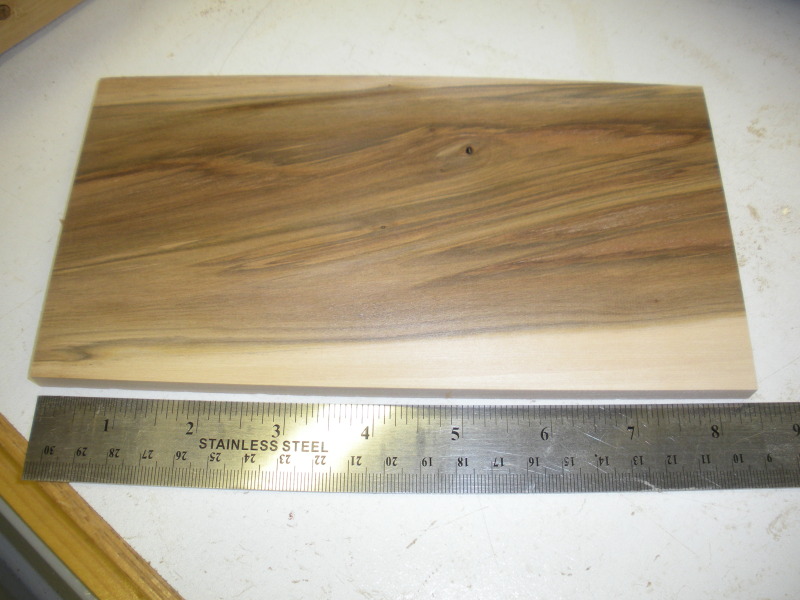 |
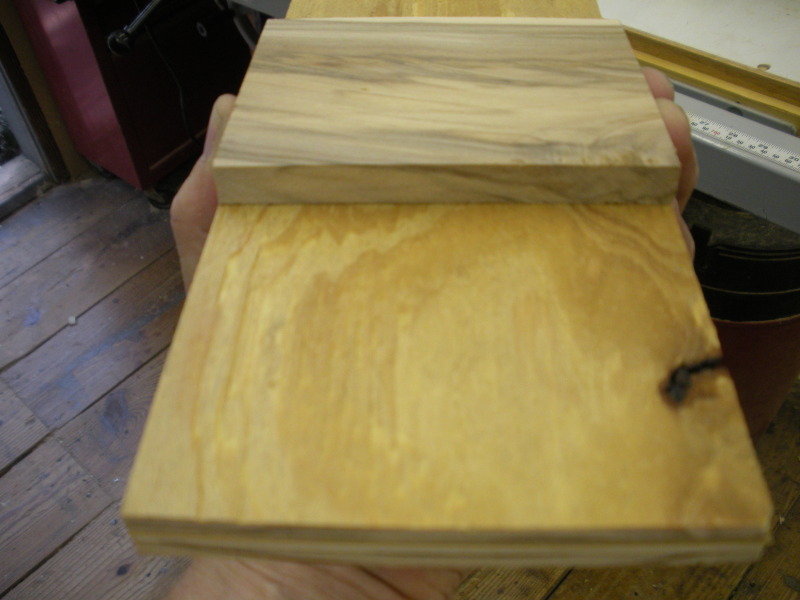
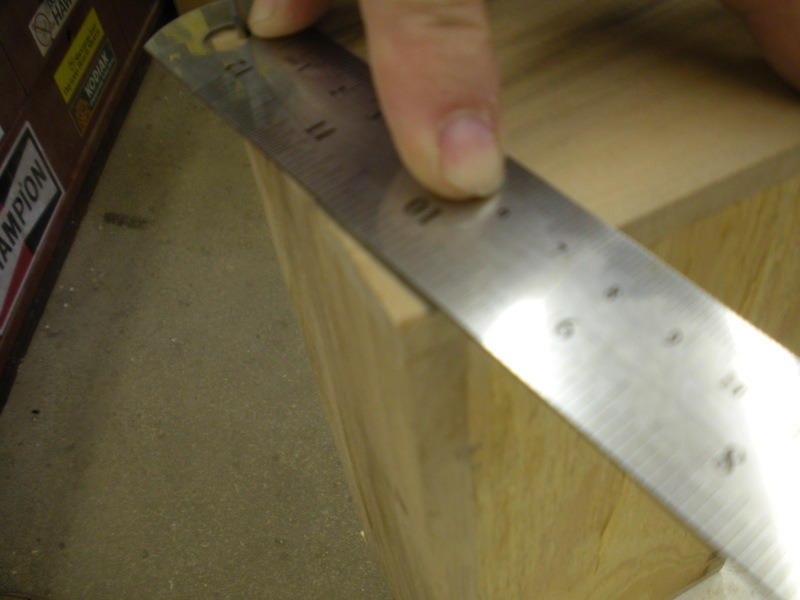
The size of your box lid, plus the thickness of the sides will end up being the size of your box, so this looks like a good starting place. I don't know why I bothered with the ruler, other than to give you an idea of the size, nothing gets measured on this box. It turns out whatever size it wants to be. |
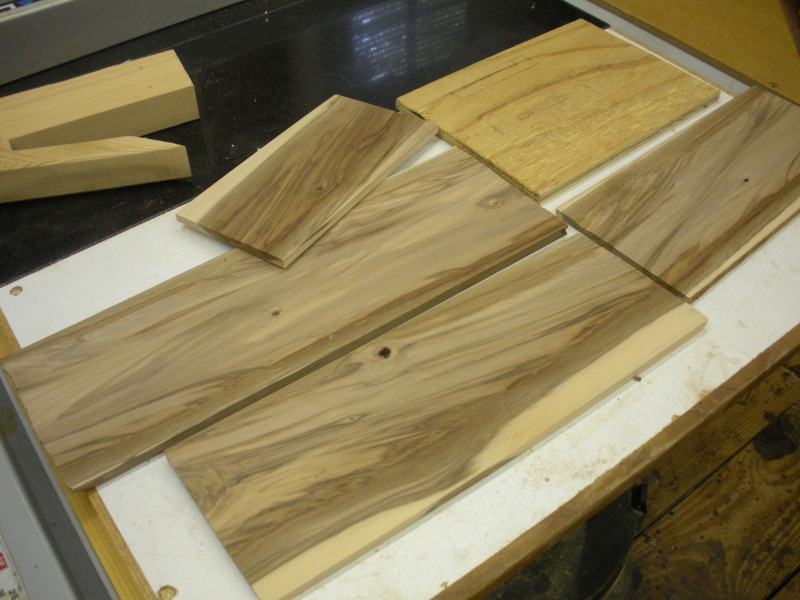 |
Now I have enough milled up to make the box. The bottom will just be a piece of scrap plywood, it ain't gotta be pretty. |
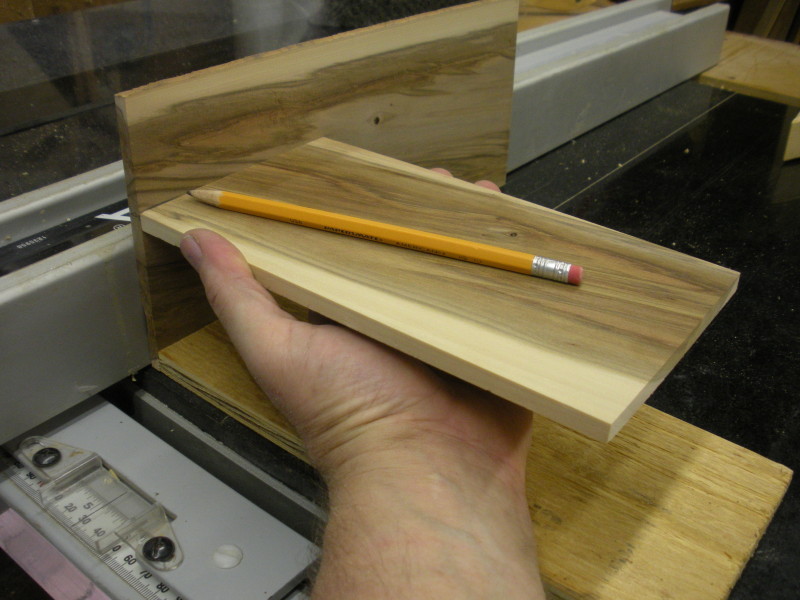 |
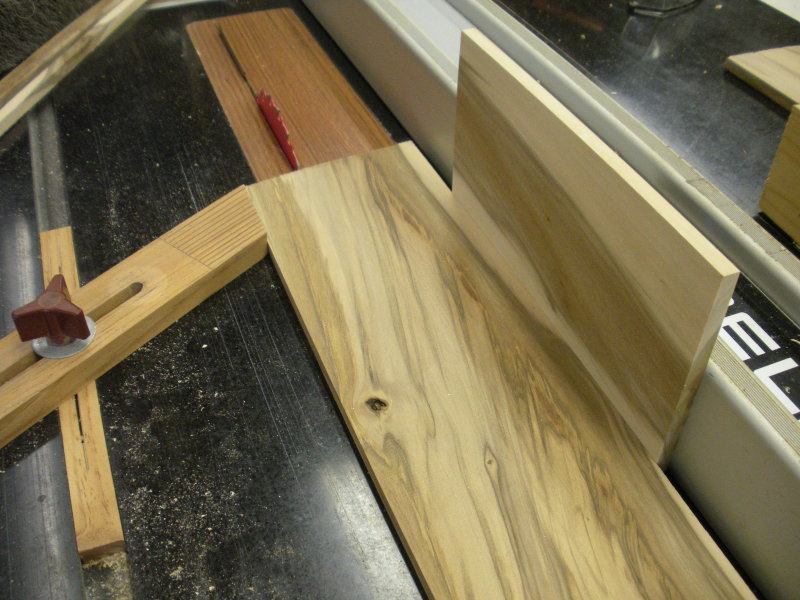
It's time to decide how tall the box is going to be. The piece against the fence will become the sides of the box. I lay the plywood bottom against it, and take a visual of where I want the top to fall, and mark it with the pencil on the side piece. I could use mathematical formula to determine the Golden Ratio, or a Fibonacci sequence, but I just trust my eye. Nine out of ten times, that works fine for me. |
 |
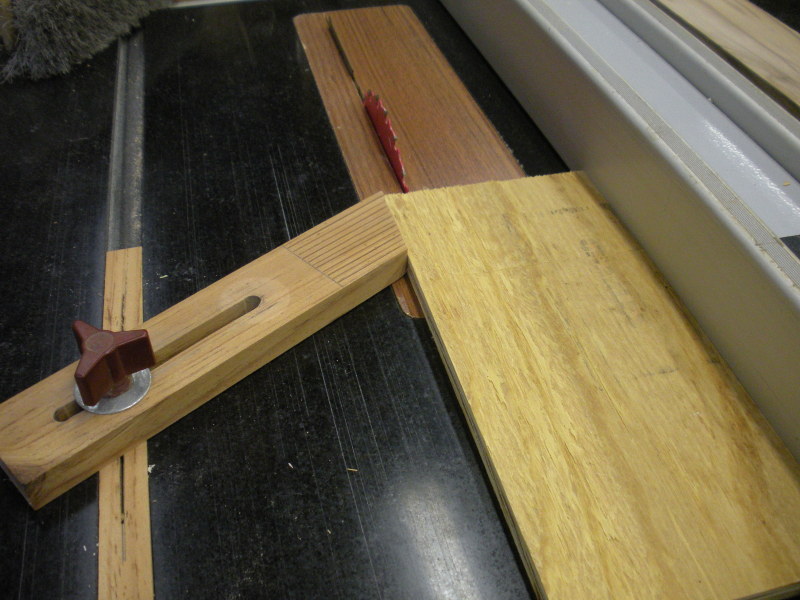
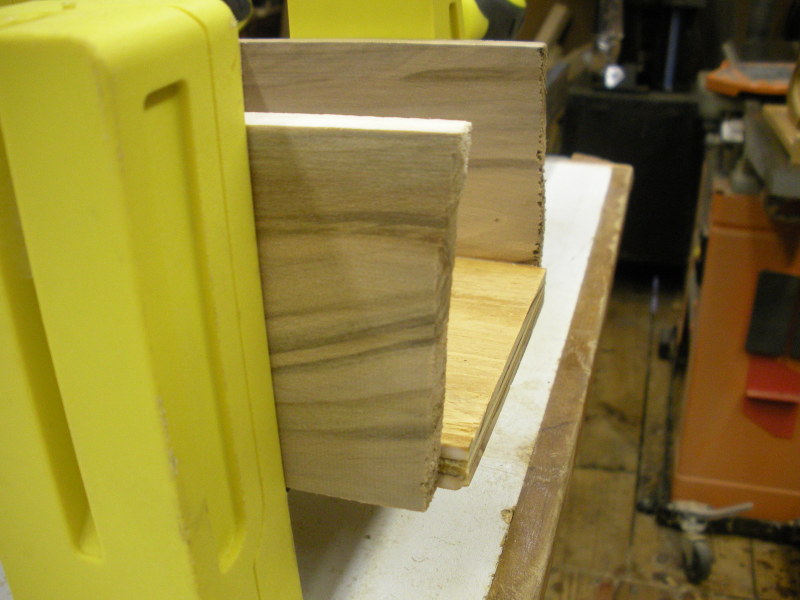
The easiest way to establish the height of the front and back, is to remember that their height is the same as the sides, less the top. Here I set the fence to the width of the sides. |
 |
Then I use the top for a spacer, between the board that will become the front and back, and the fence. I set the feather board against it, remove the top/spacer and slide the fence over till it touches the front/back board, and lock down the fence. I'm really just using the feather board to hold my spot after I remove the top/spacer. Rip away. |
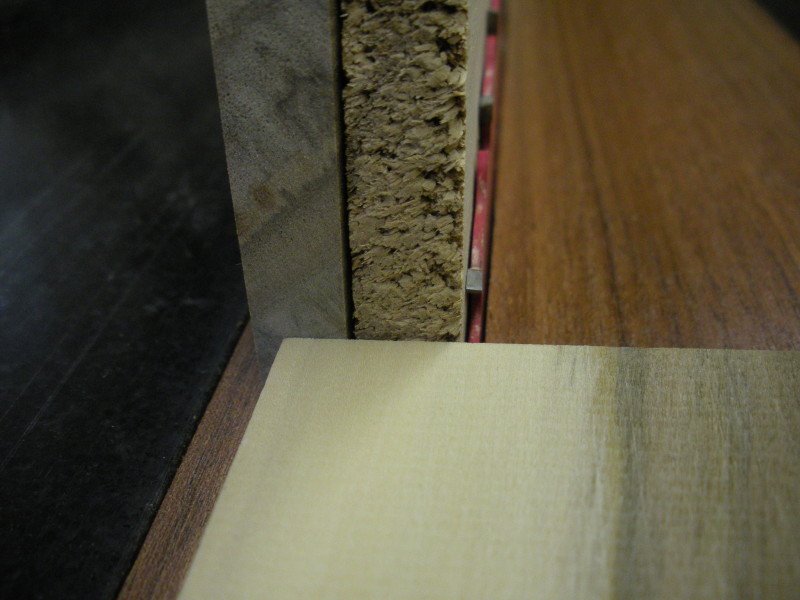 |
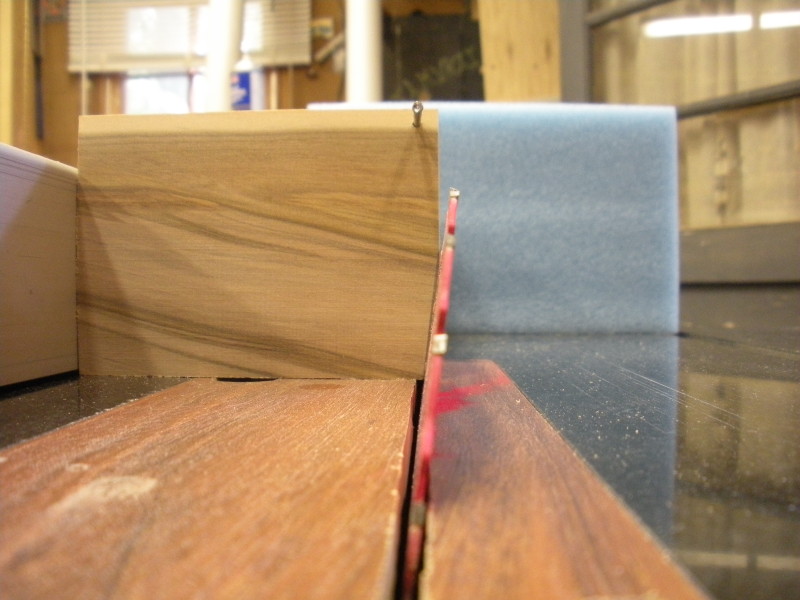
Now, we have to determine the width to rip our bottom plywood. Remember it will be the same width as the top, except less the front and back. So I lay the top against the fence, and put the front and back board against the outside of the blade, and slide the fence over until they line up. Well....until they almost line up. The idea of that little overhang, is to allow for the width of the blade kerf. I don't measure it.......just eyeballing it will get it close enough. |
 |
Then I move the top out of the way, move the front and back out of the way, and rip my plywood bottom to the established width. |
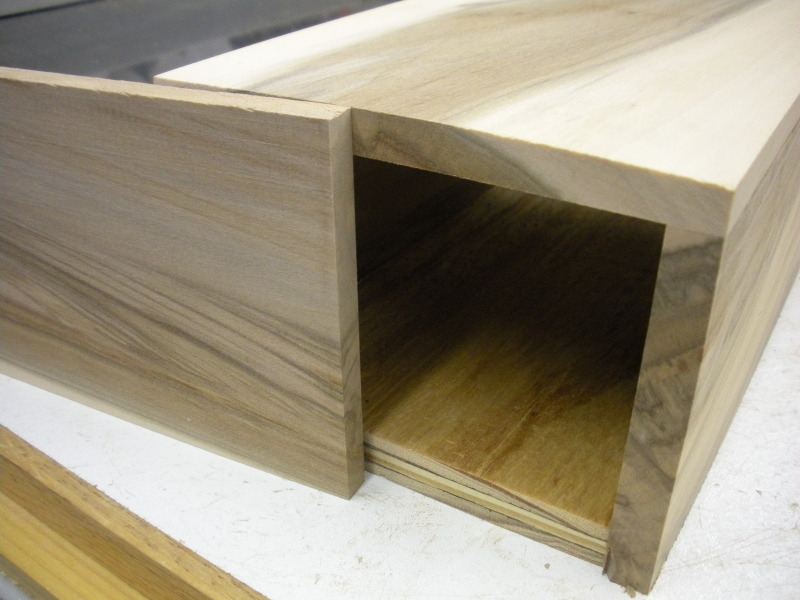 |
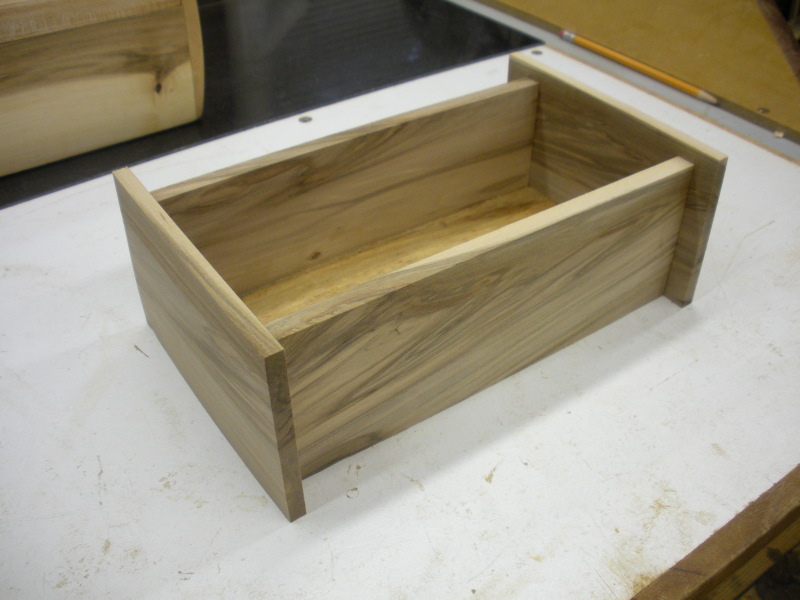
This picture gives you an idea of how it's going to be glued up. Top is just sitting on it...it doesn't get glued of course. |
 |
I cut a spacer block out of scrap, the same width as the bottom, just to keep things squared up during glue up. |
 |
Don't worry about lining up the ends, we're gonna trim them off anyway....just make sure the sides and bottom are pushed down tight to the clamps, so the box will sit flat after glue up. |
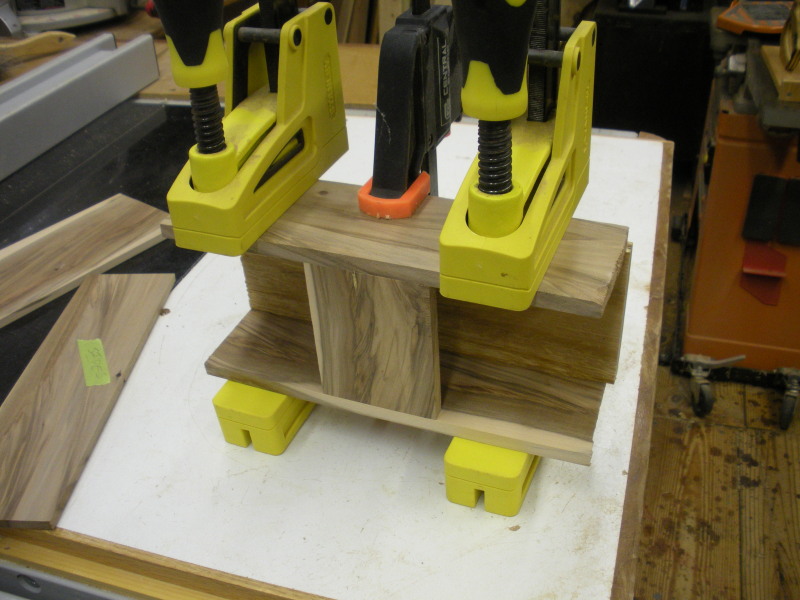 |
Here we are with the first glue up. You can see now what that scrap/spacer block was for. |
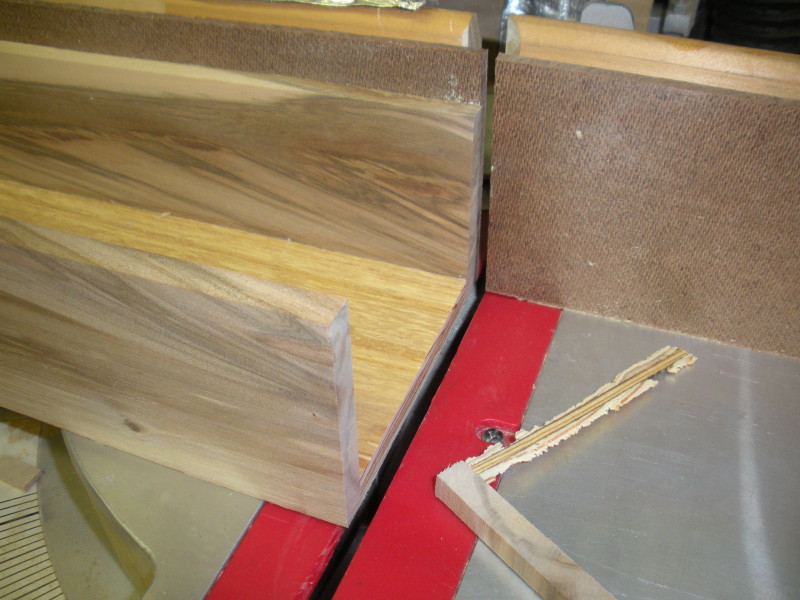 |
Now lets take it to the miter saw, and just cut one end off, to get a smooth edge. |
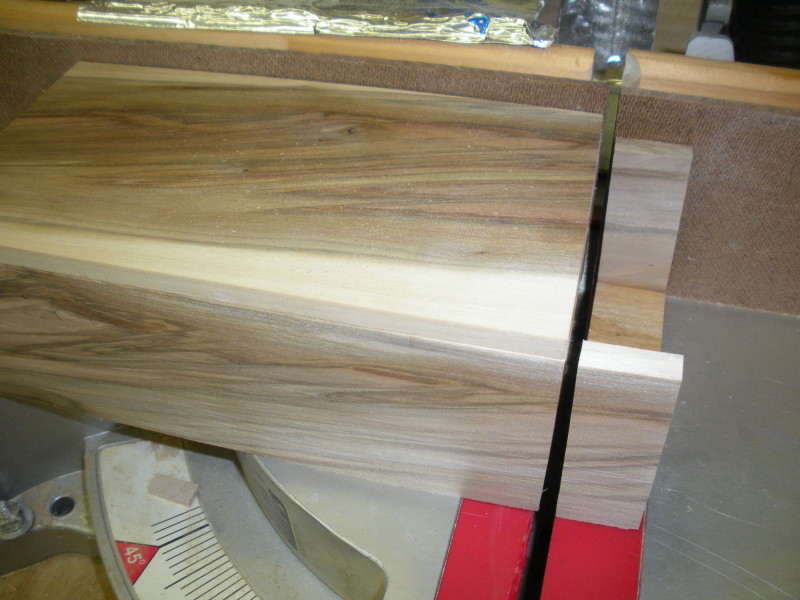 |
Now we flip it around, and use the box lid to establish the width of the box. Move the lid, and cut the other end. |
 |
Glue the sides on just like we did the front and back. Again...I don't worry about lining things up, the bandsaw will make quick work of that over hang. |
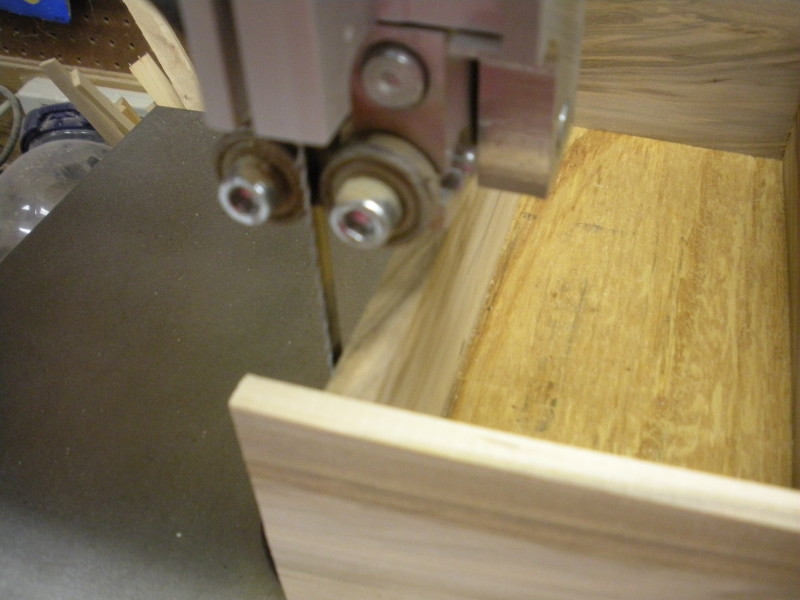 |
Get as close as you can to the box front/back, but try not to let the blade touch. That would just be more sanding, but it wouldn't be the end of the world. |
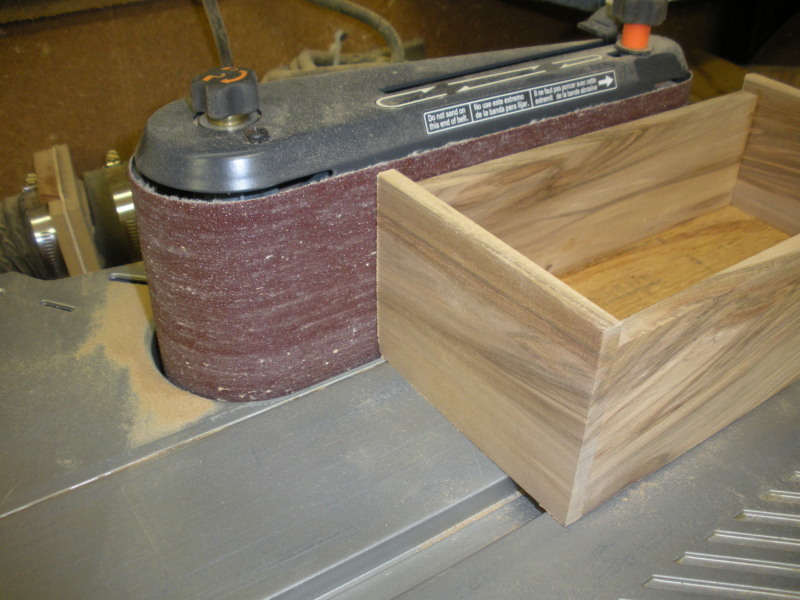 |
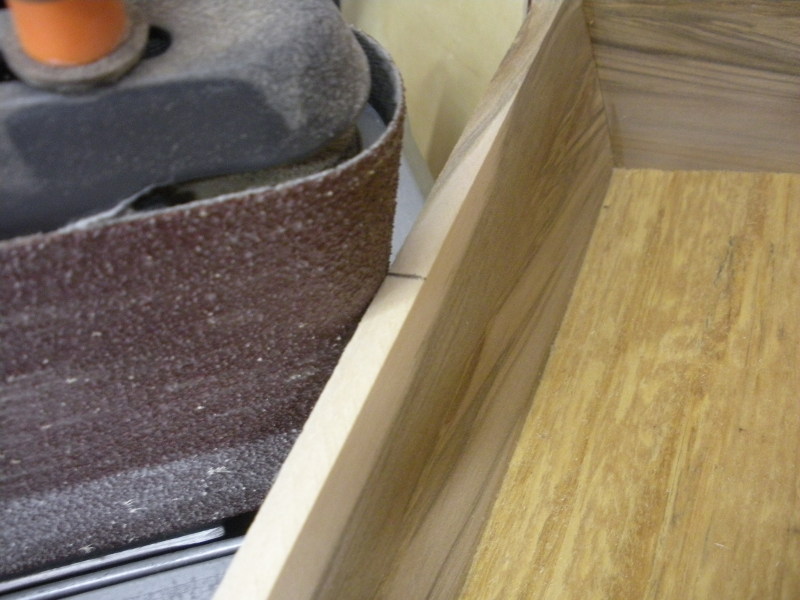
ake it over to the sander, and with a fairly coarse belt, sand those band sawn edges, until they're even with the sides. |
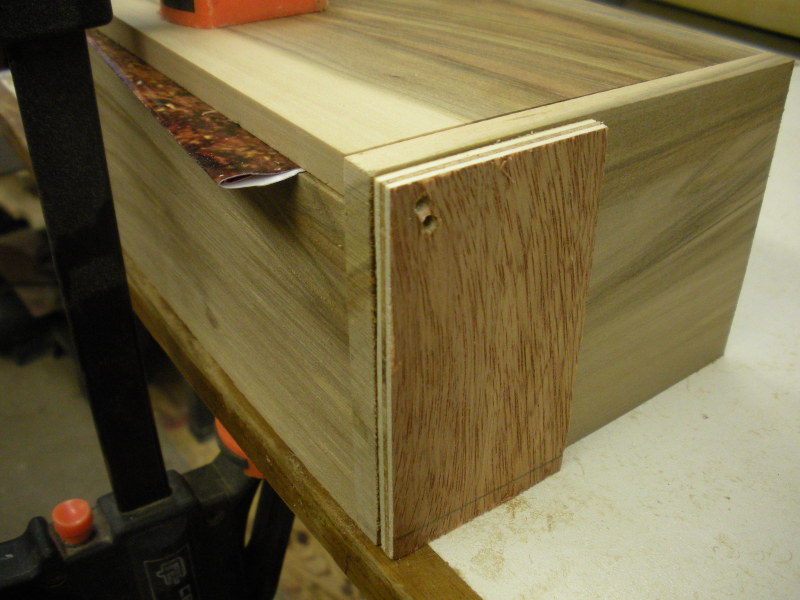 |
This part, I don't have down to a science yet, but I'm still foolin' with it. You can see the little scrap jig, that establishes the hole placement. (There's two holes, cause it's the second box I've used the same jig on.) The upper hole is the one I used on this box. The folded paper between the box and the lid, was to give it a little swing room, and hopefully reduce the amount of rounding I had to do on the back edge of the lid. I'm still playing with pin placement, trying to figure out where the best placement of the hole is relative to the top/bottom, and back edge of the lid. At least by using the scrap/jig on both sides of the box, I know the pins will be the same on both sides. |
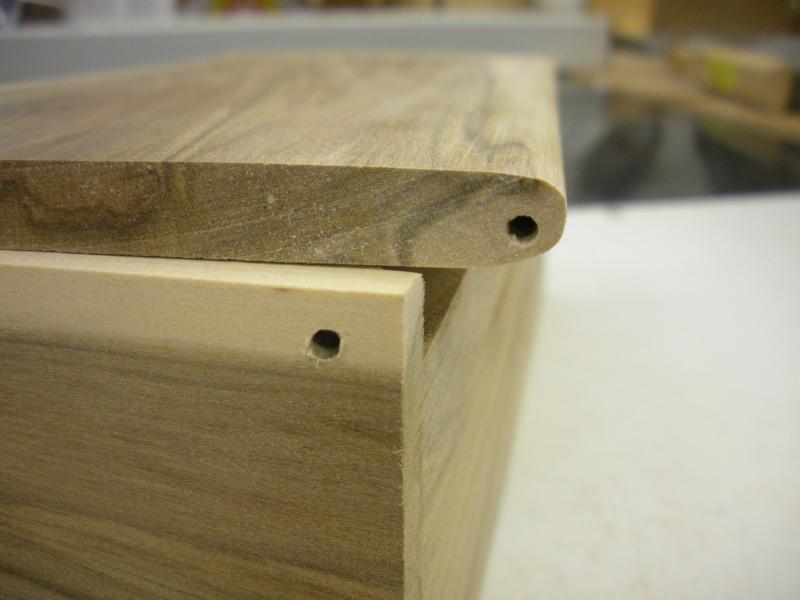 |
Here's the rounded edge to the back of the lid, to allow enough clearance for it to swing open. |
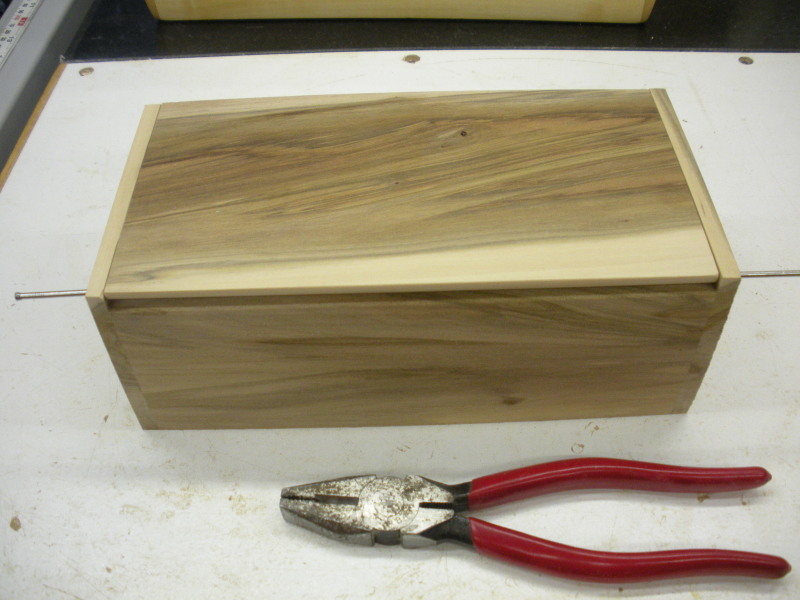 |
Keep the pliers handy...cause getting that roundover right is a trial and error thing. I usually end up putting the lid on and off 5 or 6 times before I get it where the lid will swing completely open, without flopping all the way back. If you round too much, that's what will happen. If you get it right, it'll stop upright, or a little past upright. |
 |
I rough cut the piece out and jointed one side parallel to my layout marks.
Now it's time to give the box a little shaping, so it doesn't look so..........boxy! I just eyeball an angle, paying attention that I don't cut too deep on the bottom edge. I don't want to cut completely through the side, and expose the plywood bottom. I try to leave at least half of the width of the side at what will be the narrowest point on the bottom. I draw a pencil line with the ruler |
 |
Now, I set my fence, where my pencil line, lines up with the inside of the blade. I start tilting the blade until it lines up by sight, with my pencil line. I walk from the front of the saw, to the back of the saw, eyeball....walk back the the front, tilt some more...walk back to the back, eyeball....tilted too much, walk back to the front...tilt the other way....lather, rinse, repeat. Finally...it get it pretty close. Rip it down one side, flip the box around, and rip it down the other side. |
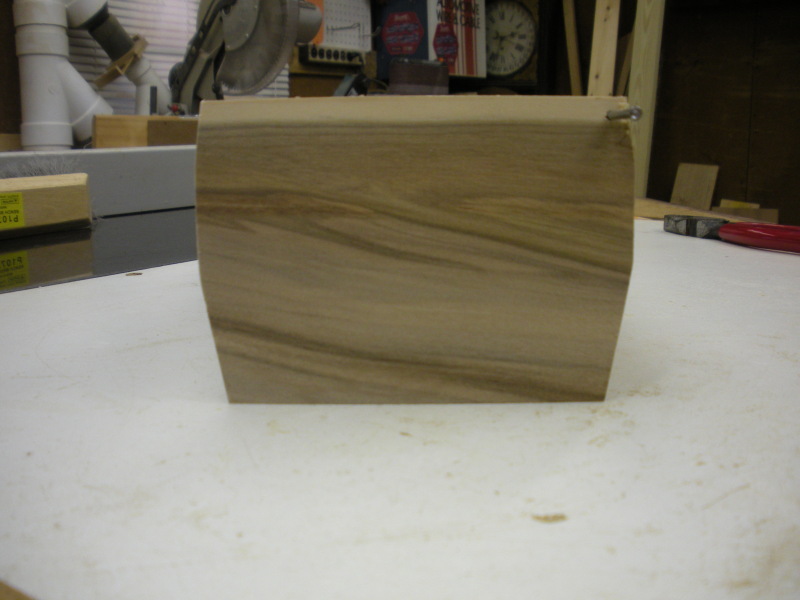 |
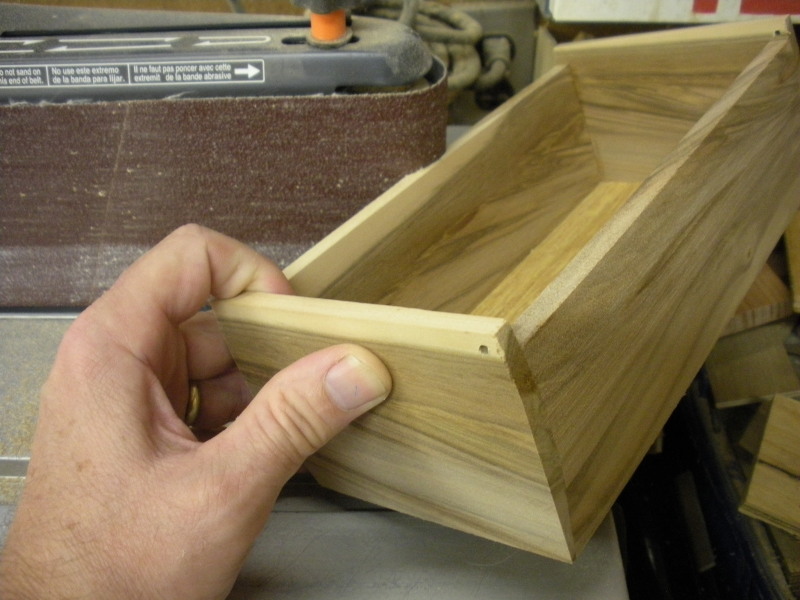
Here's what that profile looks like. |
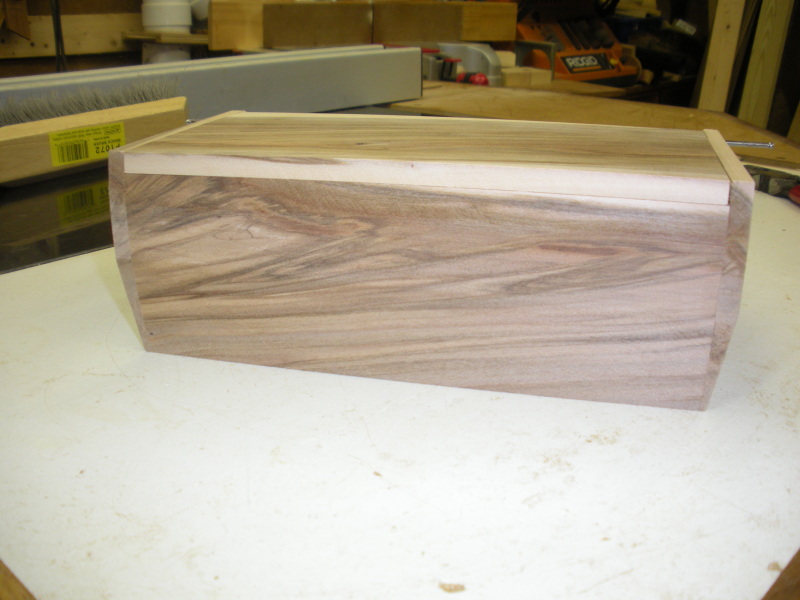 |
I do the sides of the box the same way. I know it's against the rules, to use the fence when what you're cutting is wider than it is long, but I stand well to the right of my fence, and keep good pressure against the fence as I push it through the blade. The width of the box keeps my hands well away from the blade if there was a problem. My saw also has a riving knife, that tilts with the blade as an extra safety measure. I've not had a problem doing it this way, but if you'd feel more comfortable, you could use a miter gauge with a sacrificial fence to push it through. This time...as for lining up the cut, I eyeball, just like before except I pay attention to where the blade will be exiting the side of the box, and try to make it come out at the same level as the front and back I've already cut. Here's that view after cutting. |
 |
Now, I want to make a little finger relief on the front of the box, to facilitate lifting the lid. I find the center of the box, and mark a line on the front edge of the box. I take it over to the Rigid sander, and use the small end of the belt. You could use a spindle sander, but this is quicker since I don't have to change the set up from belt to spindle. |
 |
I tilt the back edge of the box upwards, keeping my line in the center of the groove I'm sanding into it. |
 |
This gives you an idea of how much I tilt the box. I usually end up going about half the thickness of the front, on the top edge, and that tapers to nothing down the front. |
 |
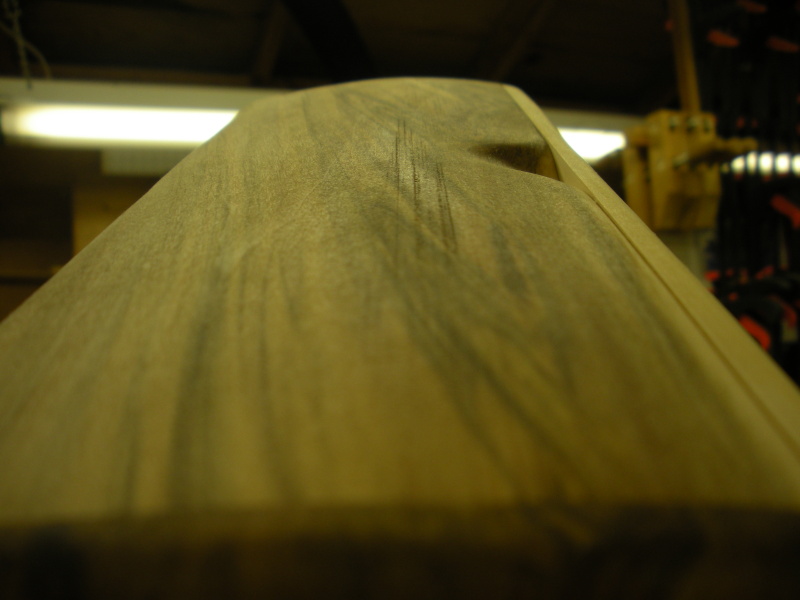
Now we have some sanding to do. I just use my RO sander, starting around 100 grit, and working my way up to 220. I use the sander to round over the edges, and the corners of the box. Nothing real precise here...but I have better luck flopping the sander from flat on one side, to flat on the other side of the corner, rather than trying to sand a 45 degree angle or something. Before....................... |
 |
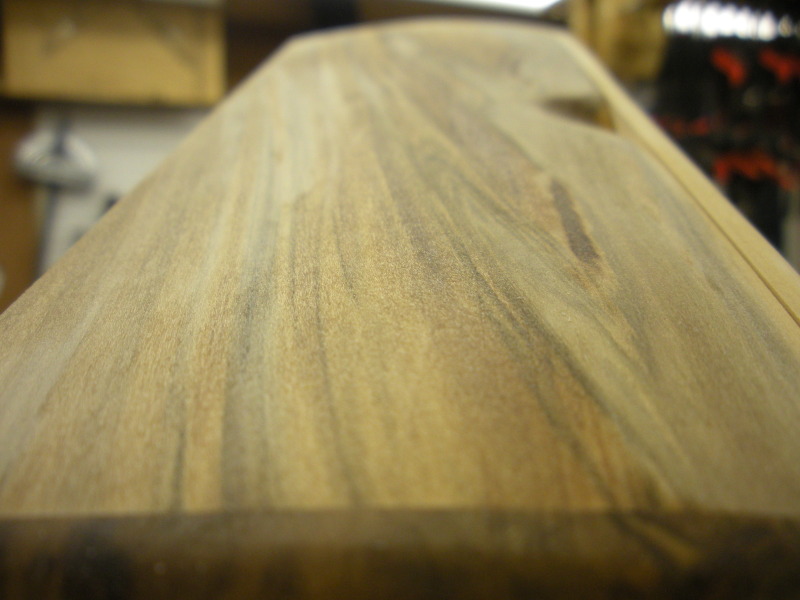
After............... |
 |
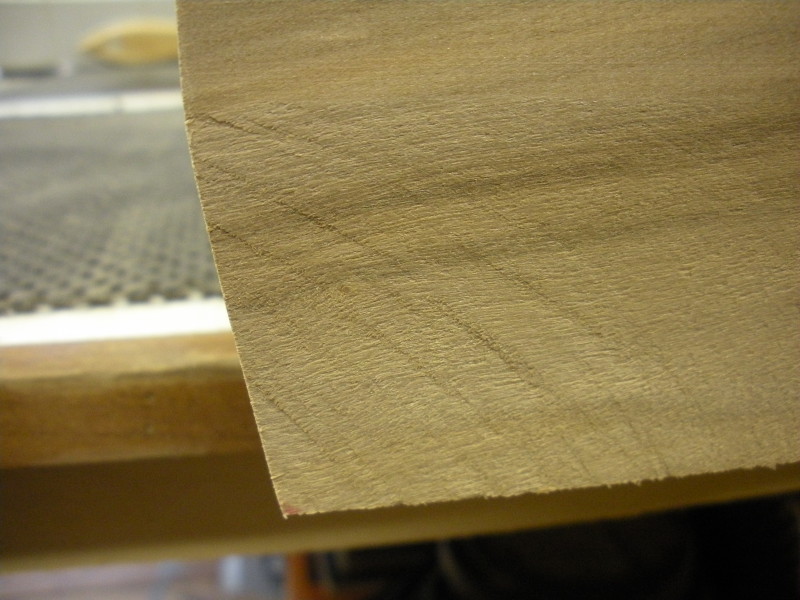
When you think you're done...........hold it up against the light, and sight down the box to see if every things smooth, and all scratches from the previous grit are gone. I thought I was done, until I did this, and caught these deep scratches. I'm sure they got in there when I was sanding the band sawn side edges even, cause they are straight line scratches. Got a little more sanding to do. Before............. |
 |
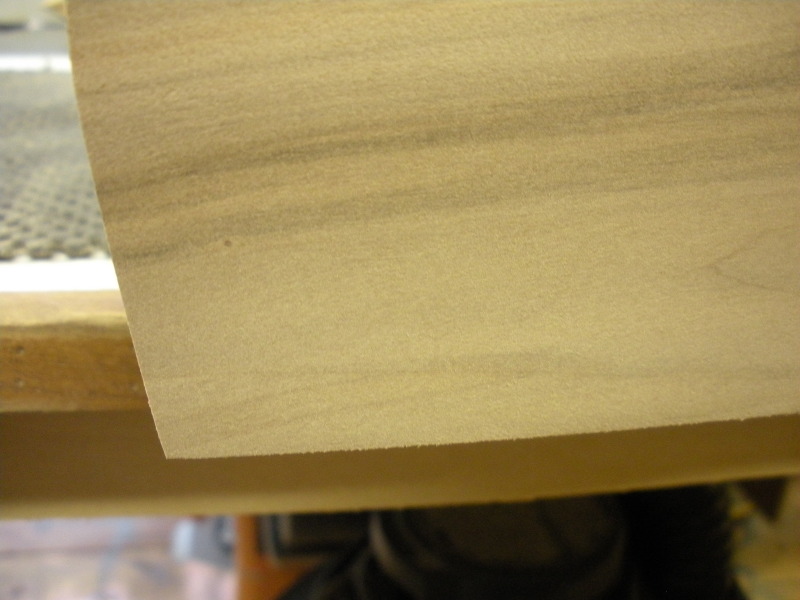
After.............. |
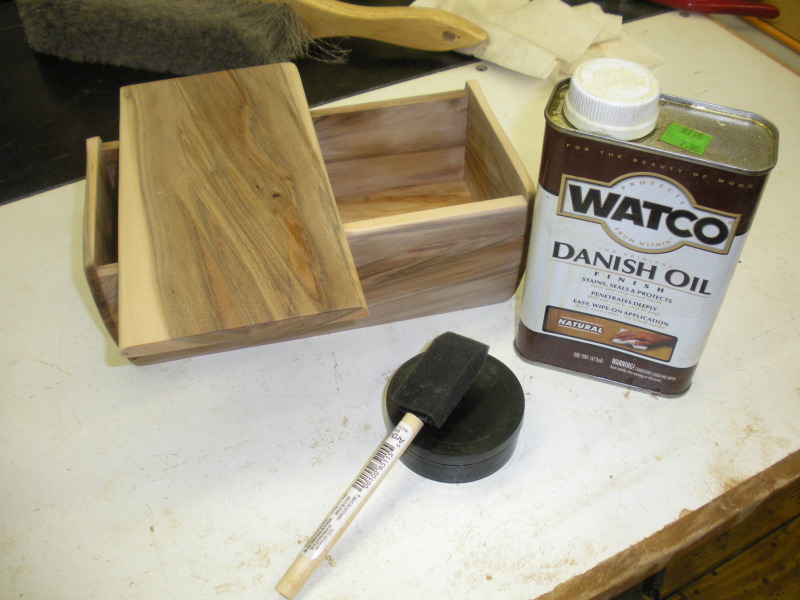 |
Just for good measure....I hit all the flat spots, with some 400 grit, on a rubber sanding block. With the grain only, please. Smooth as a baby's butt. Time for some finish. I fell in love with Danish oil when I was reading the directions and ran across this phrase.....Flood it on..... I like the oil finish, because it doesn't end up so shiny, and lets the beauty of the wood come out without looking like a plastic finish as Poly would. It doesn't give the protection that a Poly finish would....but these boxes wont be handled that much anyway. I use a foam brush, and put the first coat on thick, thick, thick. I let it soak in about 30 minutes, then put on another thick coat. I let that sit for another 15 minutes or so...then wipe it down with a clean paper towel. Let it sit for a day or two for the oil to dry completely. |
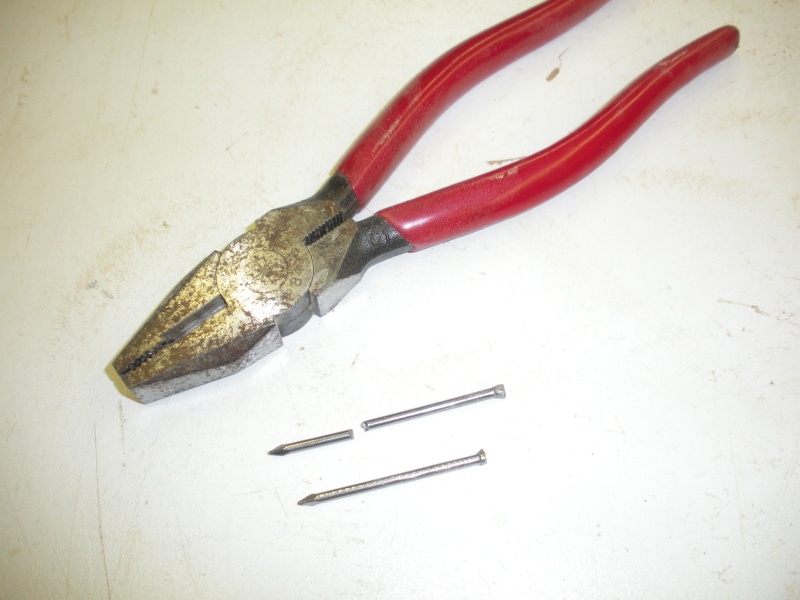 |
Here's my High-Tech hinge pins. Finishing nails. I just cut them to the length I need with the linesman pliers. |
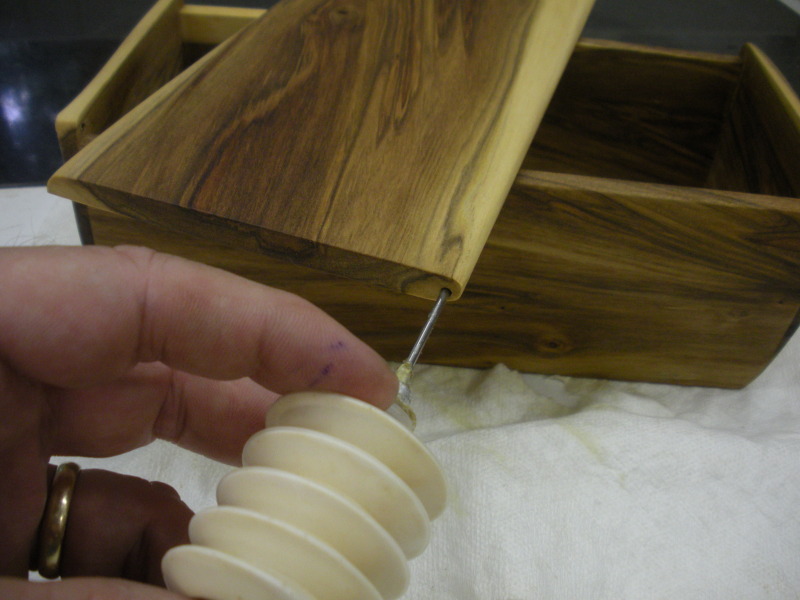 |
I squirt a little glue up into the hole on the lid, but not so much it'll squeeze out onto the sides of the box. Glue's probably not necessary at all, but it can't hurt. I drive the cut off nails through the sides of the box, and into the lid for the last time. I take that cut off head piece of the nail, and using it as a punch, knock the nails in until they are slightly recessed into the side of the box. It'll leave a little hole, but it doesn't look bad. I've been meaning to pick up some brass rod, and use that for hinge pins, and just drive them even with the sides of the box, letting the brass show, but I haven't got around to buying any yet, and I have a whole box of finishing nails. |
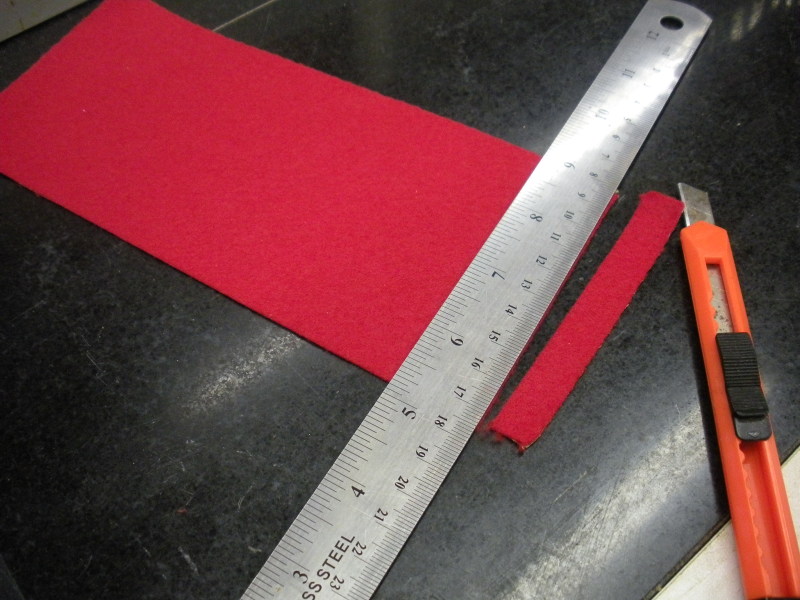 |
For a box liner, my wife picked me up some adhesive backed felt, at Micheal's crafts, if I remember right. I use the ruler as a straight edge, and trim it right on my table saw with a wall paper knife. It has a peel and stick back, so no spray adhesive is necessary. |
 |
|
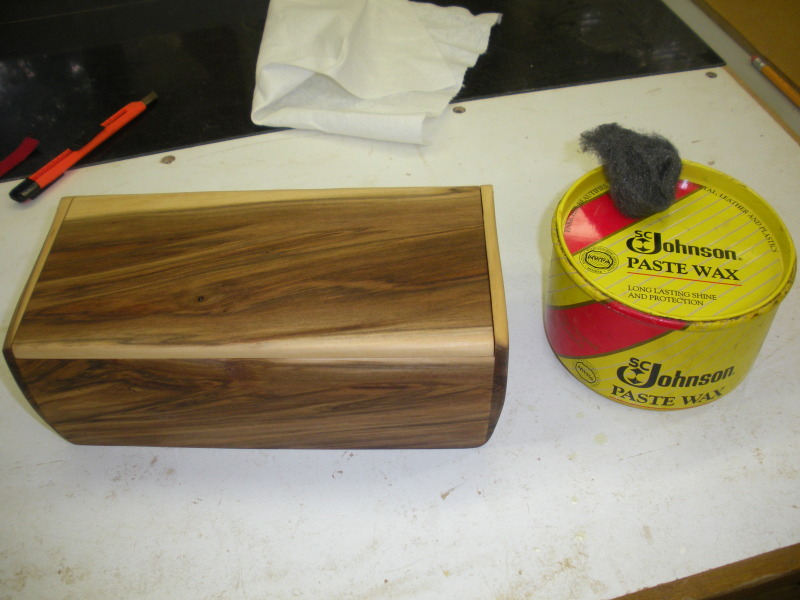 |
After the oil finish has dried for a day or two, I like to wax the box. I use Johnson's paste wax, and I use some 0000 steel wool as an applicator. I don't know if it makes any difference or not, but I apply it with a circular motion to start with, and finish up with long strokes with the grain. The wax doesn't do much, protection wise, but it sure makes the wood feel good. The first thing anybody does who sees these boxes is run their hands over the lid. For some reason, they've just gotta be touched. The wax makes it feel better, but it's not really necessary. |
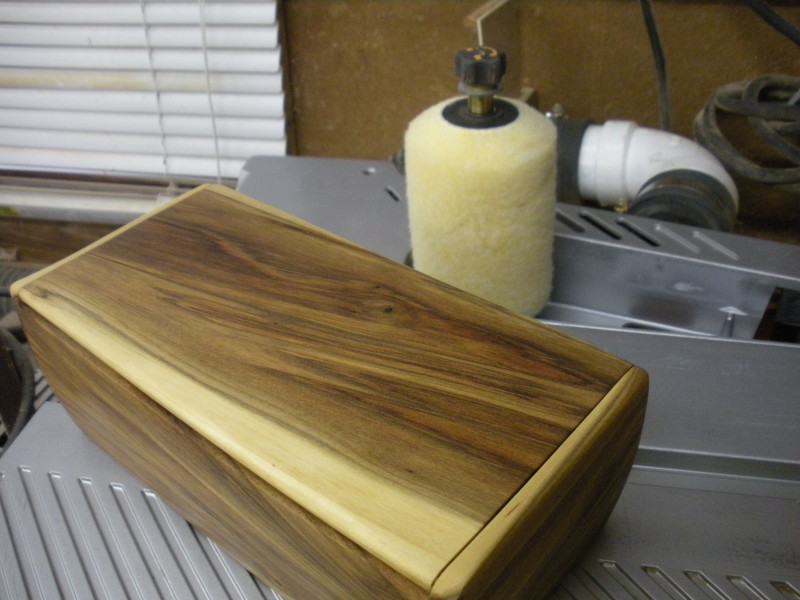 |
Here's an idea I stole from a fellow Woodnetter. I wish I could remember who it was, so I could give credit. I use a thick nap paint roller for a buffer. I've found that if you cut it in half on the band saw I can get two buffers from each roller. The 1 1/2 rubber do-hicky that comes with my spindle sander fits the inside of the paint roller perfect. The Woodnetter I stole the idea from was using a full length roller on some kind of jig on his drill press. Use a light touch........and it does a good job of buffing out the wax job. |
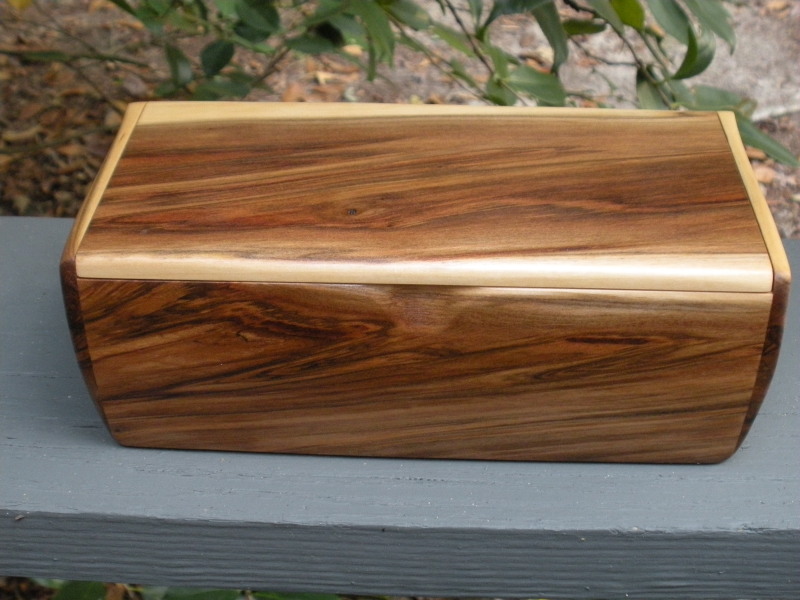 |
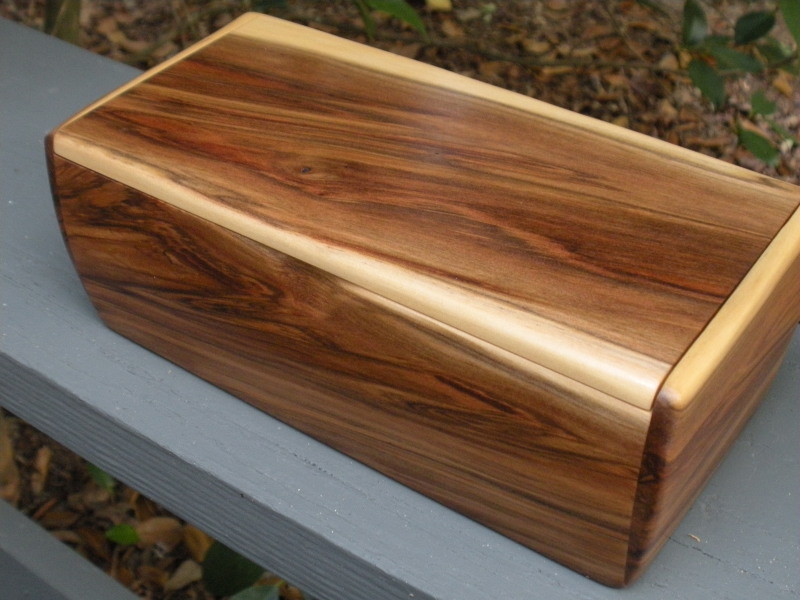
Well.....that about does it. Only thing left to do, is put some of those little round felt sticky backed circle looking things, that I can't remember the name of, on each bottom corner so it sits well on the table, and raises the plywood bottom up slightly. I hope you have enjoyed reading about this build, as much as I did documenting it. And mostly, if you're new to box making, by all means jump in there an build you one. I have to warn you though..................boxes are more addictive than crack! Here's a few pics of the finished project. |
 |
|
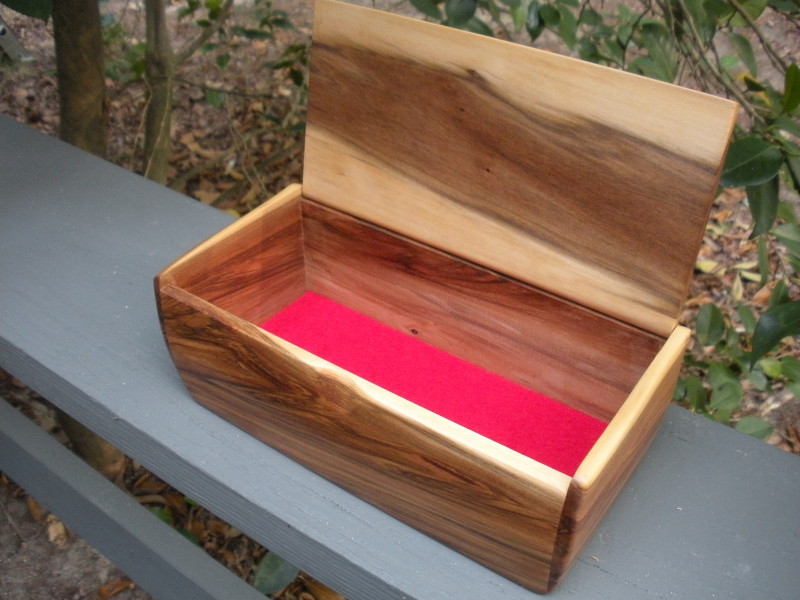 |
|
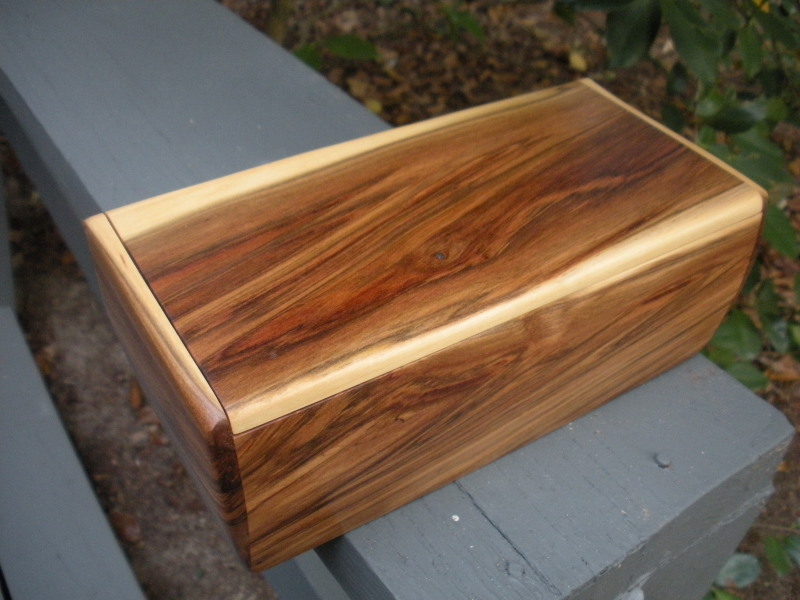 |